
Free Material
Find hereMore than 150 Articles about Microsoft Technologies on Modern Workplace
Official Site
Microsoft Most Valuable Professional M365 Apps & Services
Microsoft Most Valuable Professional Business Applications
Consultant & Sr Cloud Solution Architect Modern Wokrplace
Find hereMore than 150 Articles about Microsoft Technologies on Modern Workplace
08 September 2024
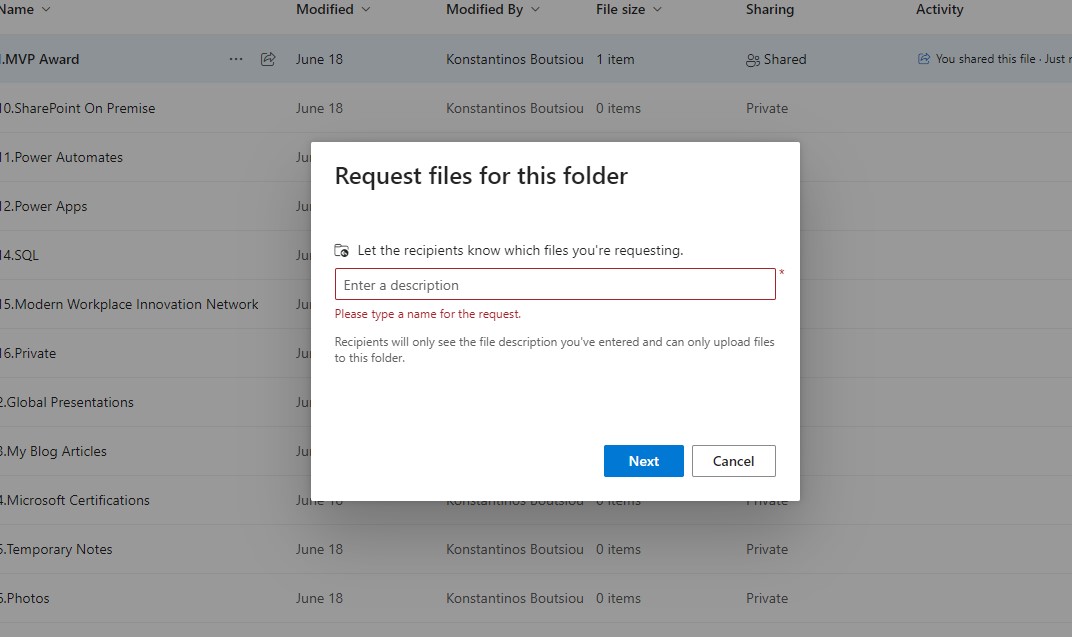
In today's article we will continue the description of the options for sharing a folder in OneDrive. In the previous article, we dealt exclusively with the share option and all the pop-up windows that arise when you select share from the 3 dots next to the title of a folder. Today, we continue with the second option, which is to request files for this folder. In this option, in the popup window, we have to enter a description that will go to the recipients when inviting them to share this folder.
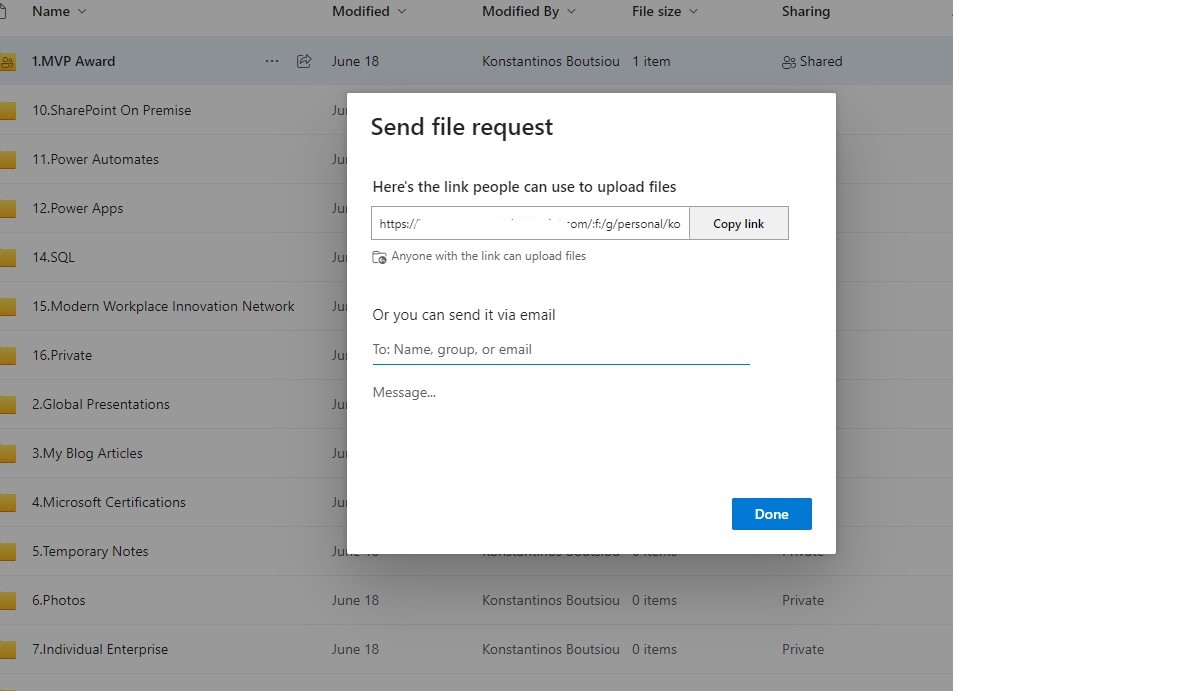
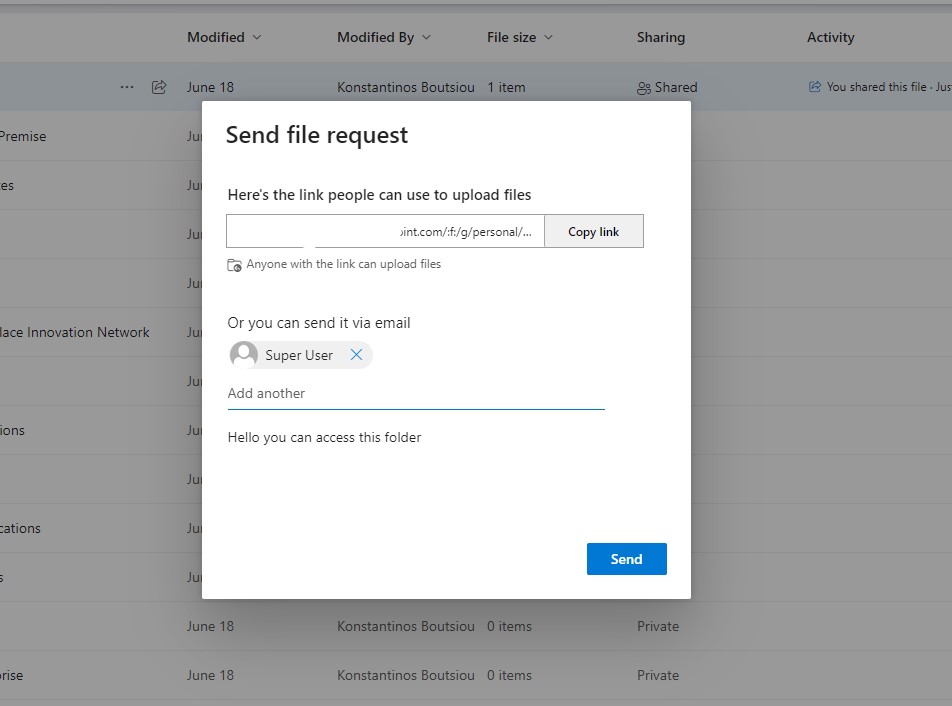
As you can see, there is the option in the next popup window to select the user or group and where it says message to insert your message to those users. You are also given the option to copy and paste the link.
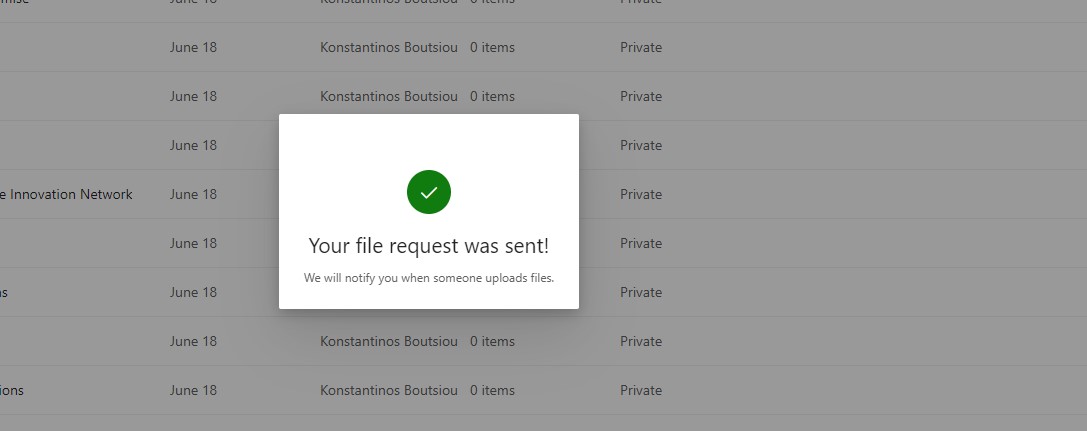
And as you can see, if the procedure is done correctly, you will see a popup window that will inform you that your request has been sent.
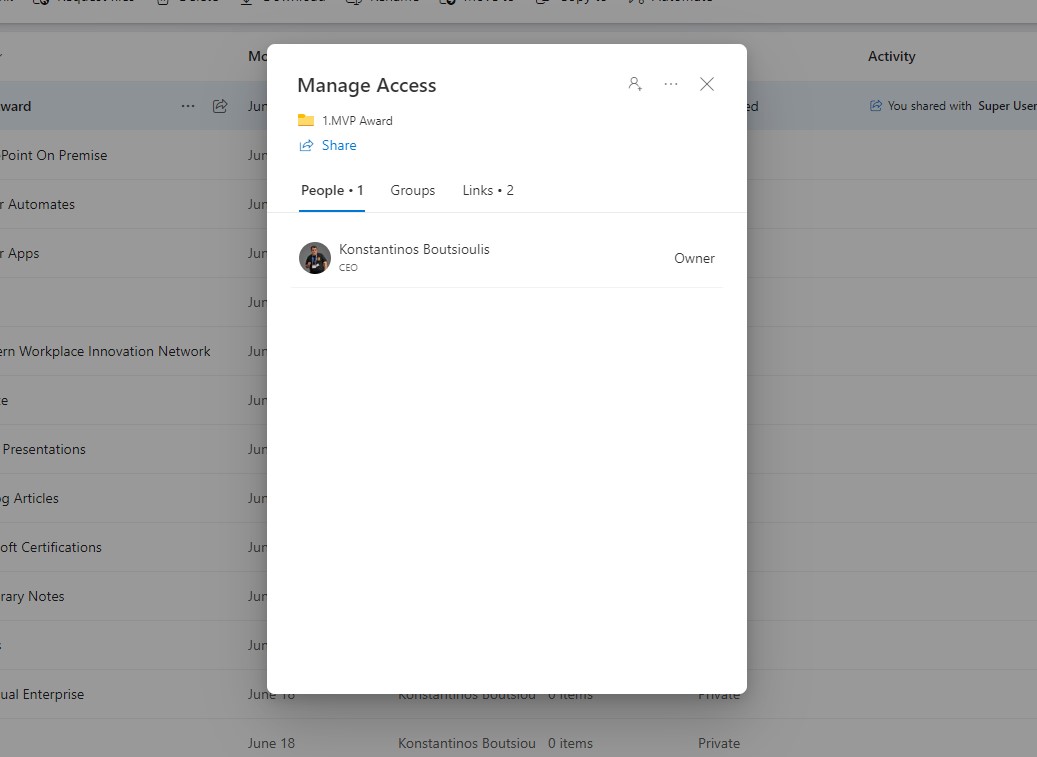
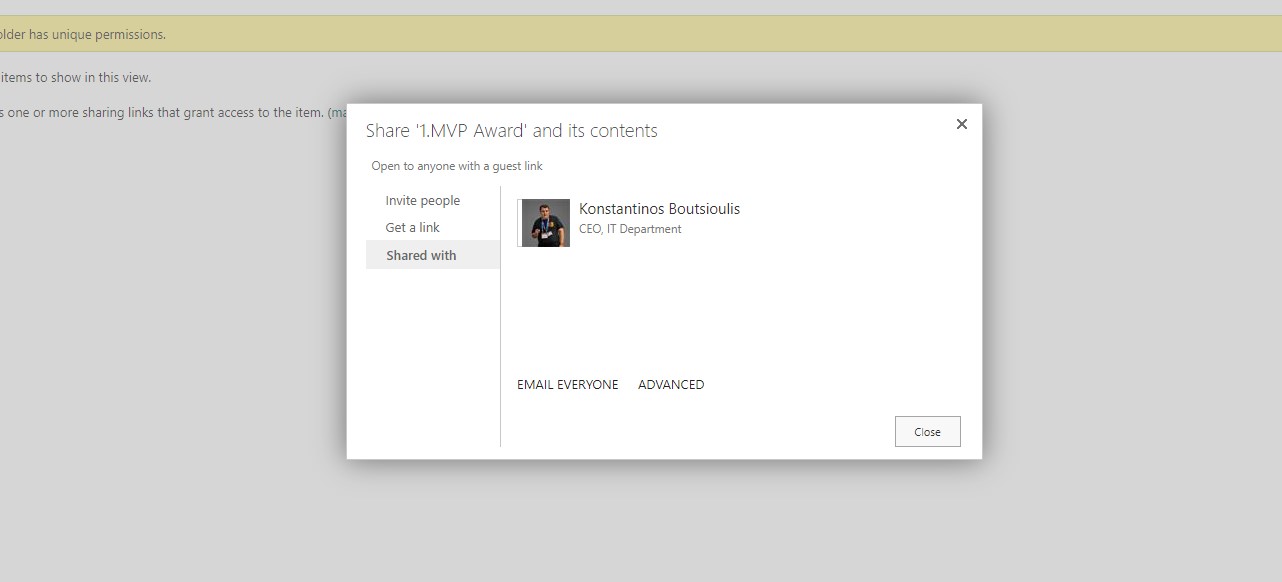
As for the next option, which is manage access, it is similar to the above where you can check initially one of the 3 options: People, Groups, and Links. In People, you can see the users who have access and the type of permissions.
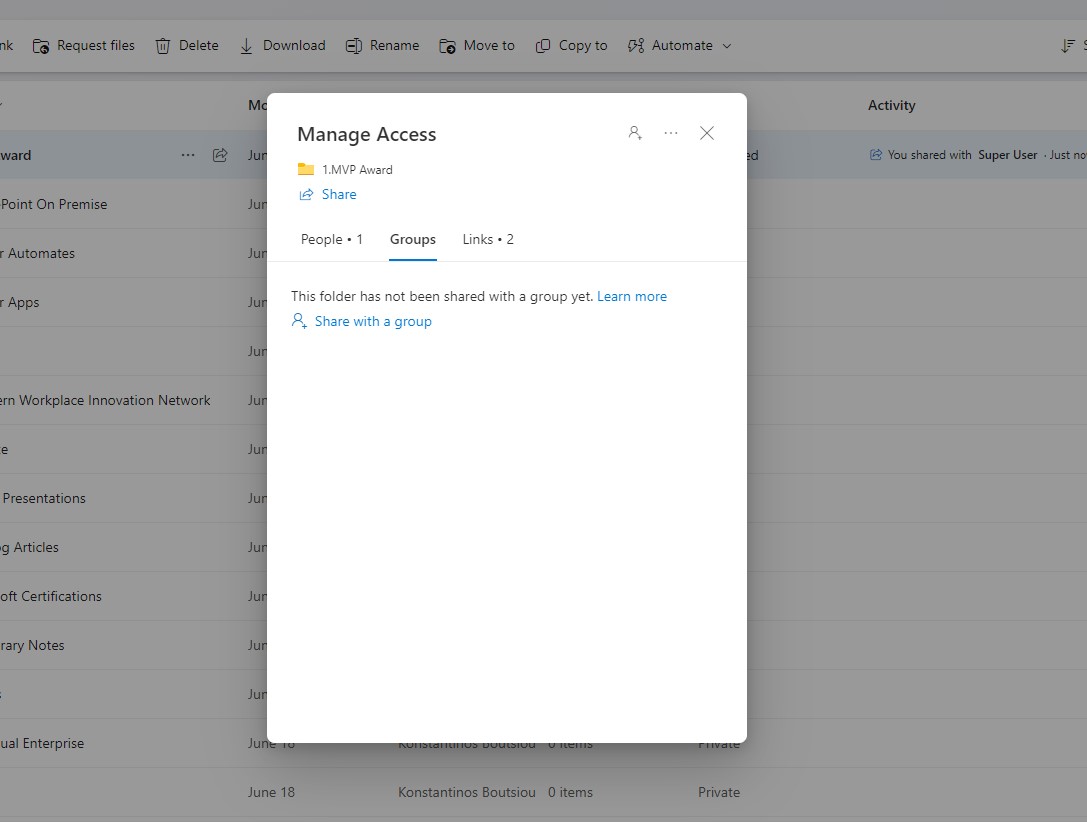
While in Groups, there are no users, and you can add groups from the share with groups option.
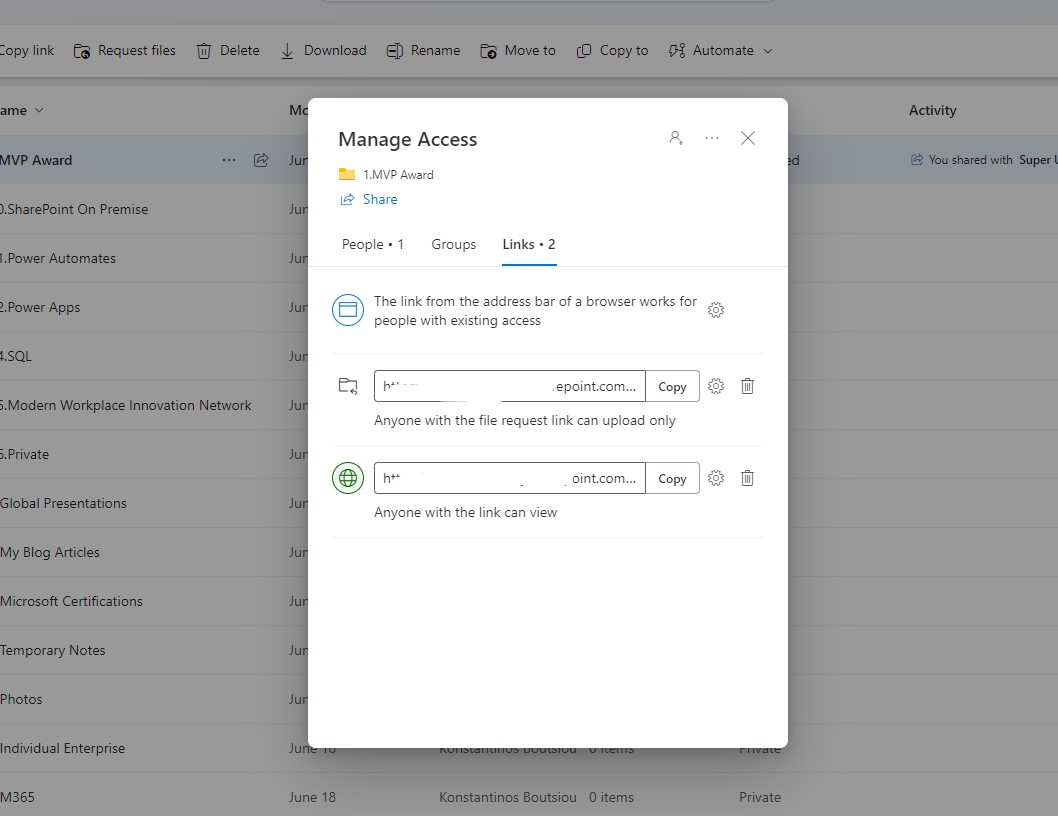
In the next option, as shown, we have the link in which anyone who has the link can upload archives, while in the second option, they can simply use the link to view existing archives.
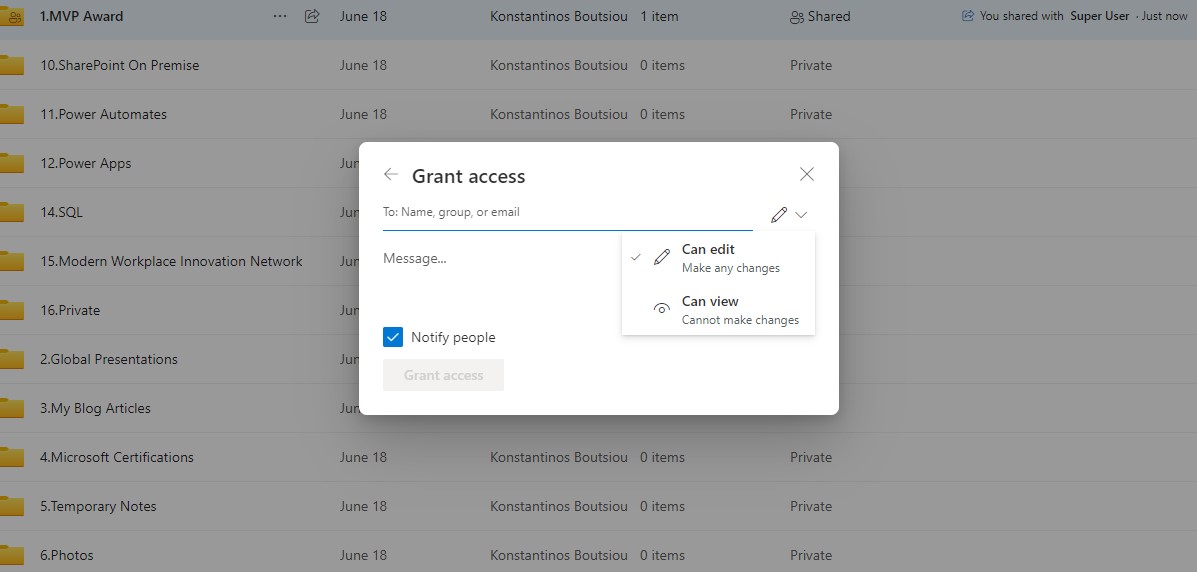
In the next popup window is the grand access option, and there, of course, is the section where we can grant permissions to this particular folder.
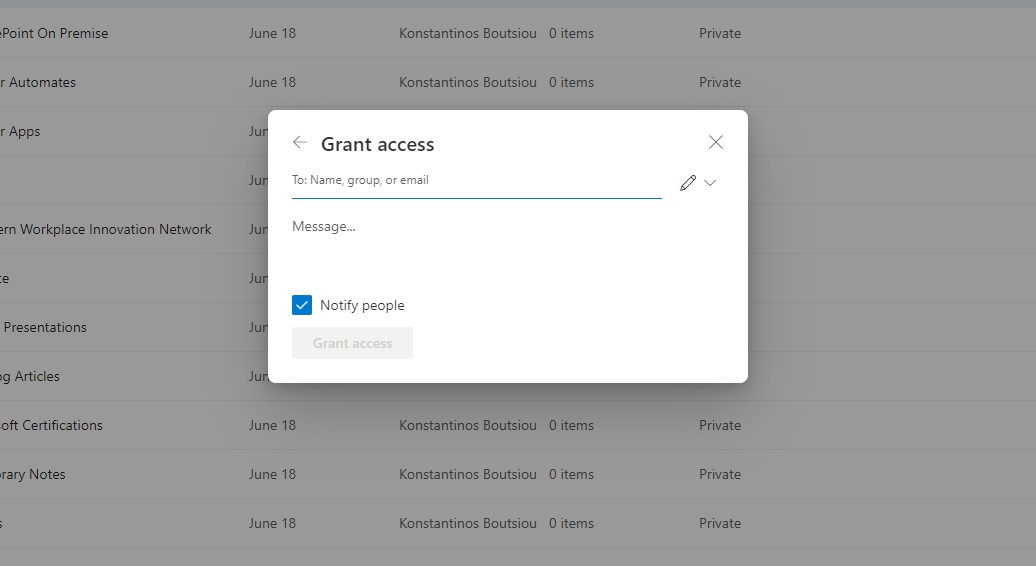
And here, of course, I have the option to choose to view or view and edit only.
As for the next option, which is manage access, it is similar to the above where you can check initially one of the 3 options: People, Groups, and Links. In People, you can see the users who have access and the type of permissions.
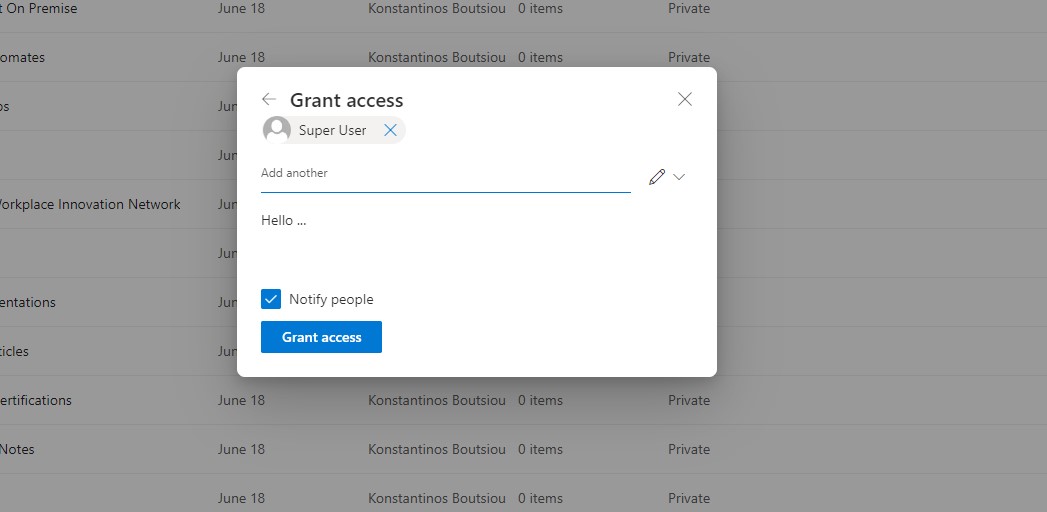
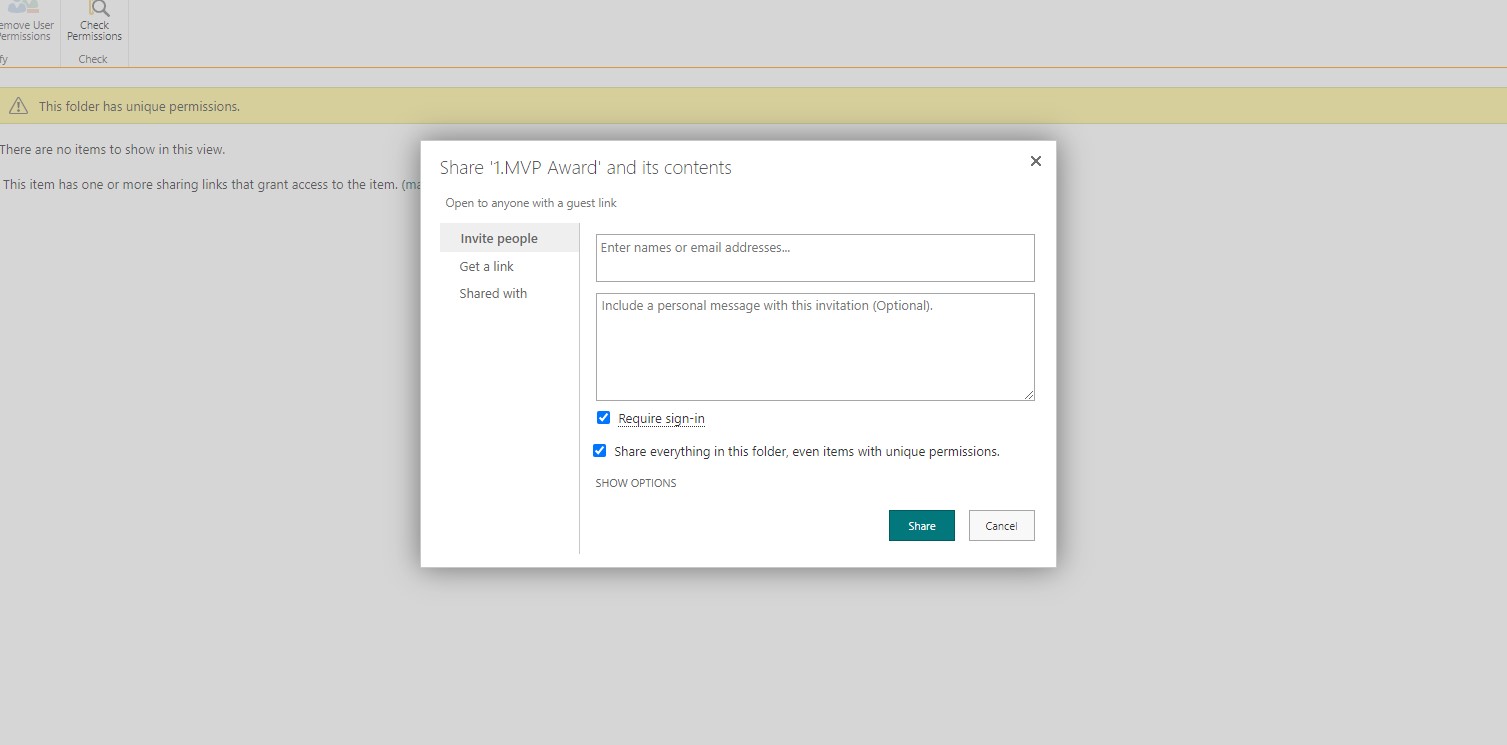
And as you can see in the following screen, I add the user and at the same time, I can insert a message to the user as in the first article.
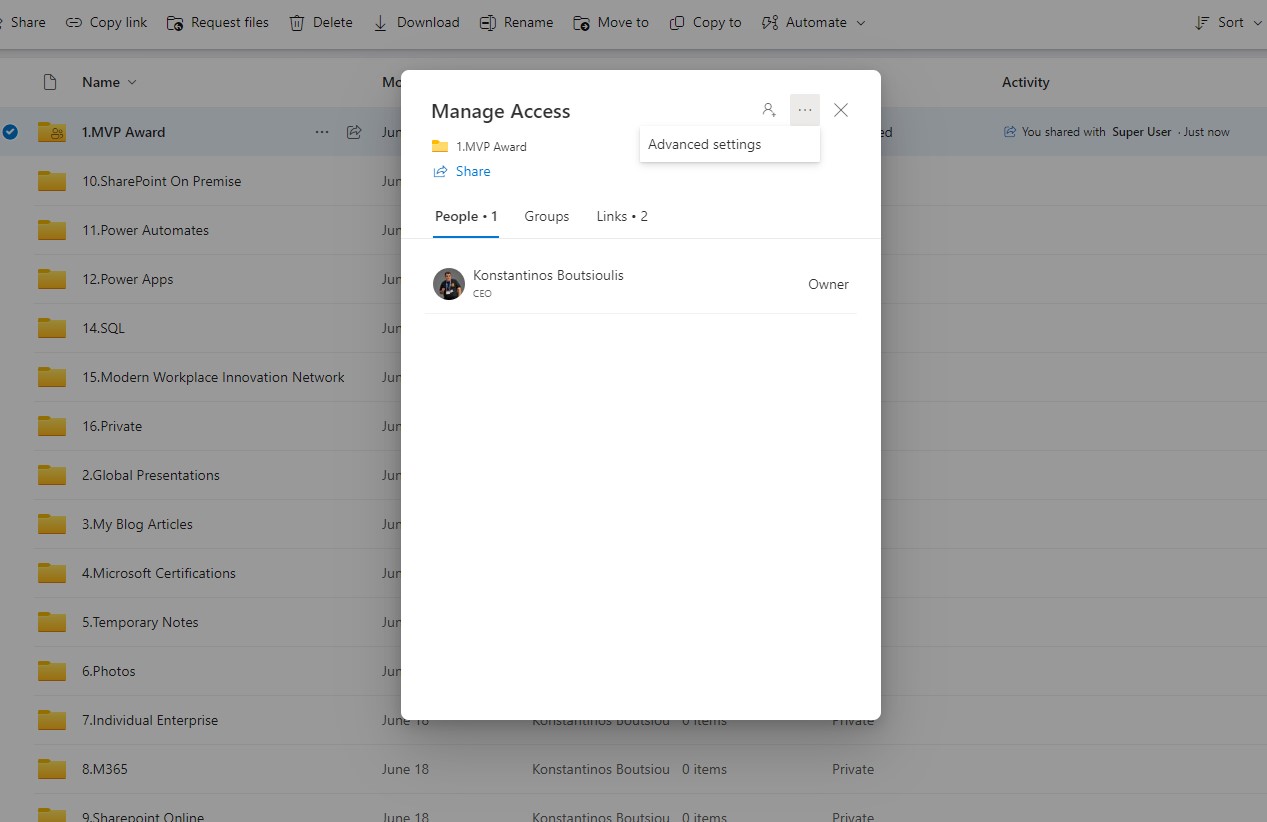
The advanced settings of the home tab of manage access are under the 3 dots on the top right of the popup window.
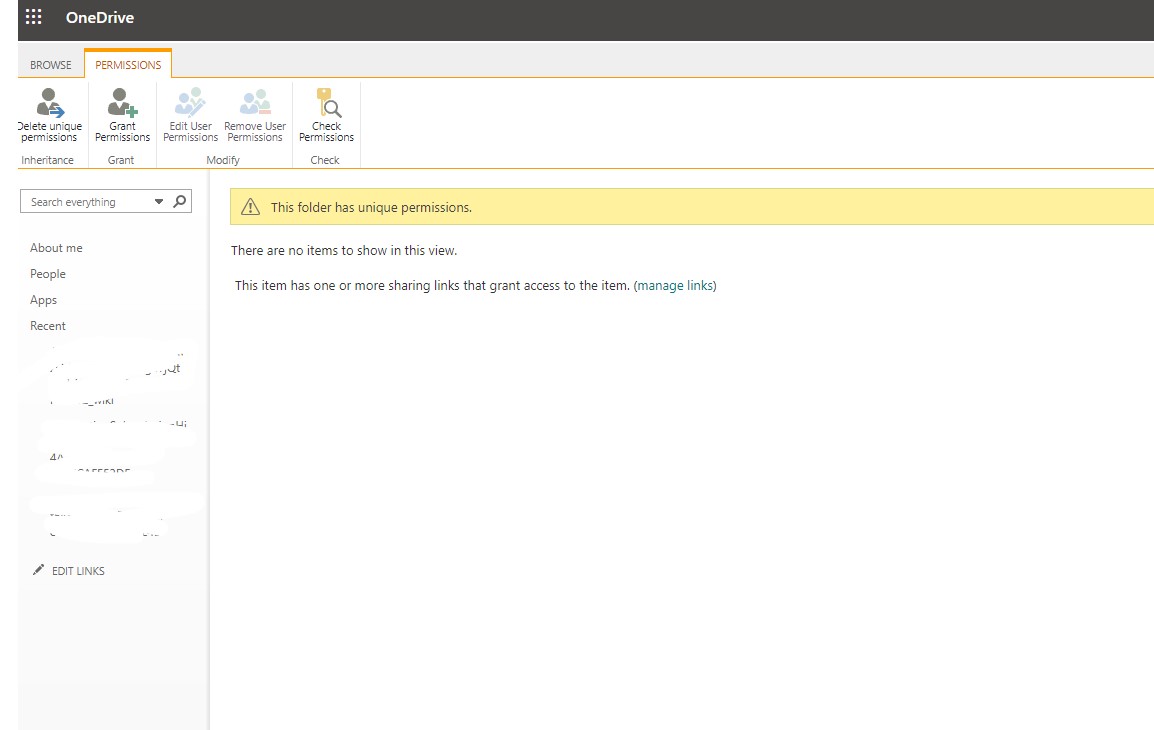
And there, as you can see, there is a redirect to a page which, as you can see, reminds you of the SharePoint pages when you are about to assign permissions, and they have exactly the same functions as SharePoint.
So you can use the grand permission to open the known window and enter the name of the user or group as well as the type of permissions you want. You can alternatively create custom permission levels and use them here with more complex procedures.
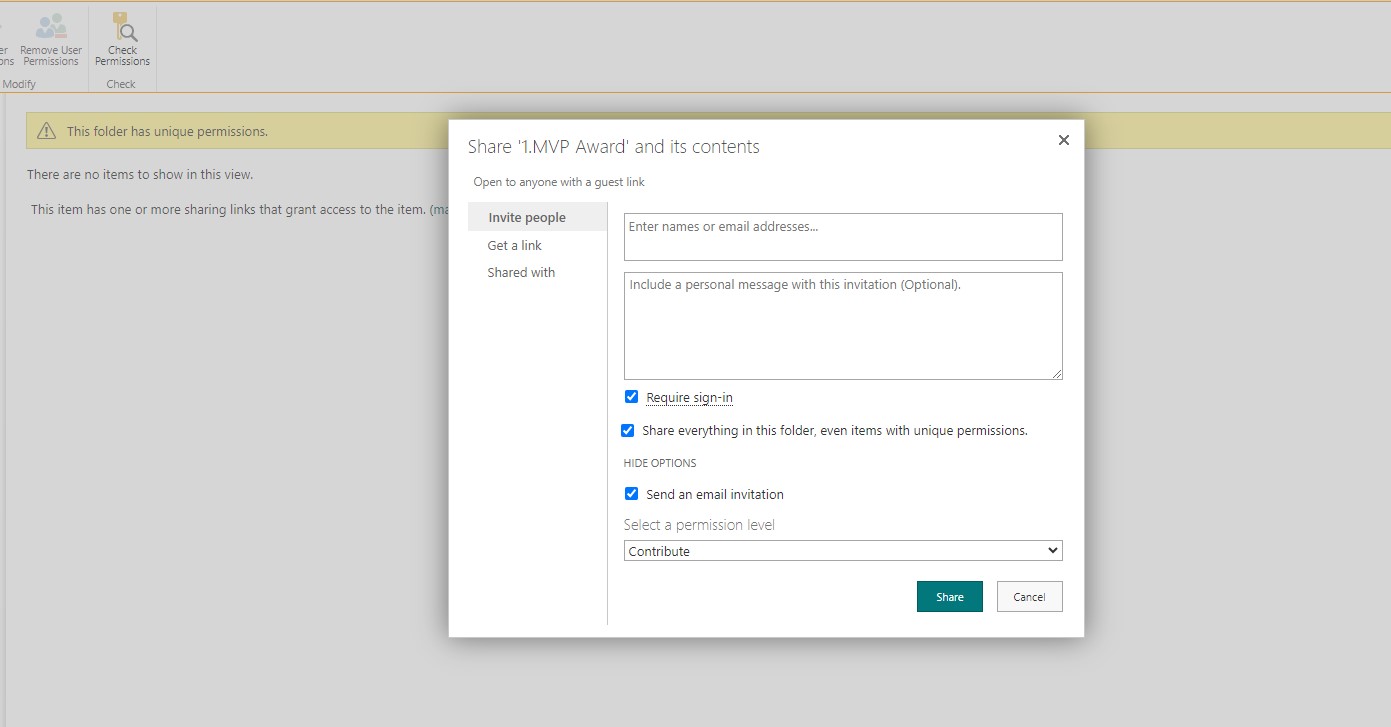
Of course, you can also choose whether you want to send mail to each user during the introduction.
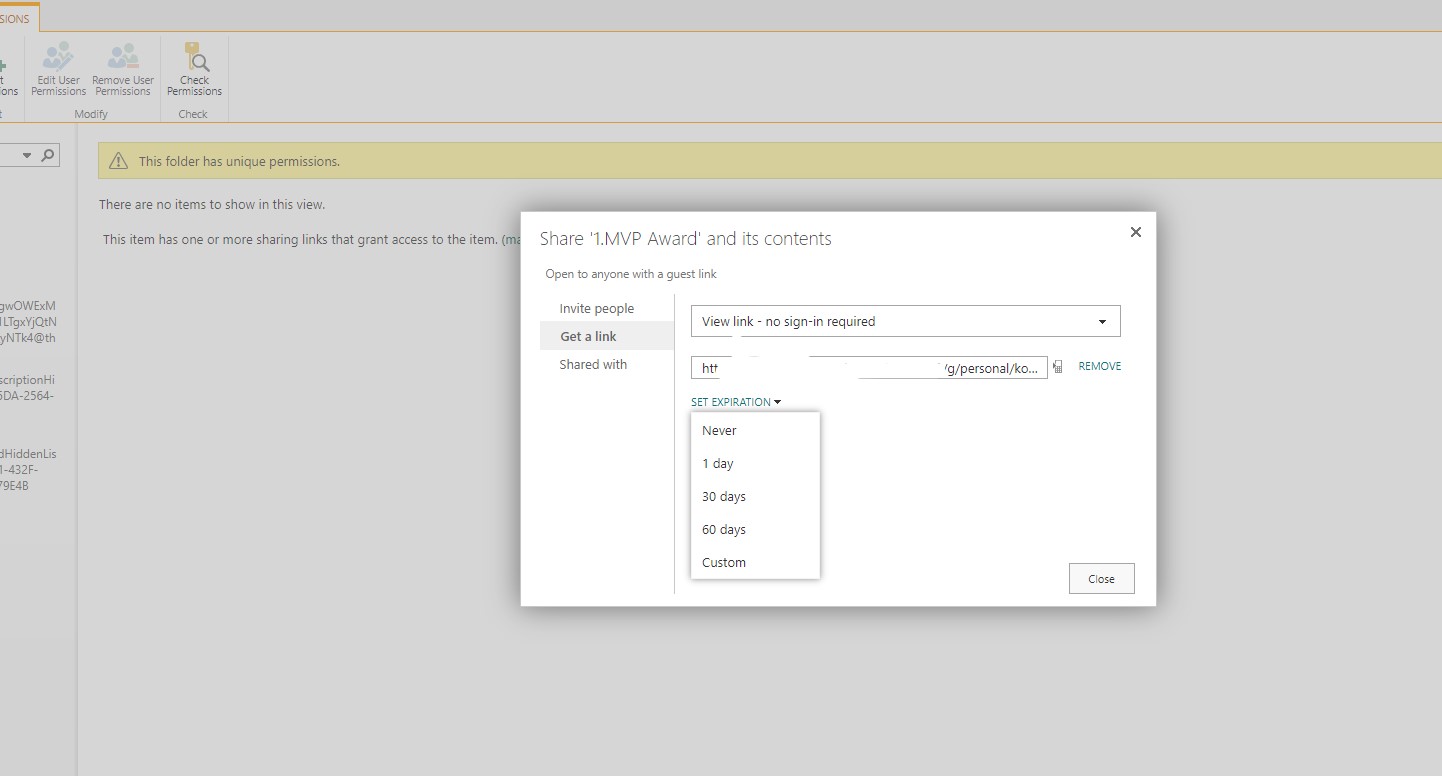
And of course, as I said, it also has an expiration date that you can add. As you can finally see, the options are the same but can be done in more than one way.
And here I would like to emphasize what we have been calling for several years now, the importance of the SharePoint role, which is the backbone for many of the M365 applications.
#ModerWork #M365_Apps_Services #BusinessApps #SharePoint #PowerAutomate #technology #microsoft #digitaltransformation #cloud #mvpbuzz #m365Visit Archives below to find more articles about Microsoft technologies on Modern Workplace