
Free Material
Find hereMore than 150 Articles about Microsoft Technologies on Modern Workplace
Official Site
Microsoft Most Valuable Professional M365 Apps & Services
Microsoft Most Valuable Professional Business Applications
Consultant & Sr Cloud Solution Architect Modern Wokrplace
Find hereMore than 150 Articles about Microsoft Technologies on Modern Workplace
14 September 2023
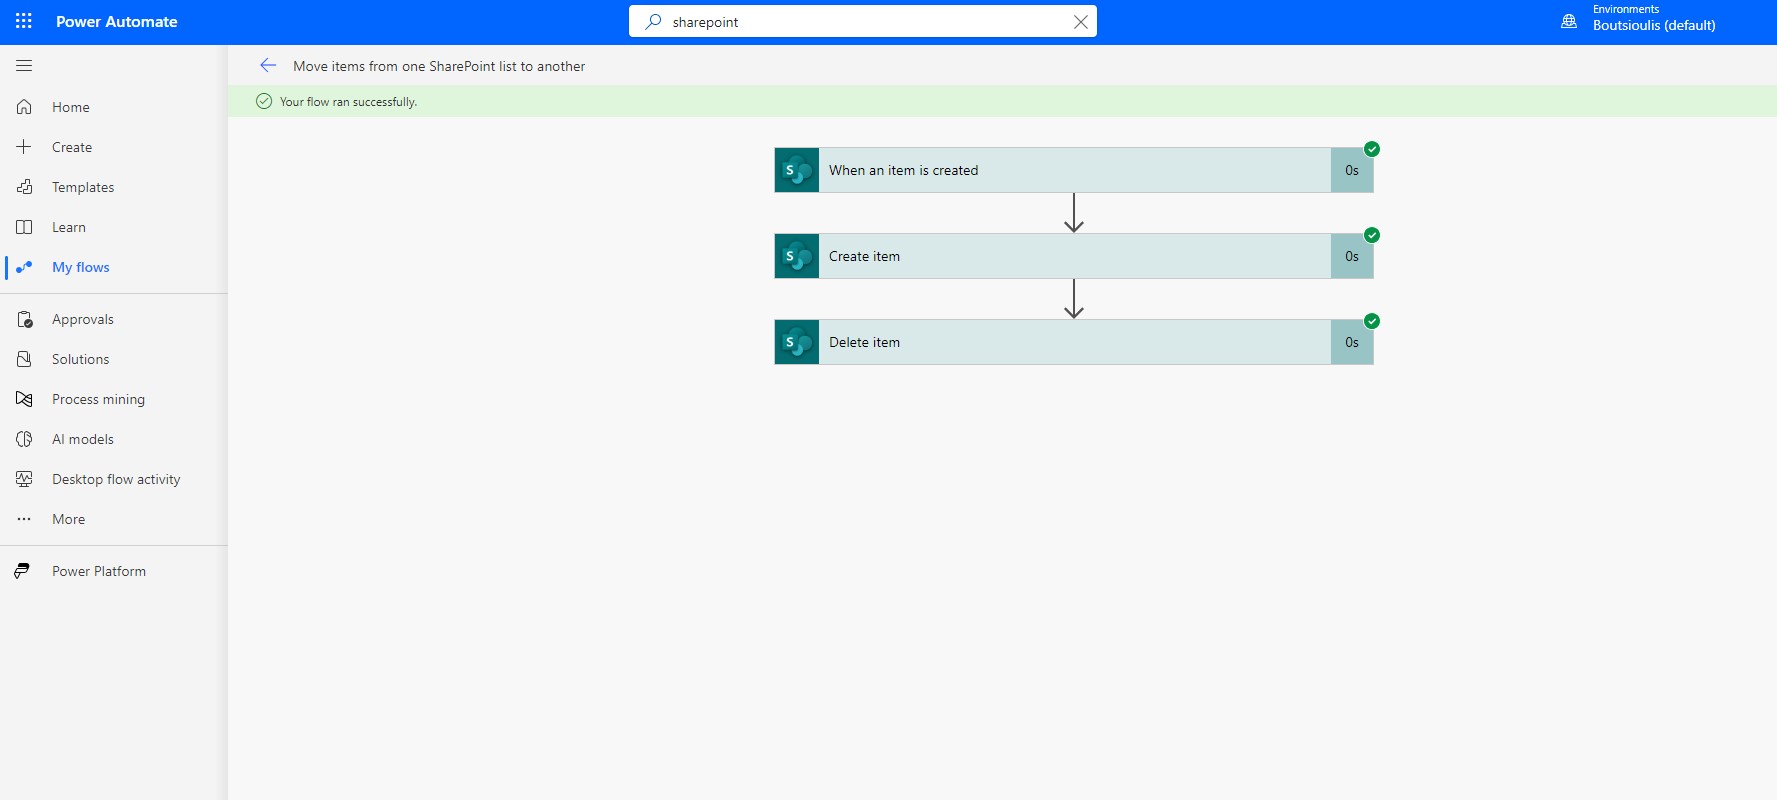
In today's article we will see how using power automate we can copy the items of a SharePoint list to another list and at the same time delete the item from the original list As I have mentioned in all the previous articles there must always be an active M365 subscription and from its home page from the left drop down menu select Power Automate

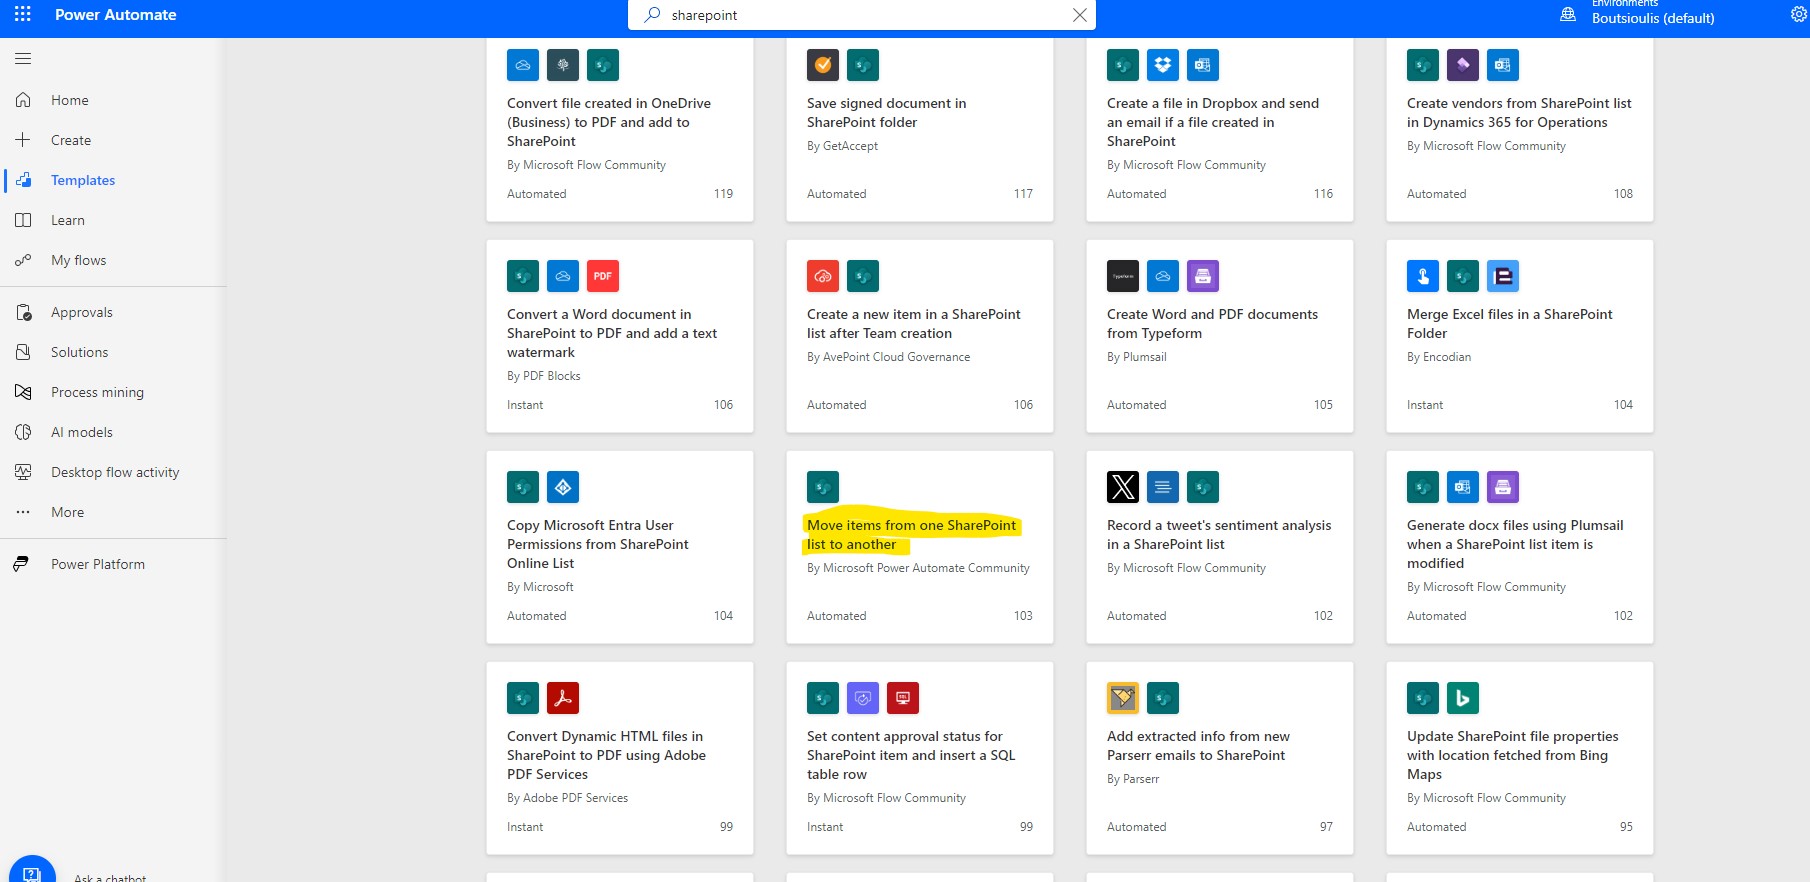
Then we have to select templates from the left popup menu and from the available templates we have to identify the one called Move Items from one SharePoint List to another
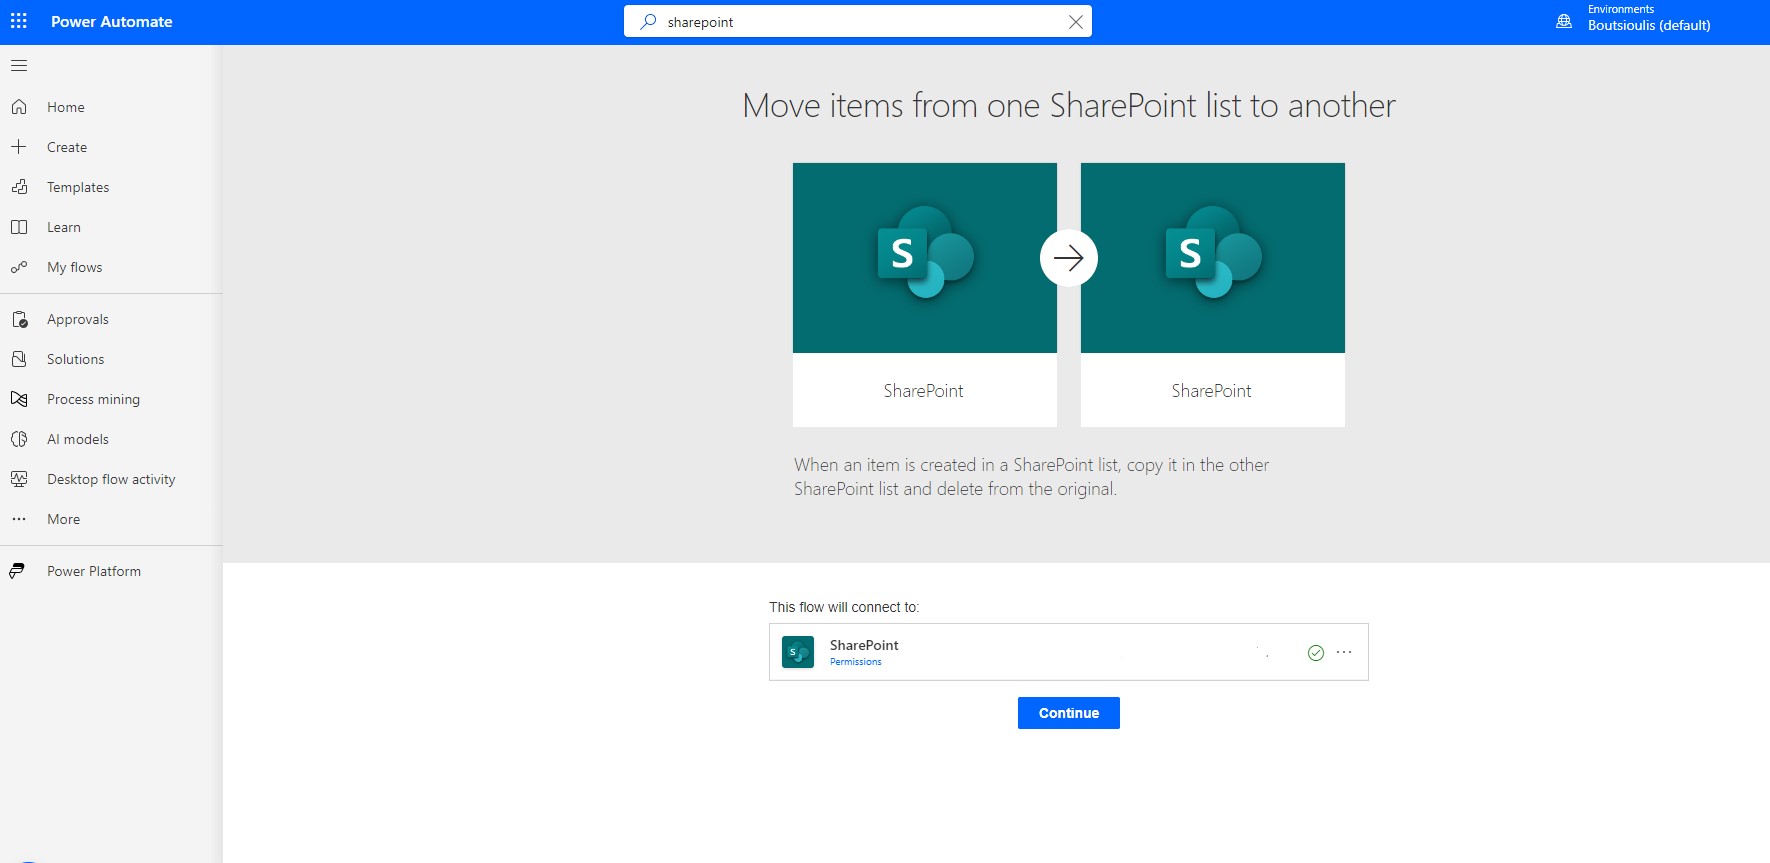
In the next screen we need to allow all the necessary connections and click continue
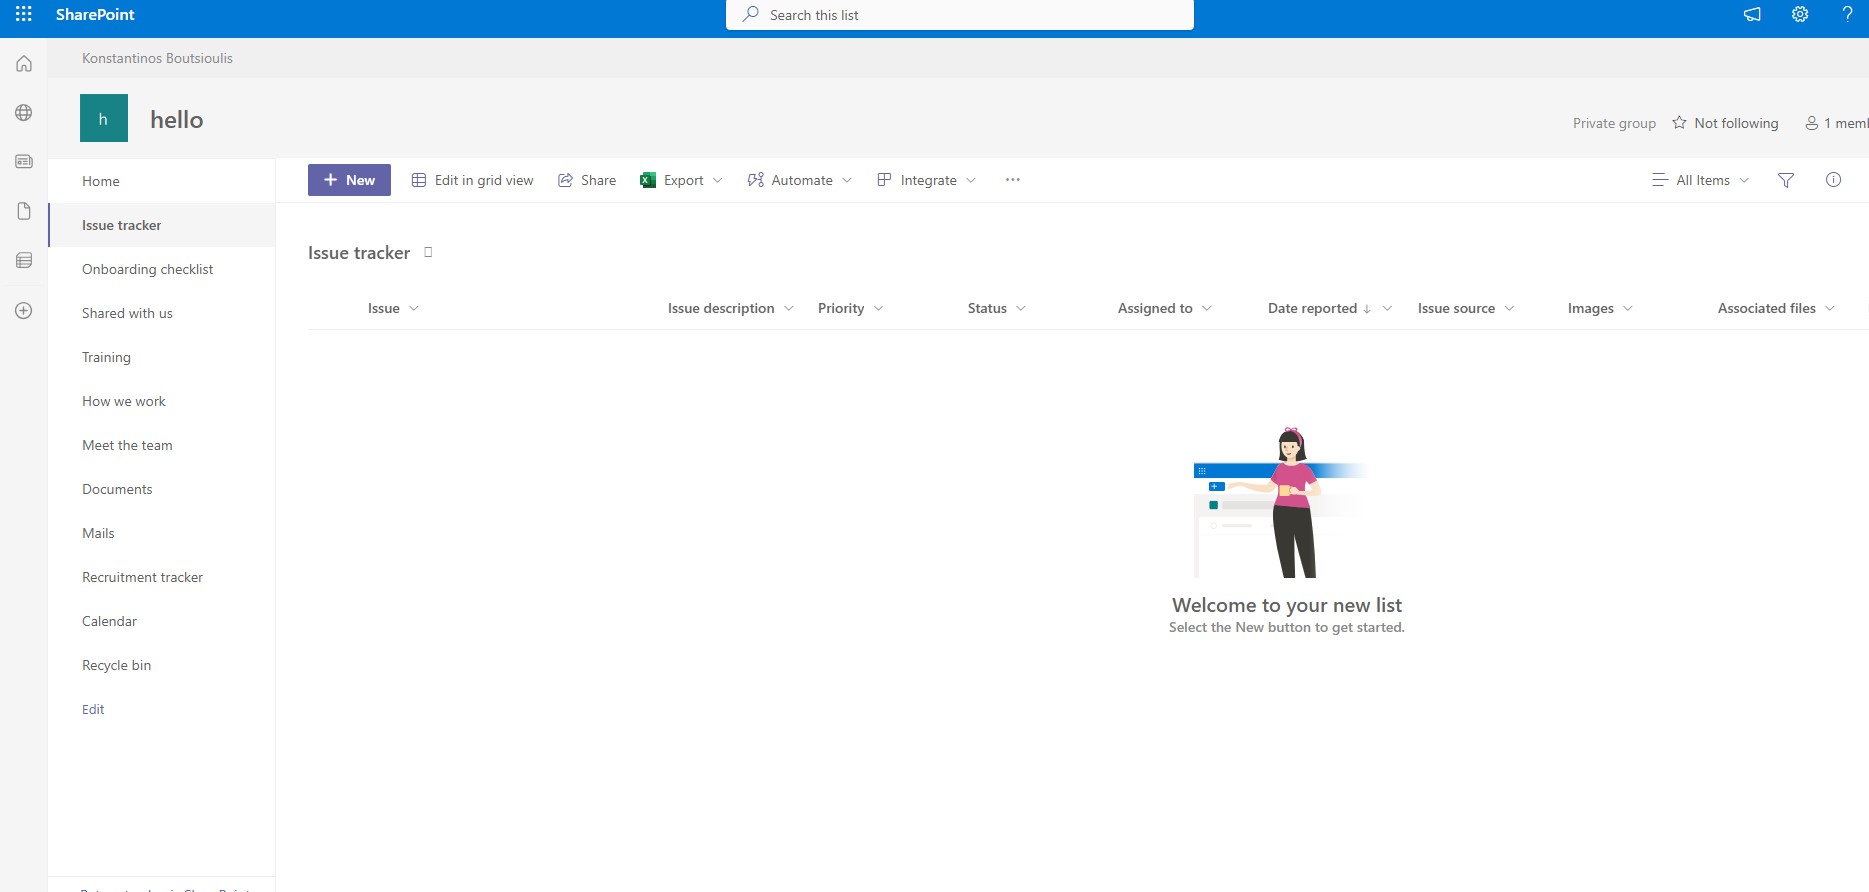
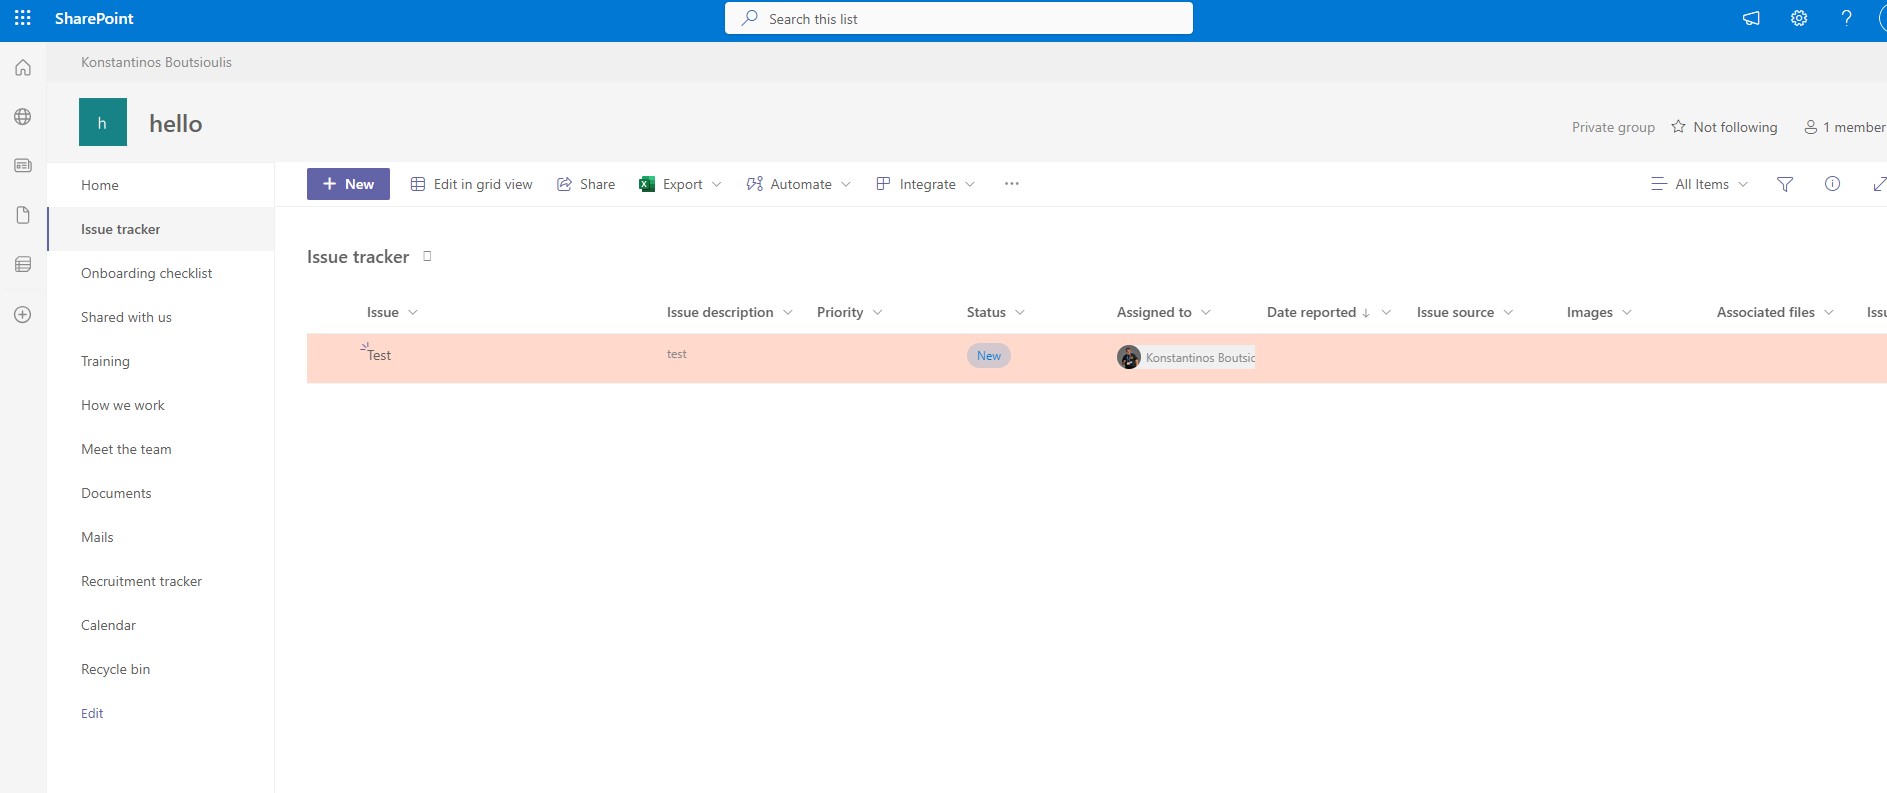
In the following picture you can see a list in SharePoint called issue tracker where we will create an item which will be copied directly to another list and deleted from this list
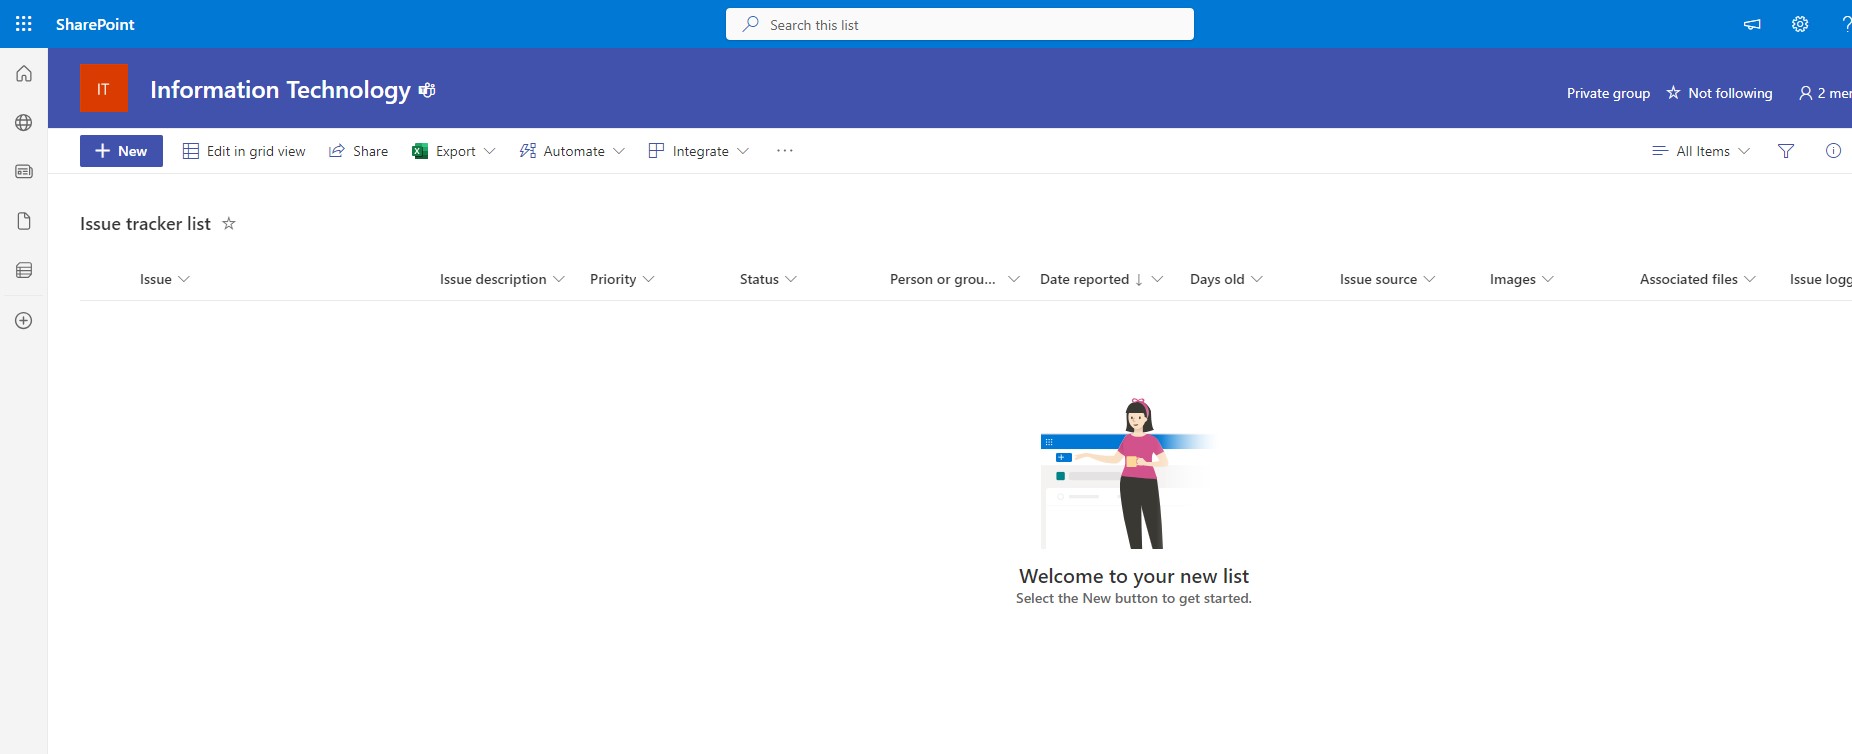
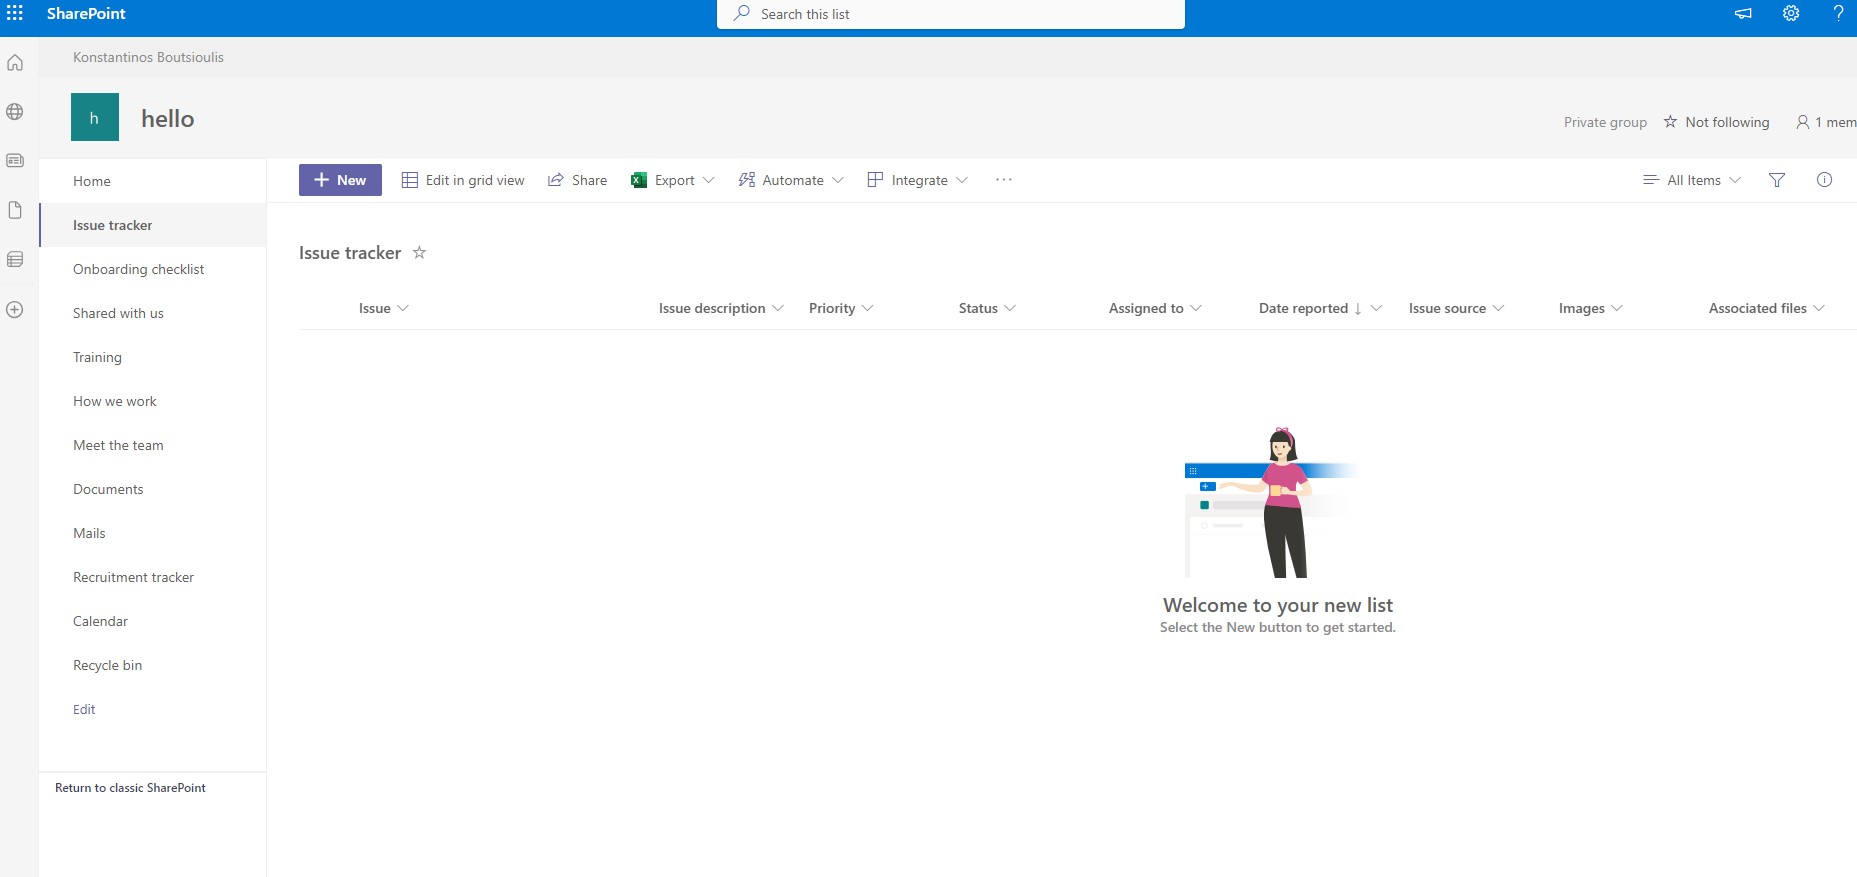
In the image below you can see a list in SharePoint called issue tracker where it will copy the original item we created in the original list
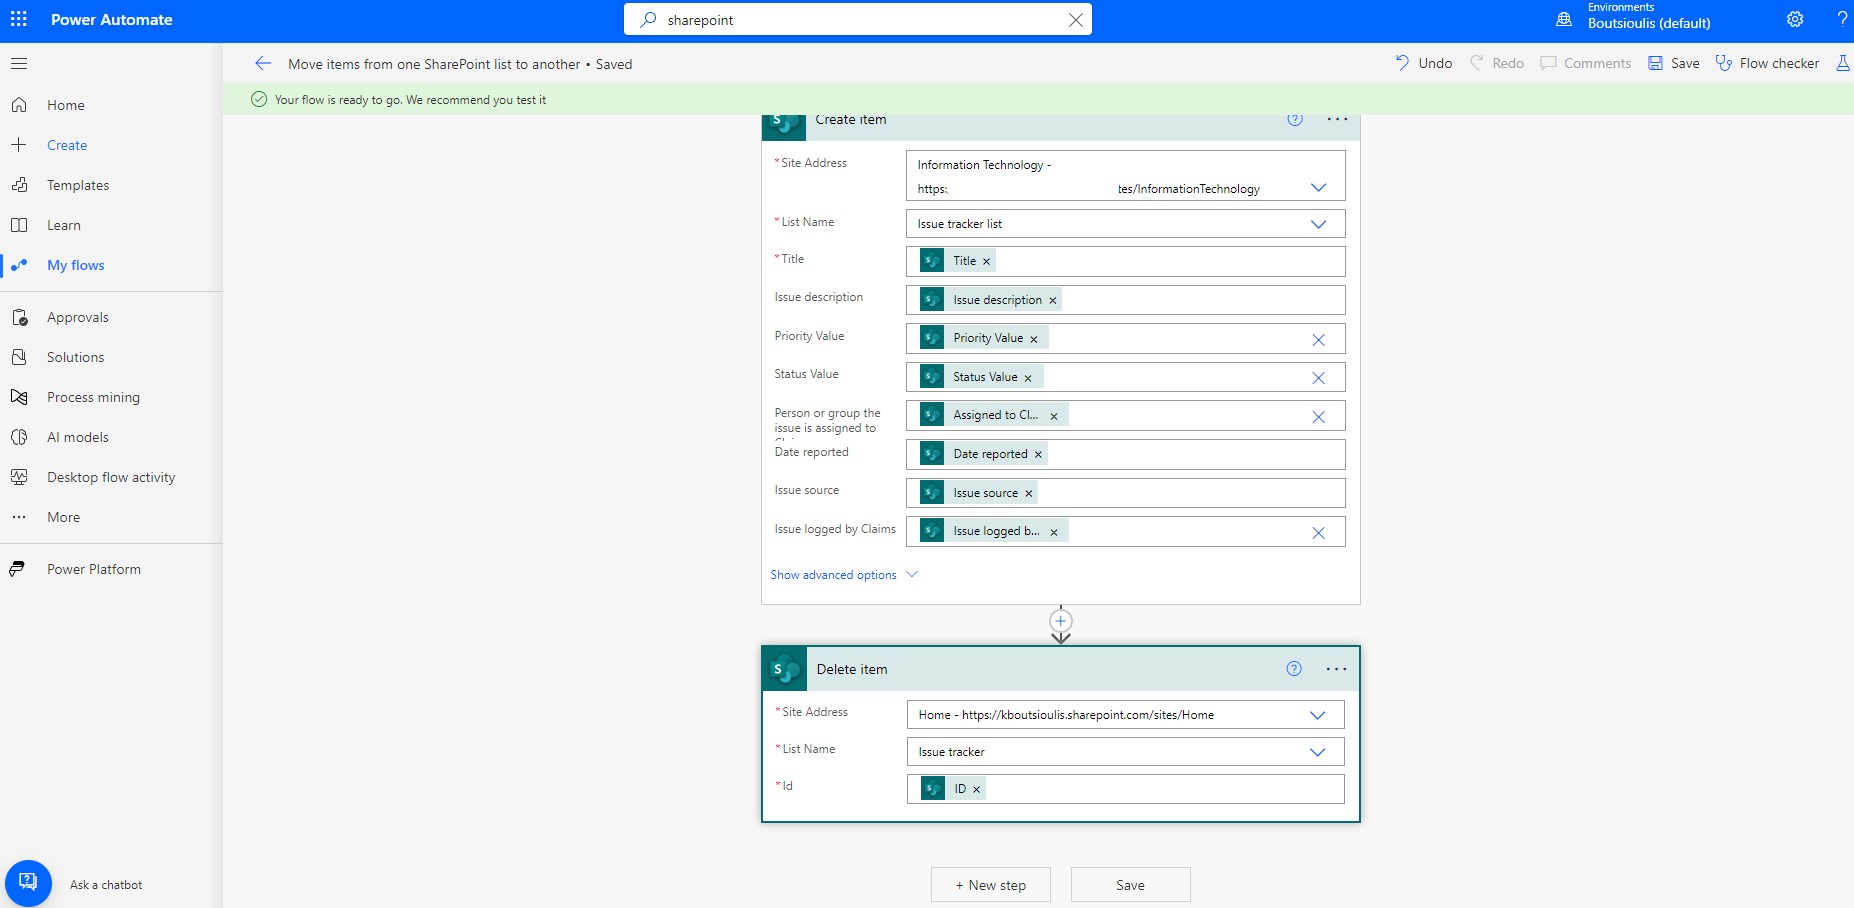
We return to our Power Automate and in the first action box we need to enter the items from the original list where we will create the items that will be transferred afterwards .We select site and the corresponding list
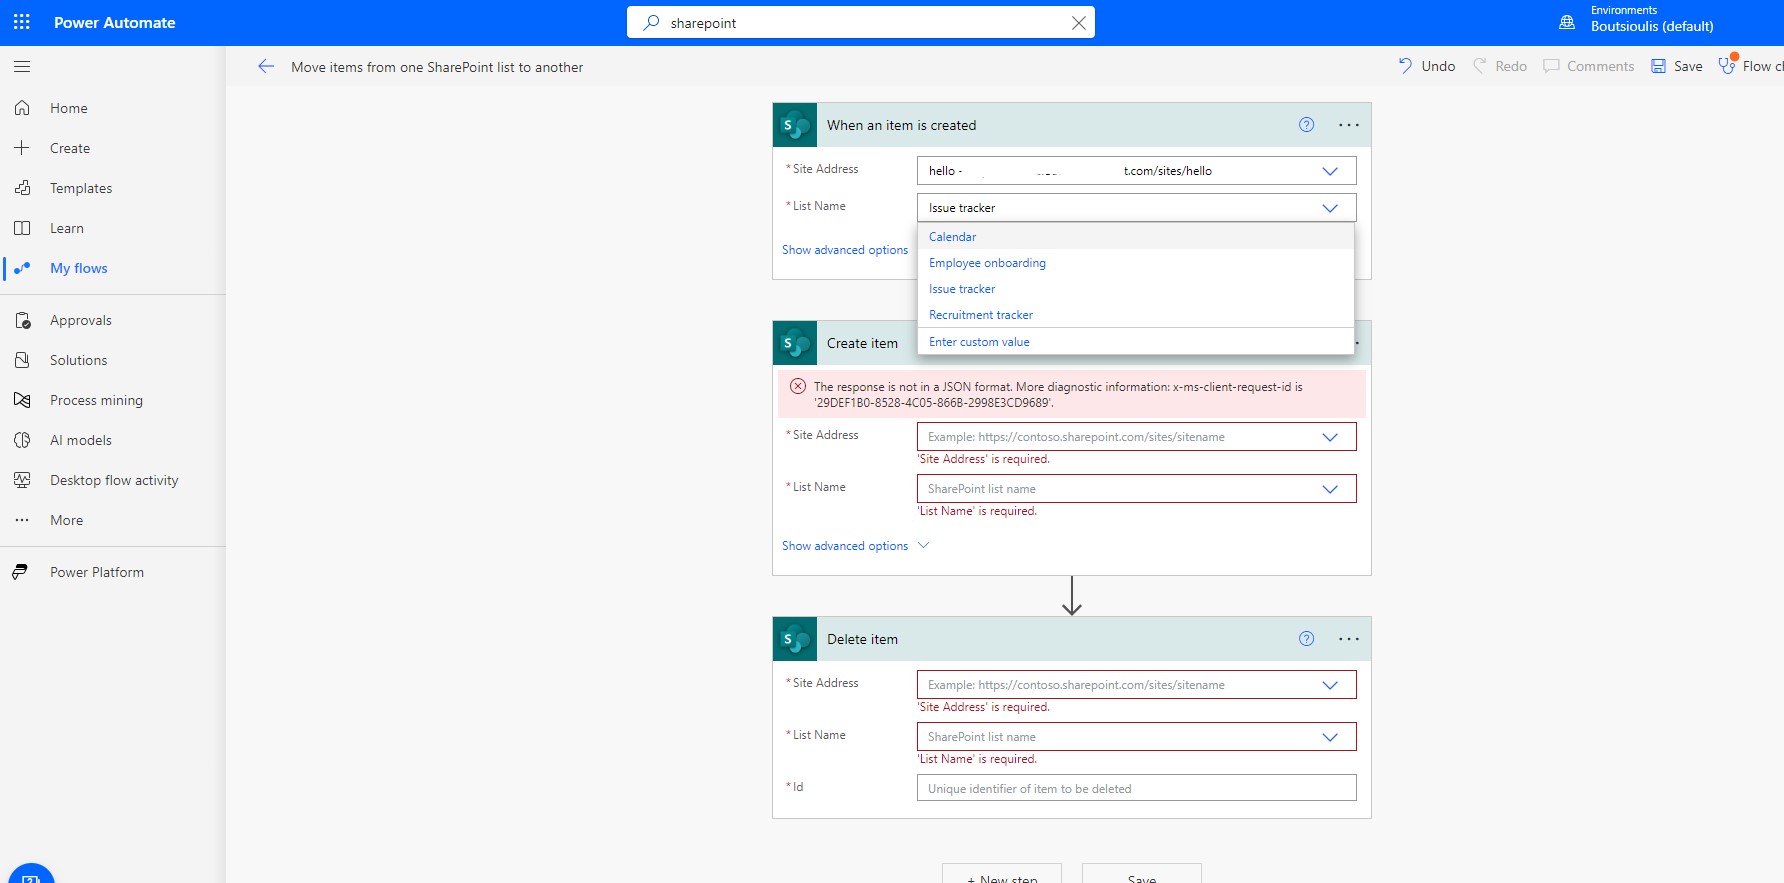
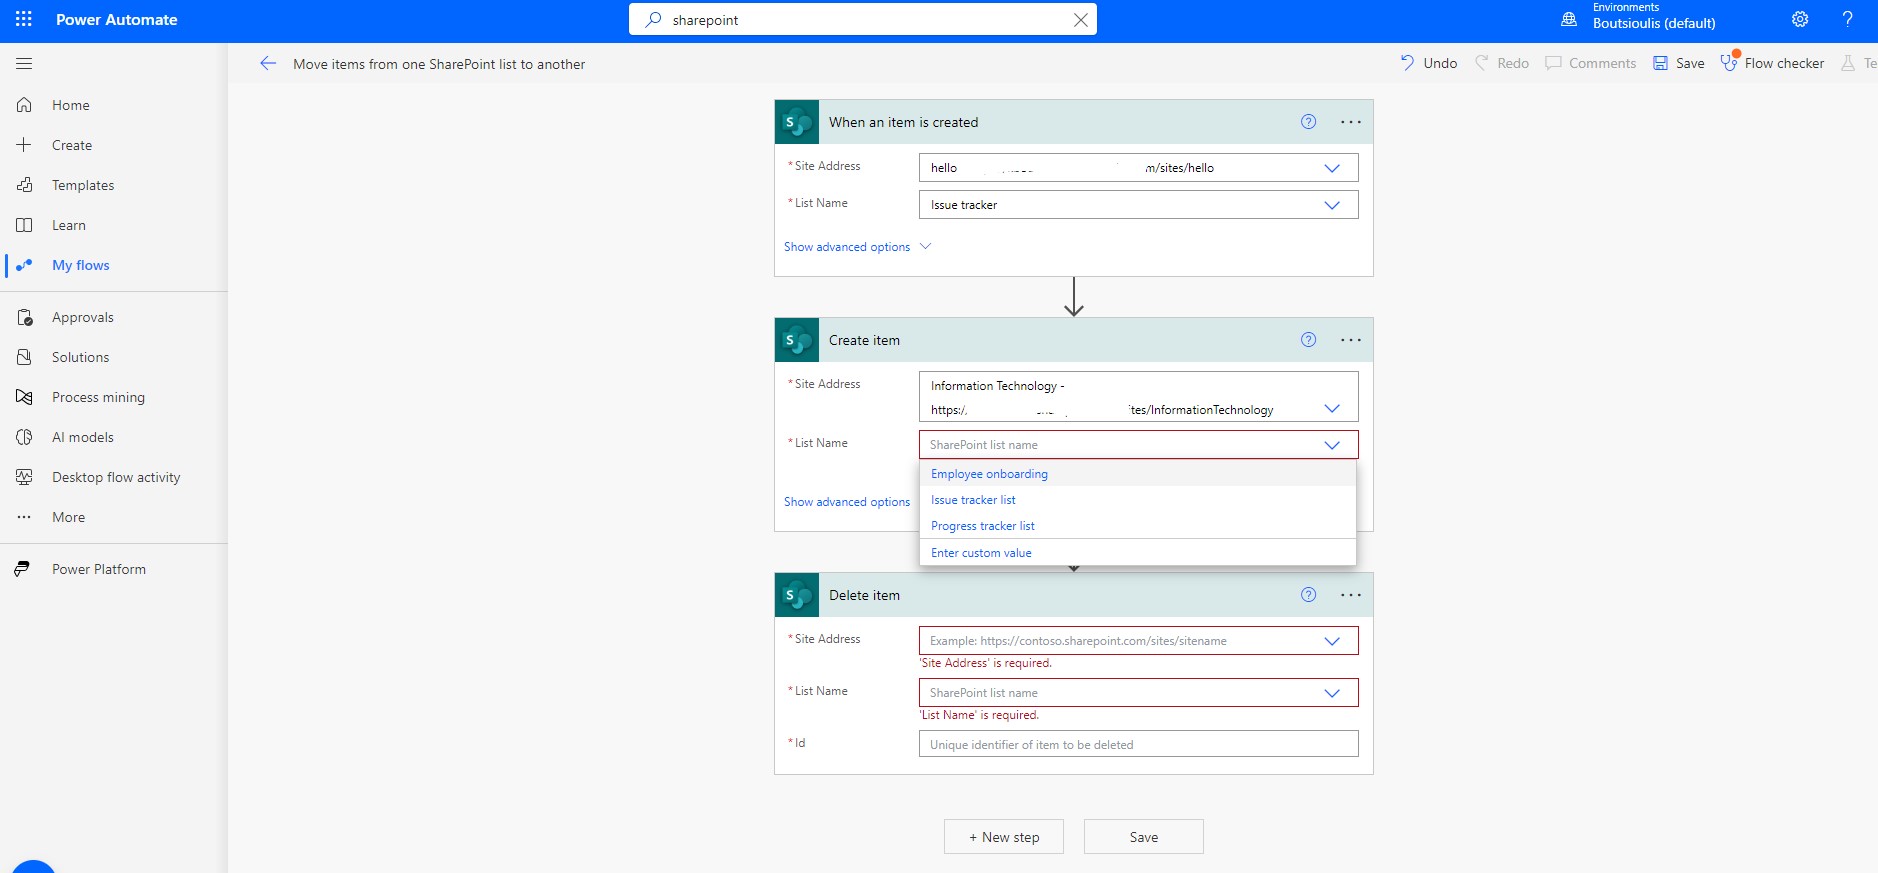
In the second action box we have to select the list where the items will be transferred and so we enter the address of the site and the name of the list that will host all the original items from the first list
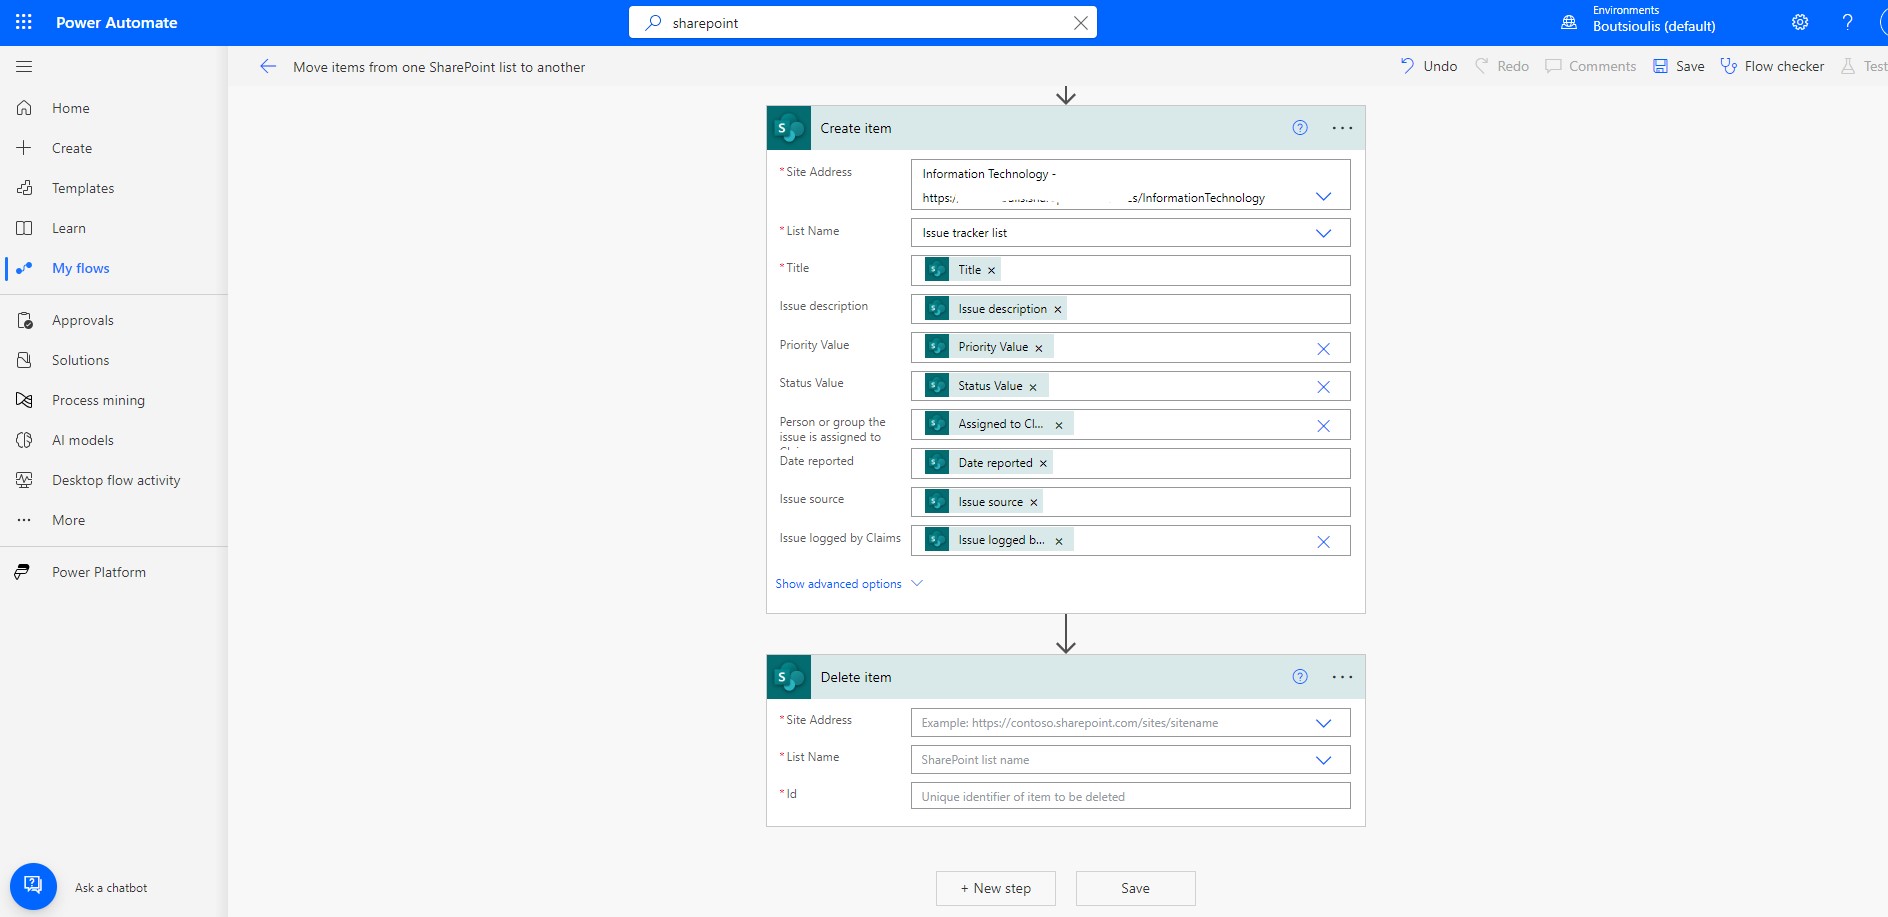
At the same time I would like to point out that when creating this new item in the list where the items will end up I have to add all the items of the original item as I can dynamically extract them from the dropdown menu I have in power automate as shown in the image below
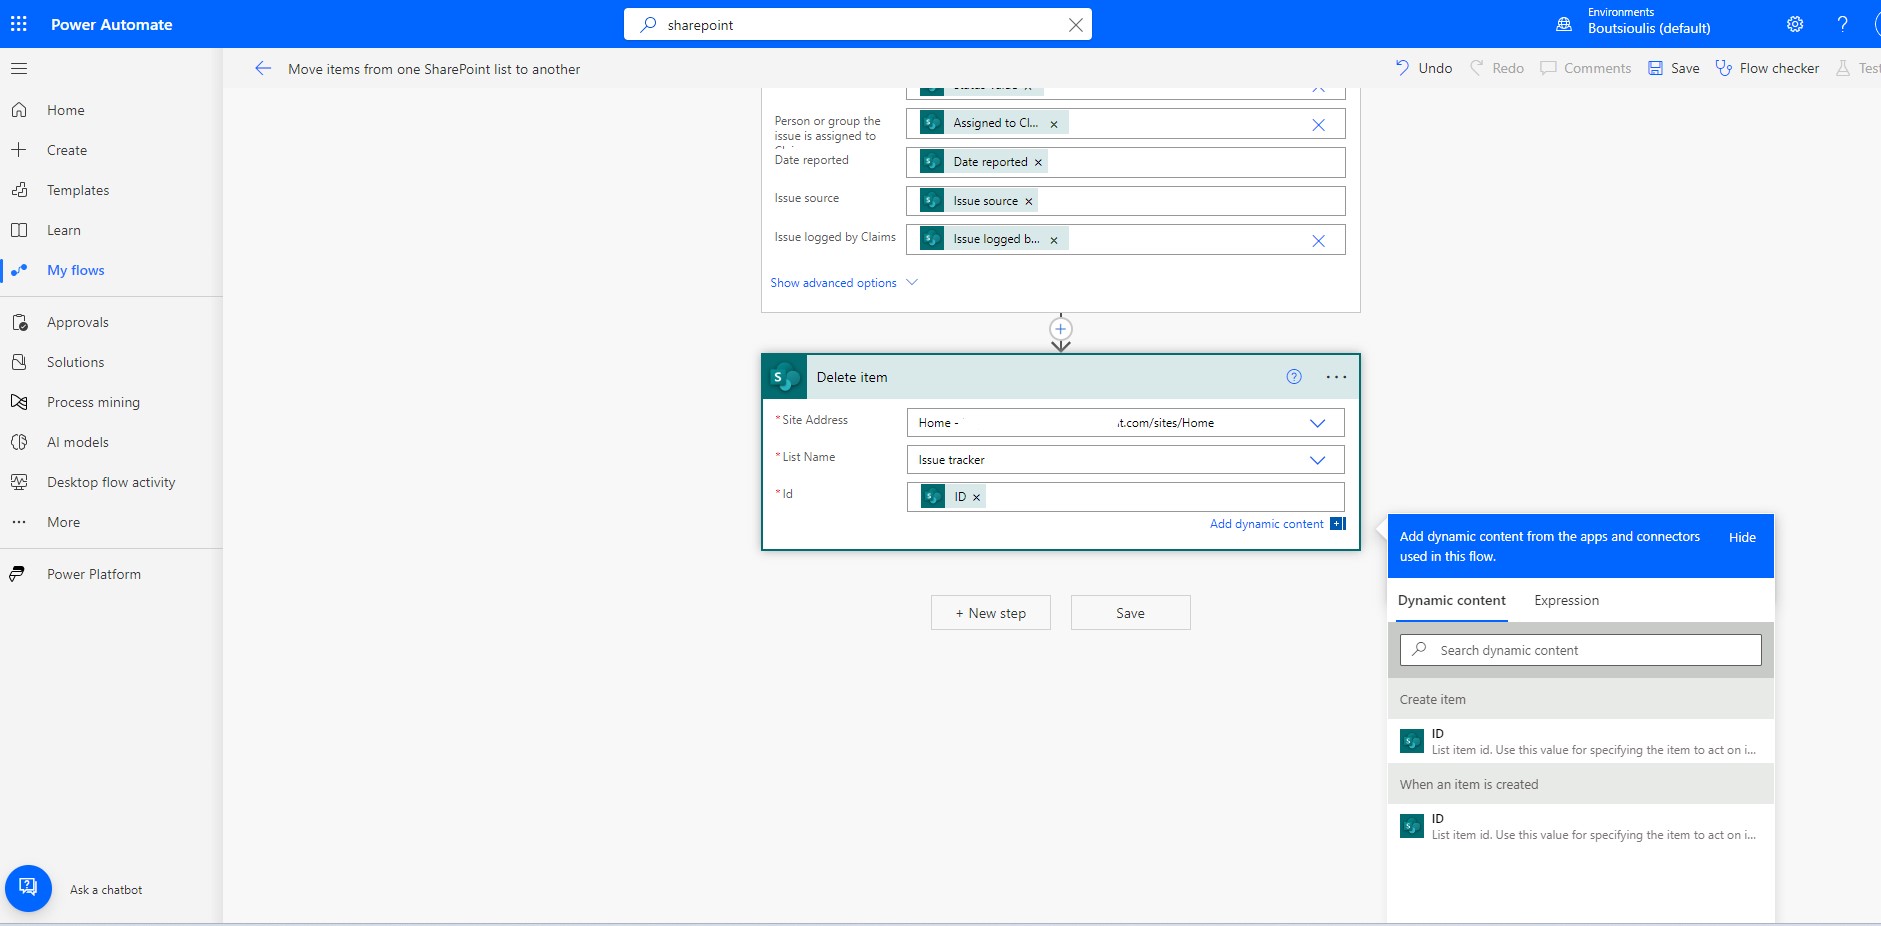
In the next step we have to select again from the dynamic content the id of the item in the original list so that we can delete this item from our original list
In the next step we have to save our automate . It is generally a good idea to save also during the creation of your automate because when it comes to complex or compound automates to avoid the loss of work from external factors
In the next step we will have to test the proper functioning of our automate manually by creating a new item in the initial list
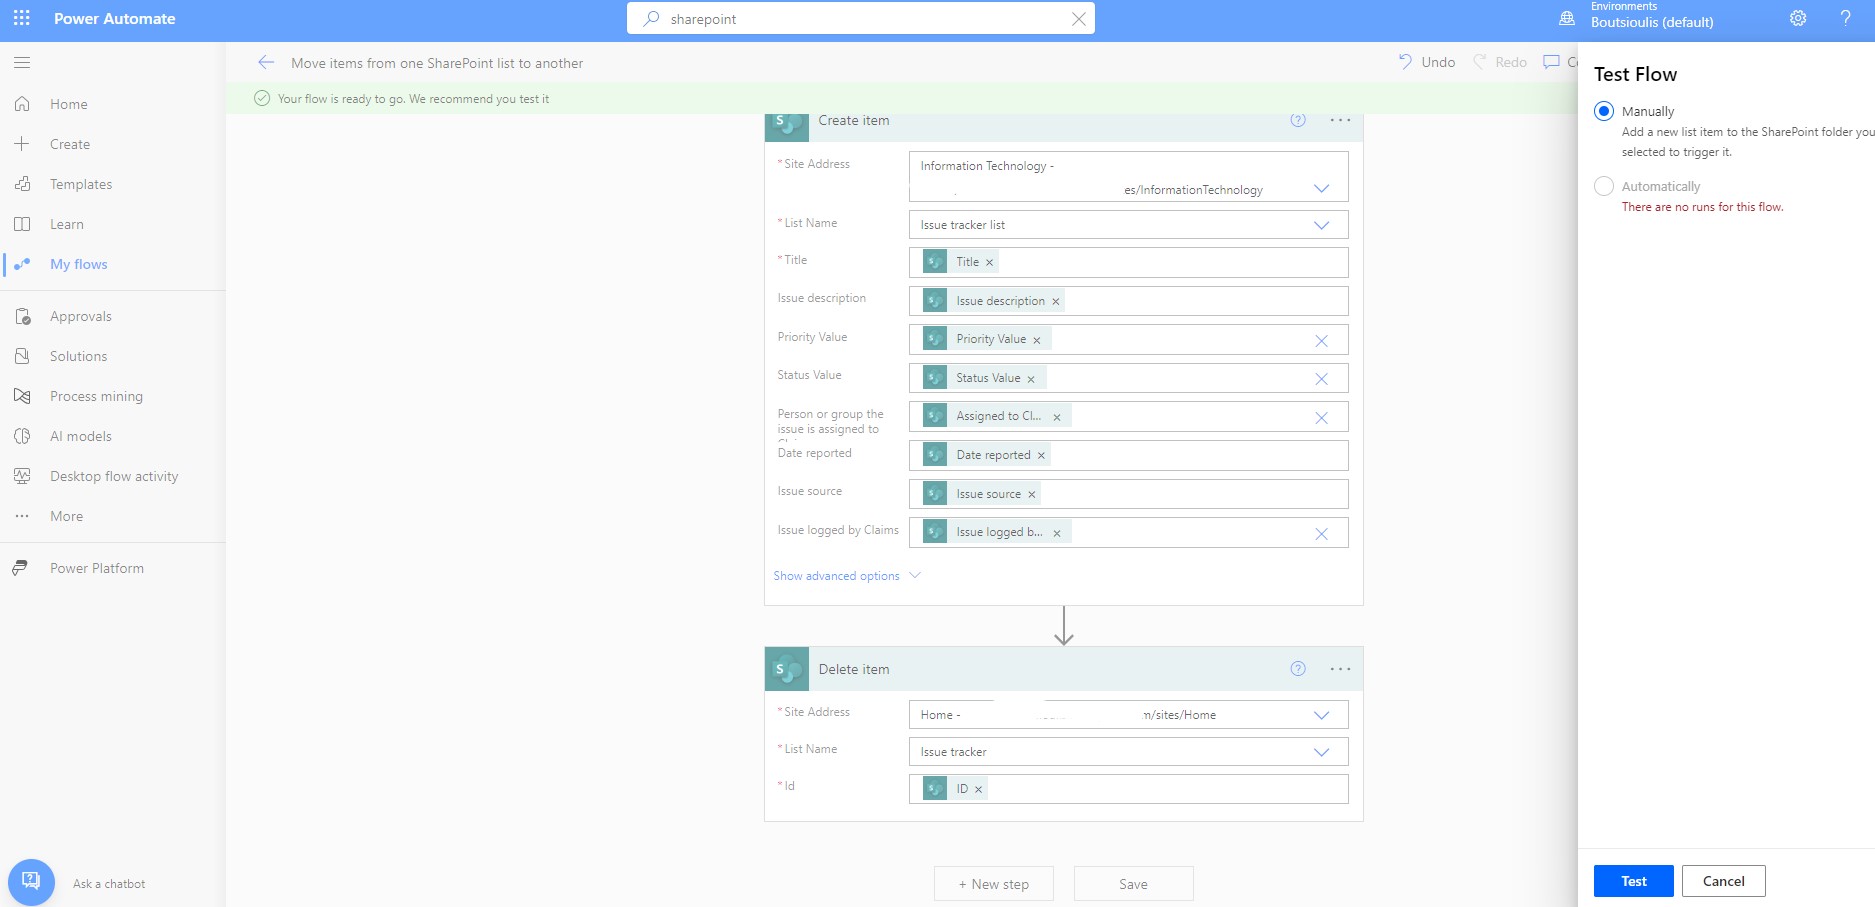
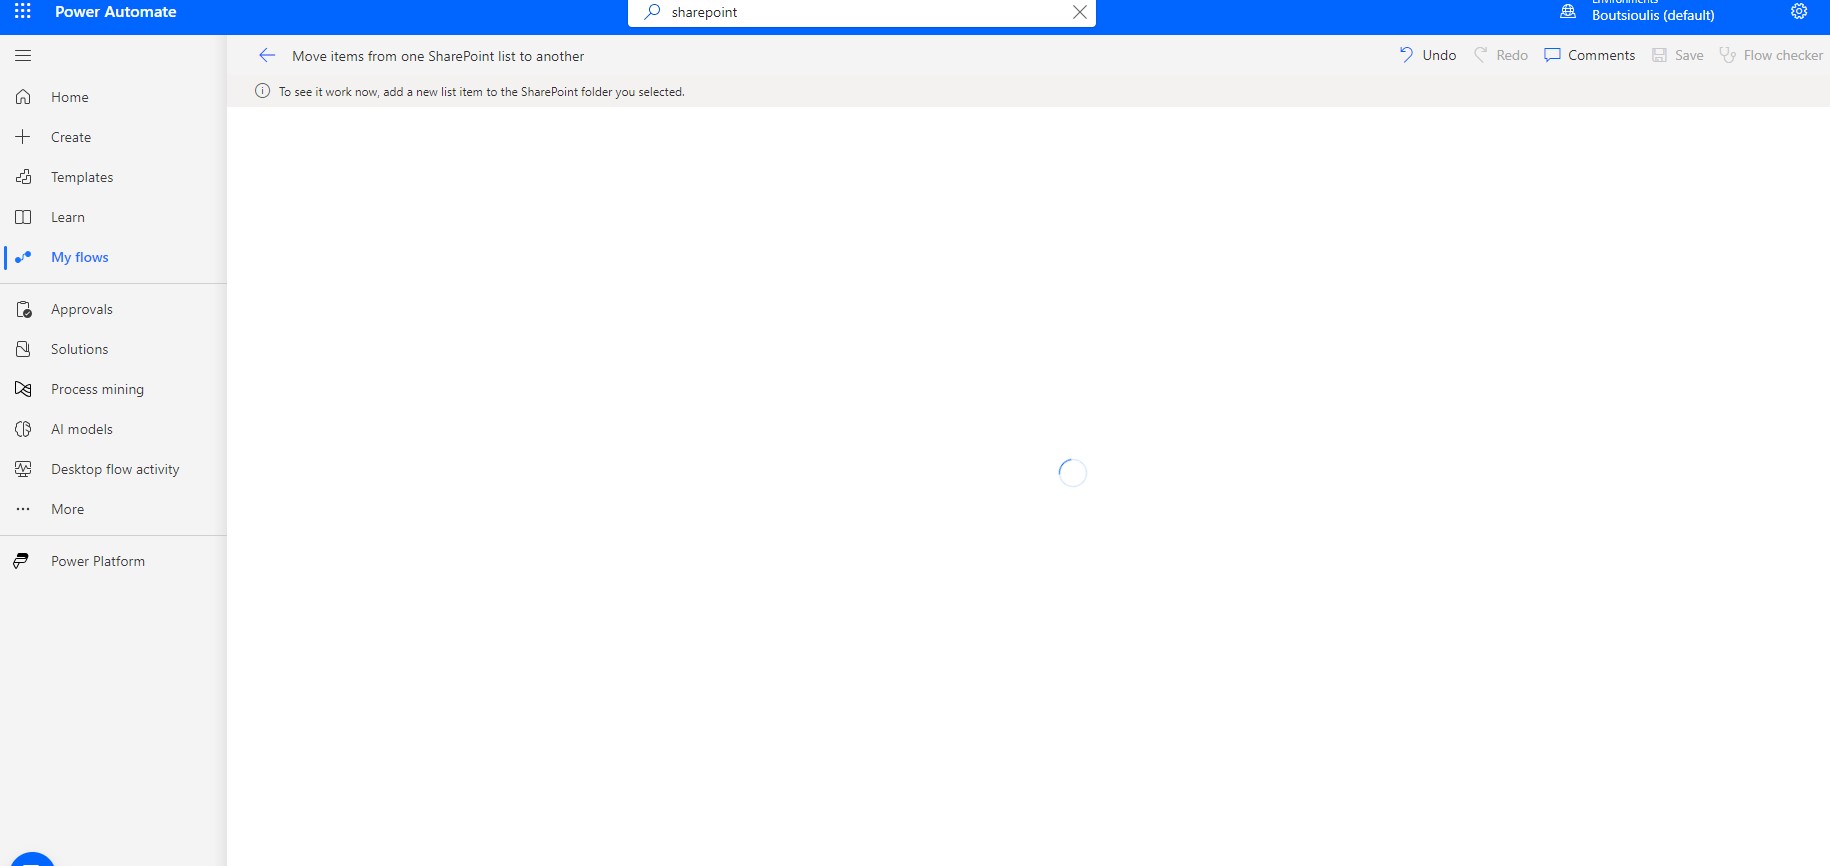
The automate waits until a new item is created
We return to the original list and click on new where in the right side form we fill in the details of the new item
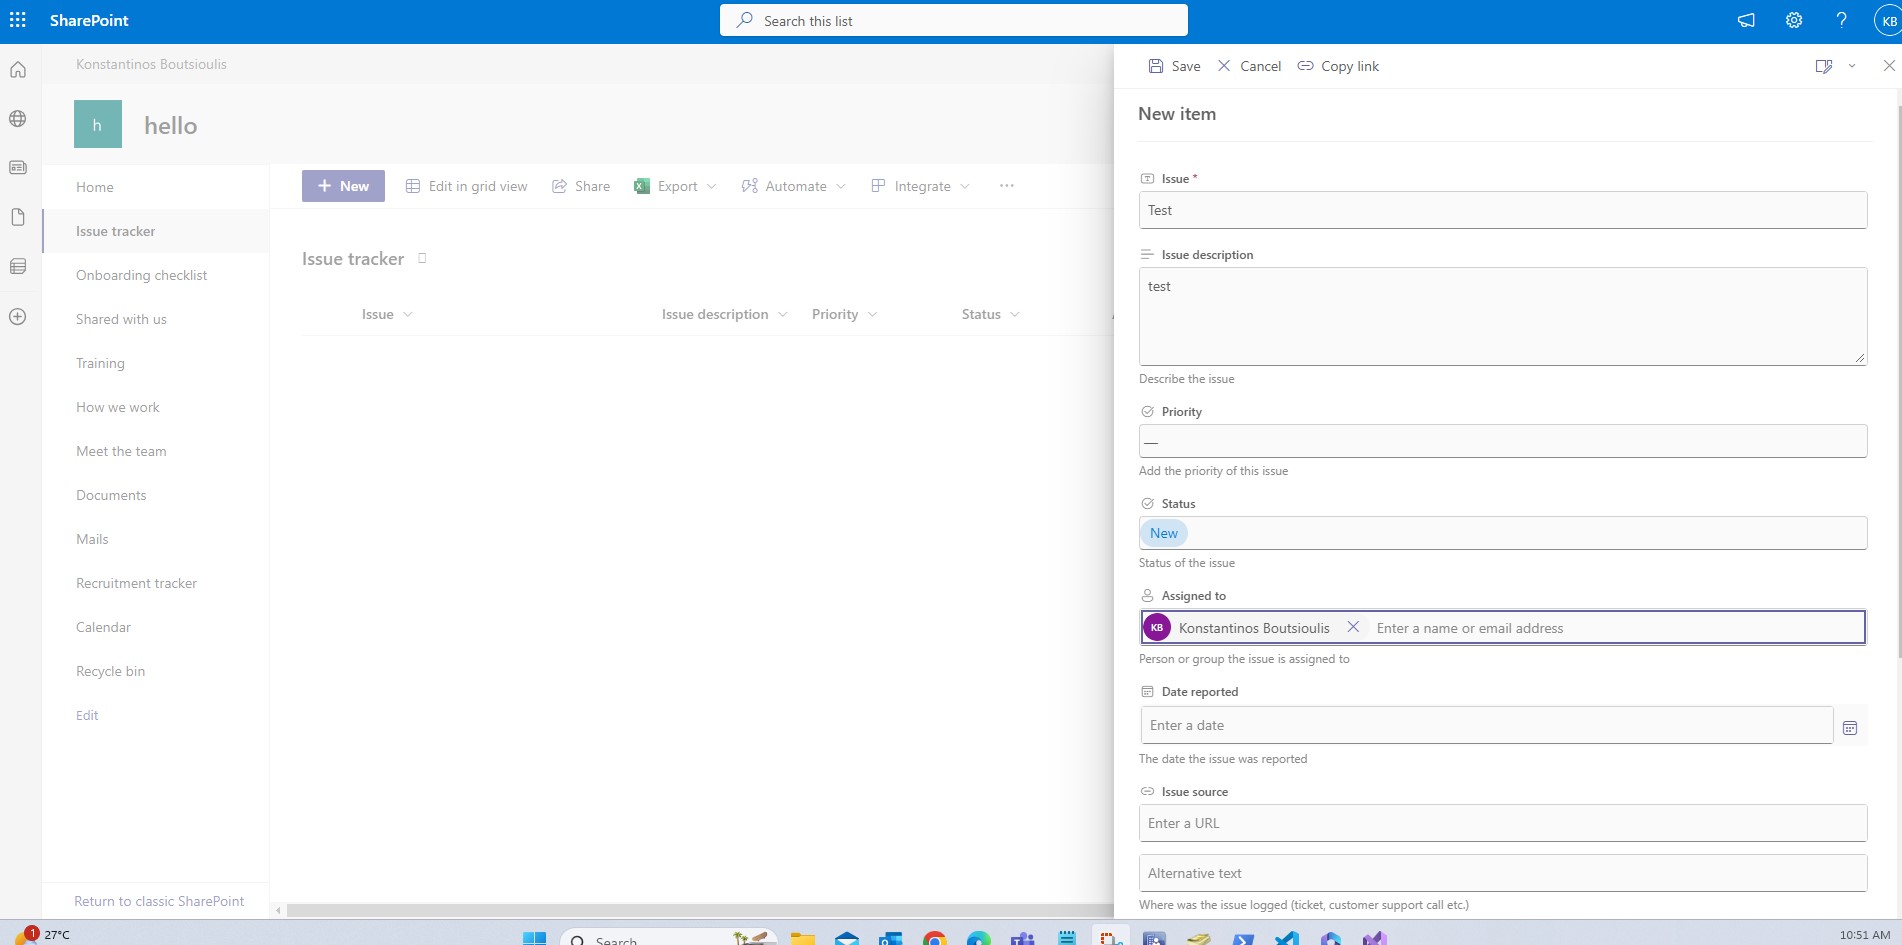
And as you can see the item has been successfully created
We return back to the power automate and find that the check was executed without any absolute problem . Now we need to check that the new Item we created has been copied to the new list and that it has been deleted from the original list
We go to the second list and see that the item was created .I would like you to pay a little attention to the field that I did not fill in during the initial entry in the days old passed the default date and that is why it passed such a large number

We return to the original list and see that the item has been deleted.
This procedure is particularly important if one wishes to keep an original list of requests with a small number of requests while at the same time these requests are transferred to other lists which may be archived or backed up. However, for such a process to take place, an approval must also be provided. It is important to know the basic operation of automates and then with imagination and a good knowledge of the subject to proceed to more complex and sophisticated automations.
#technology #microsoft #PowerApps #PowerAutomates #digitaltransformation #cloud #mvpbuzz #m365 #SharePointVisit Archives below to find more articles about Microsoft technologies on Modern Workplace