
Free Material
Find hereMore than 150 Articles about Microsoft Technologies on Modern Workplace
Official Site
Microsoft Most Valuable Professional M365 Apps & Services
Microsoft Most Valuable Professional Business Applications
Consultant & Sr Cloud Solution Architect Modern Wokrplace
Find hereMore than 150 Articles about Microsoft Technologies on Modern Workplace
8 November 2024
In today's article, we will see how to use Design Manager in a site in a classic experience site in SharePoint.
First, from our active subscription, we log into M365 and navigate to SharePoint on a page that is of the classic experience type.

In the next step, we need to select the gear icon at the top right and then choose "Site Settings."
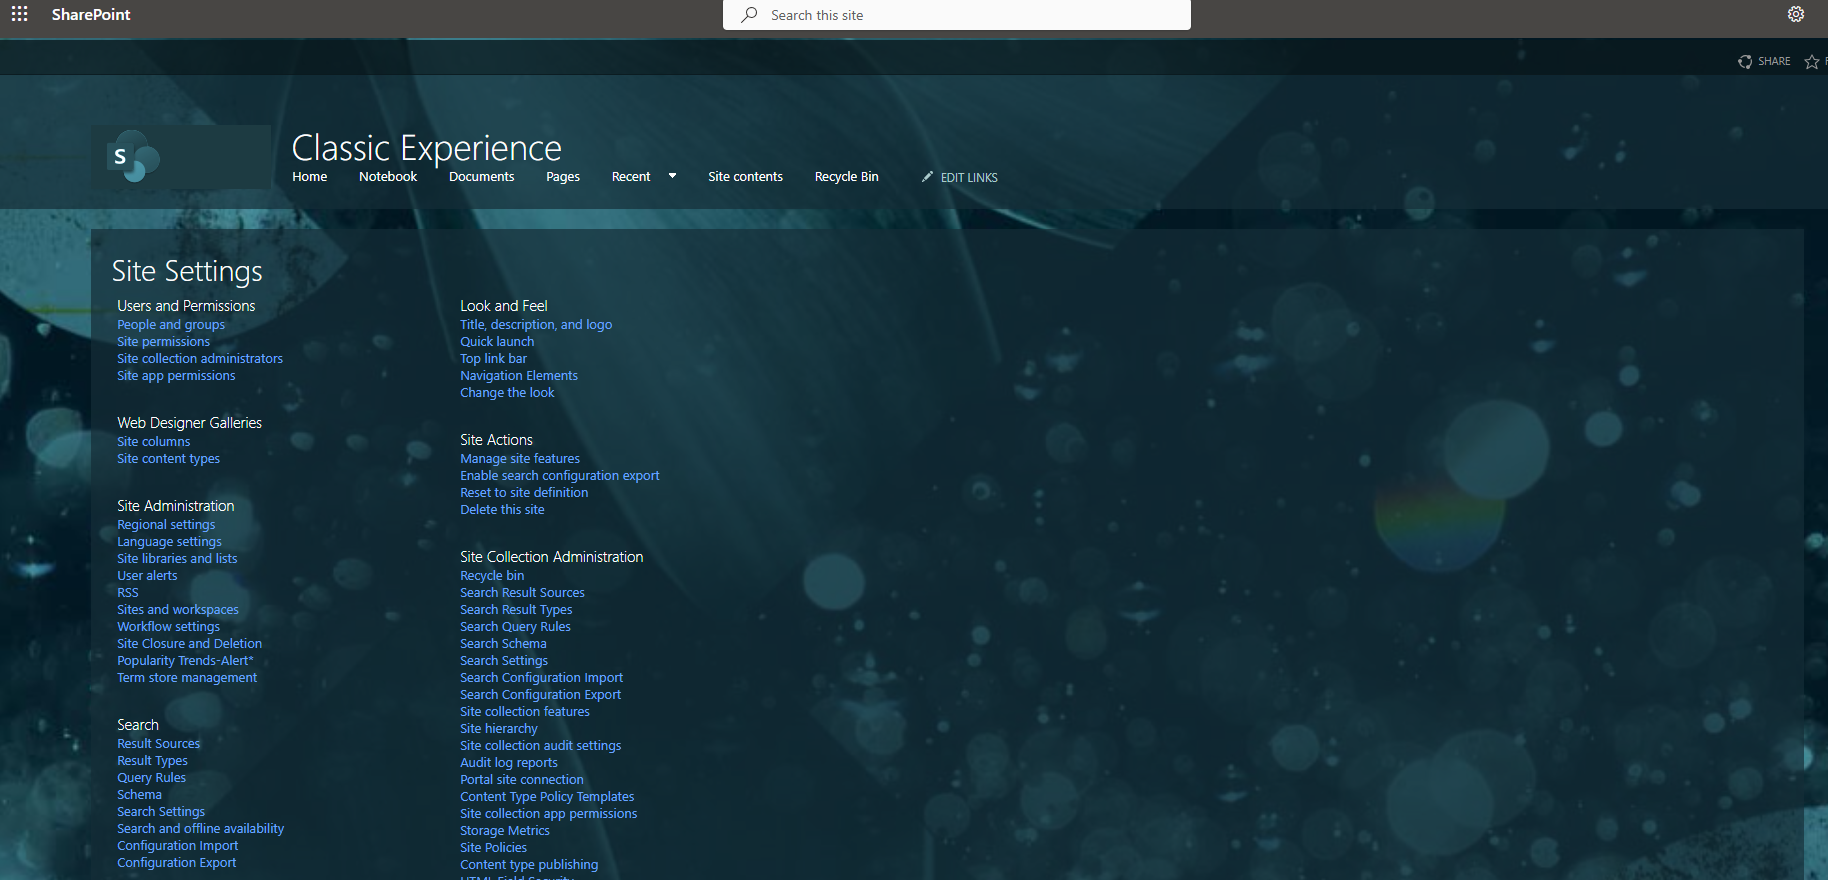
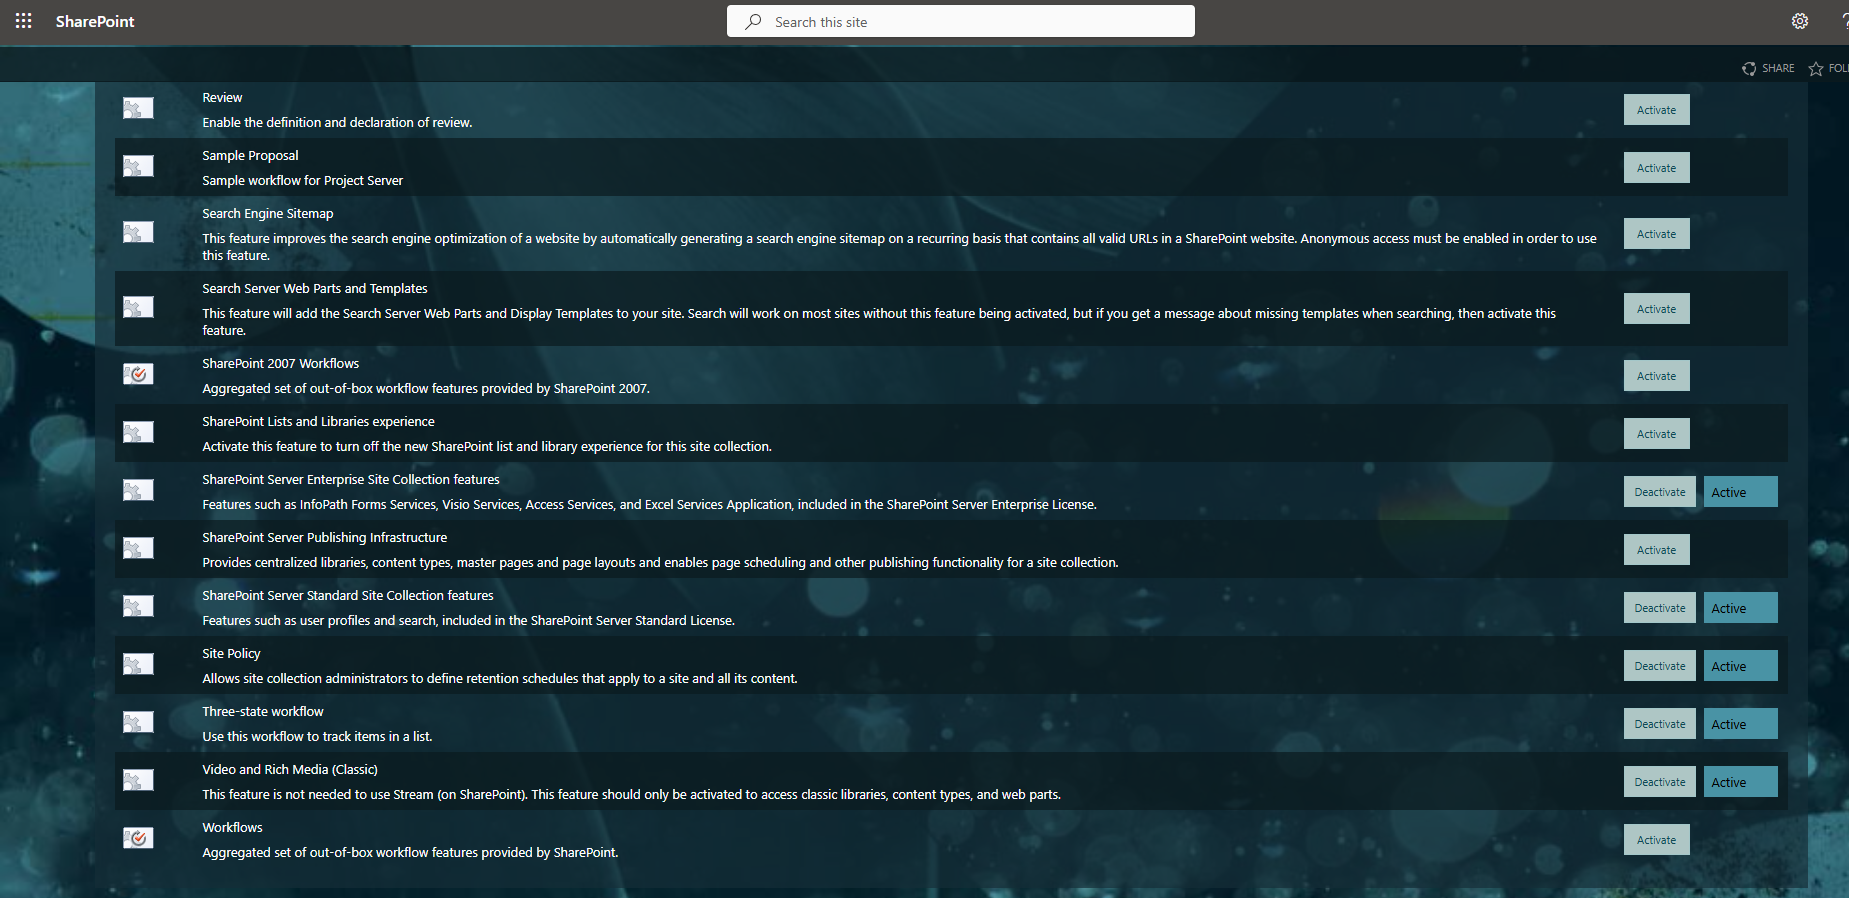
As you can see, I don't have any option for the Design Manager, which means it hasn't been activated. To activate the Design Manager, we first need to enable the feature at the site collection level. So, from the site collection features, we navigate to the page with the available features and locate the SharePoint Server Publishing Infrastructure, then select activate.
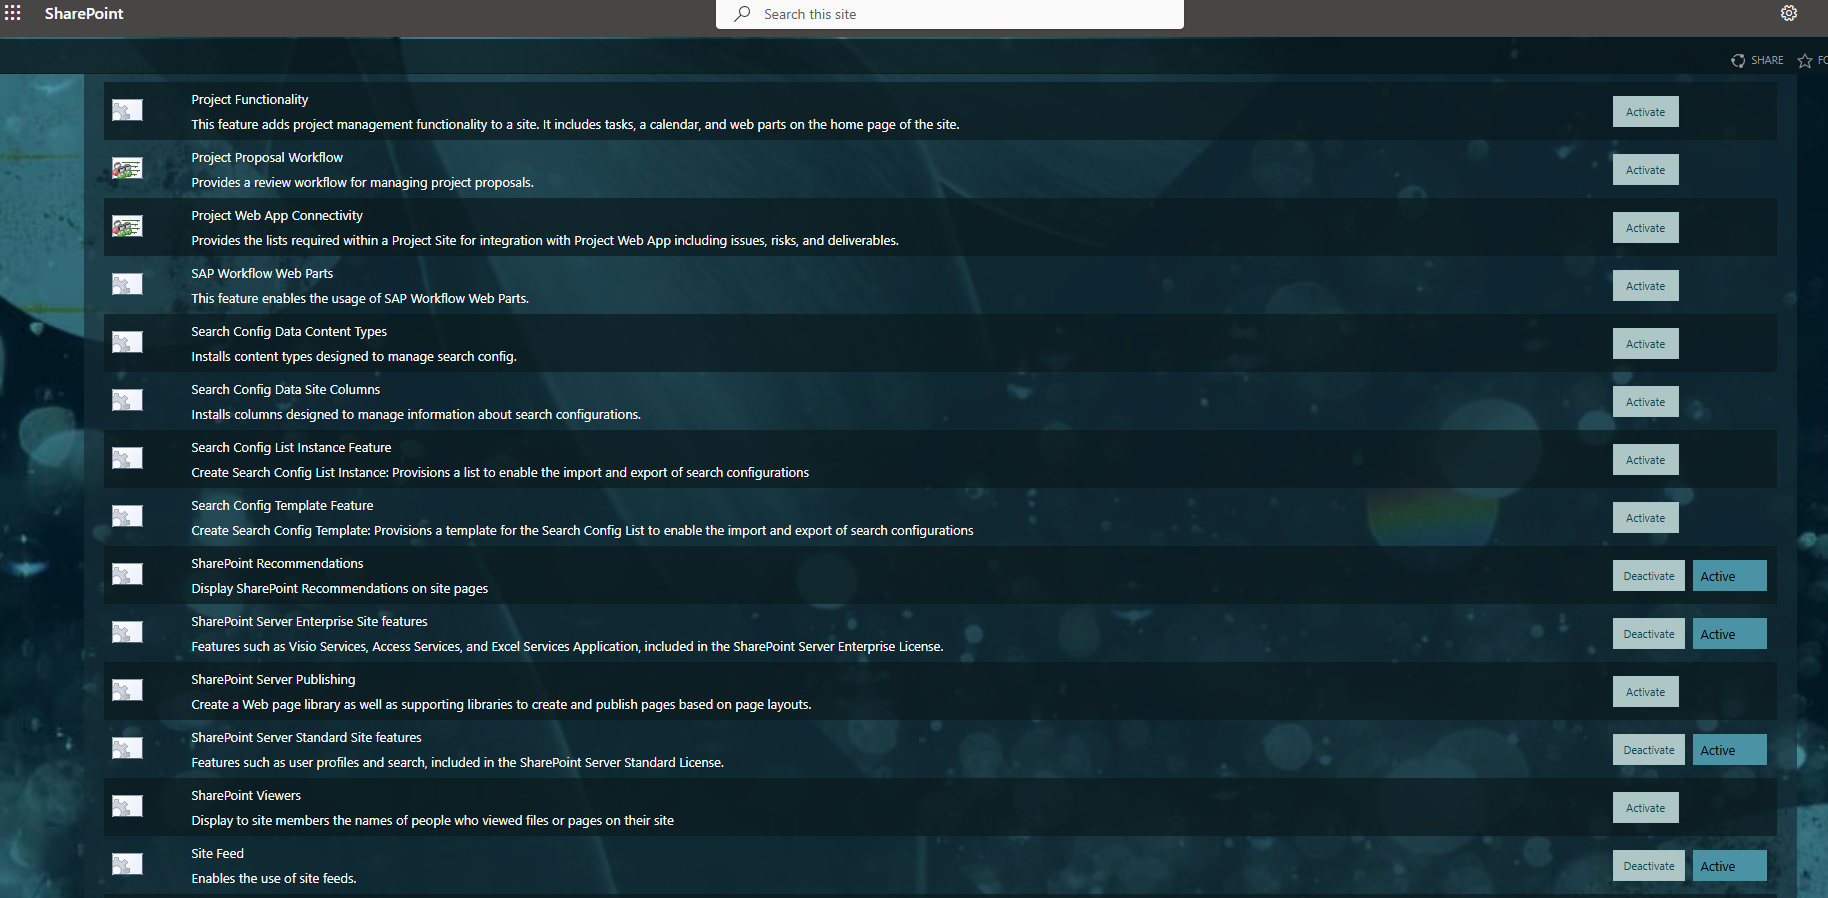
Next, we return to the site settings page, and this time we need to activate the feature at the site level, so we select manage site features.
On the transition page, we again have all the available features for our site, and here we need to select SharePoint Server Publishing and choose activate.
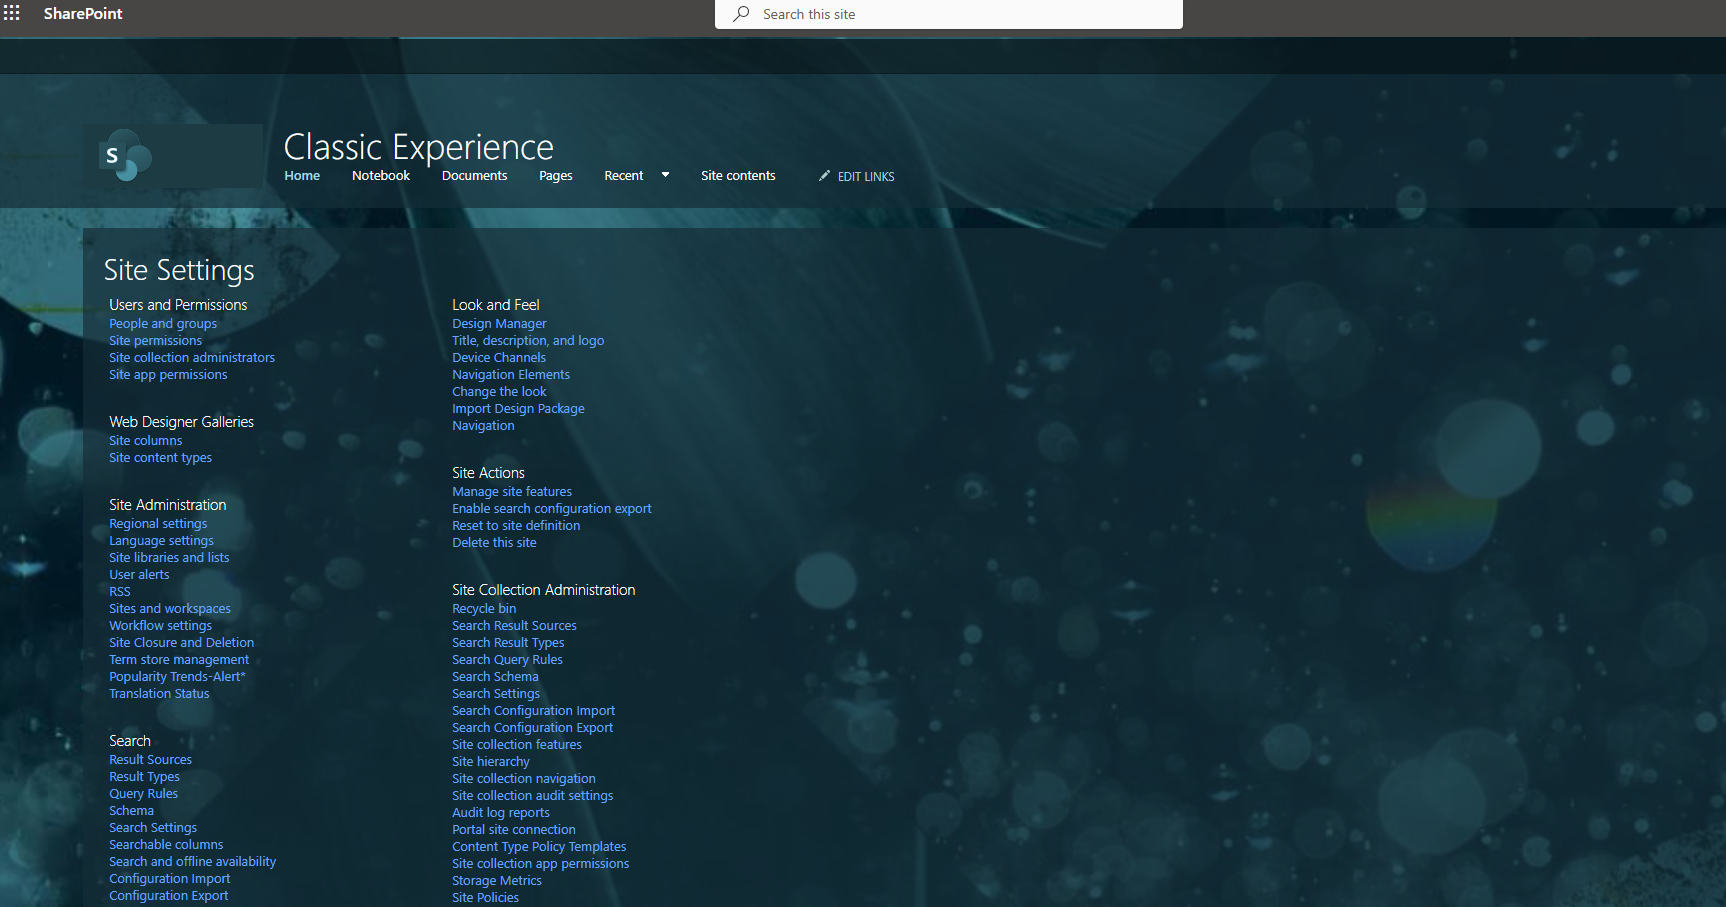
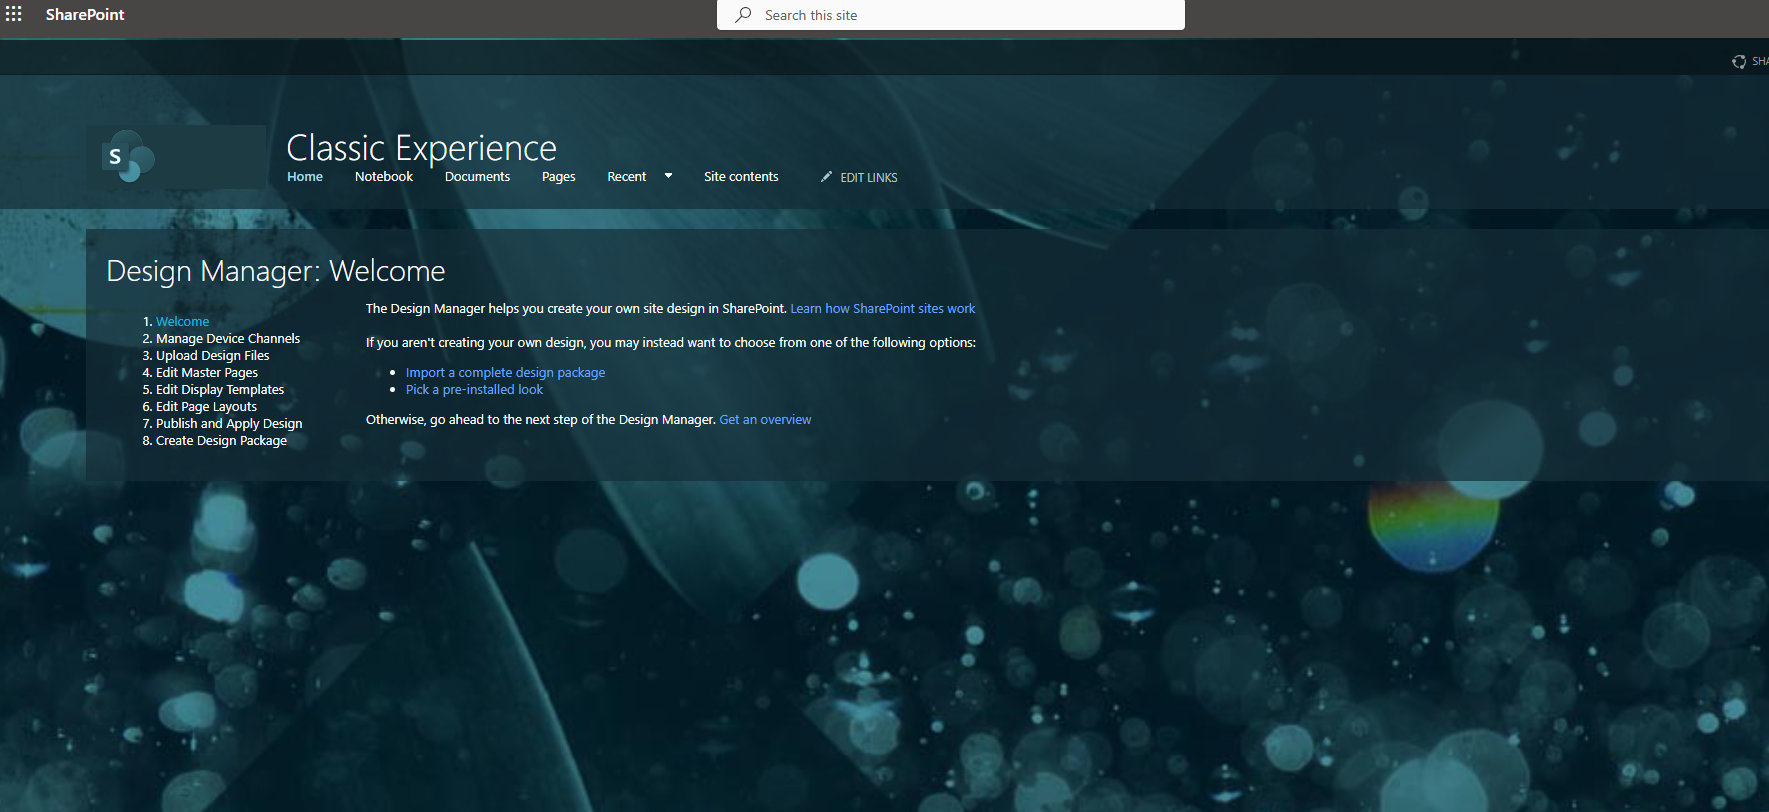
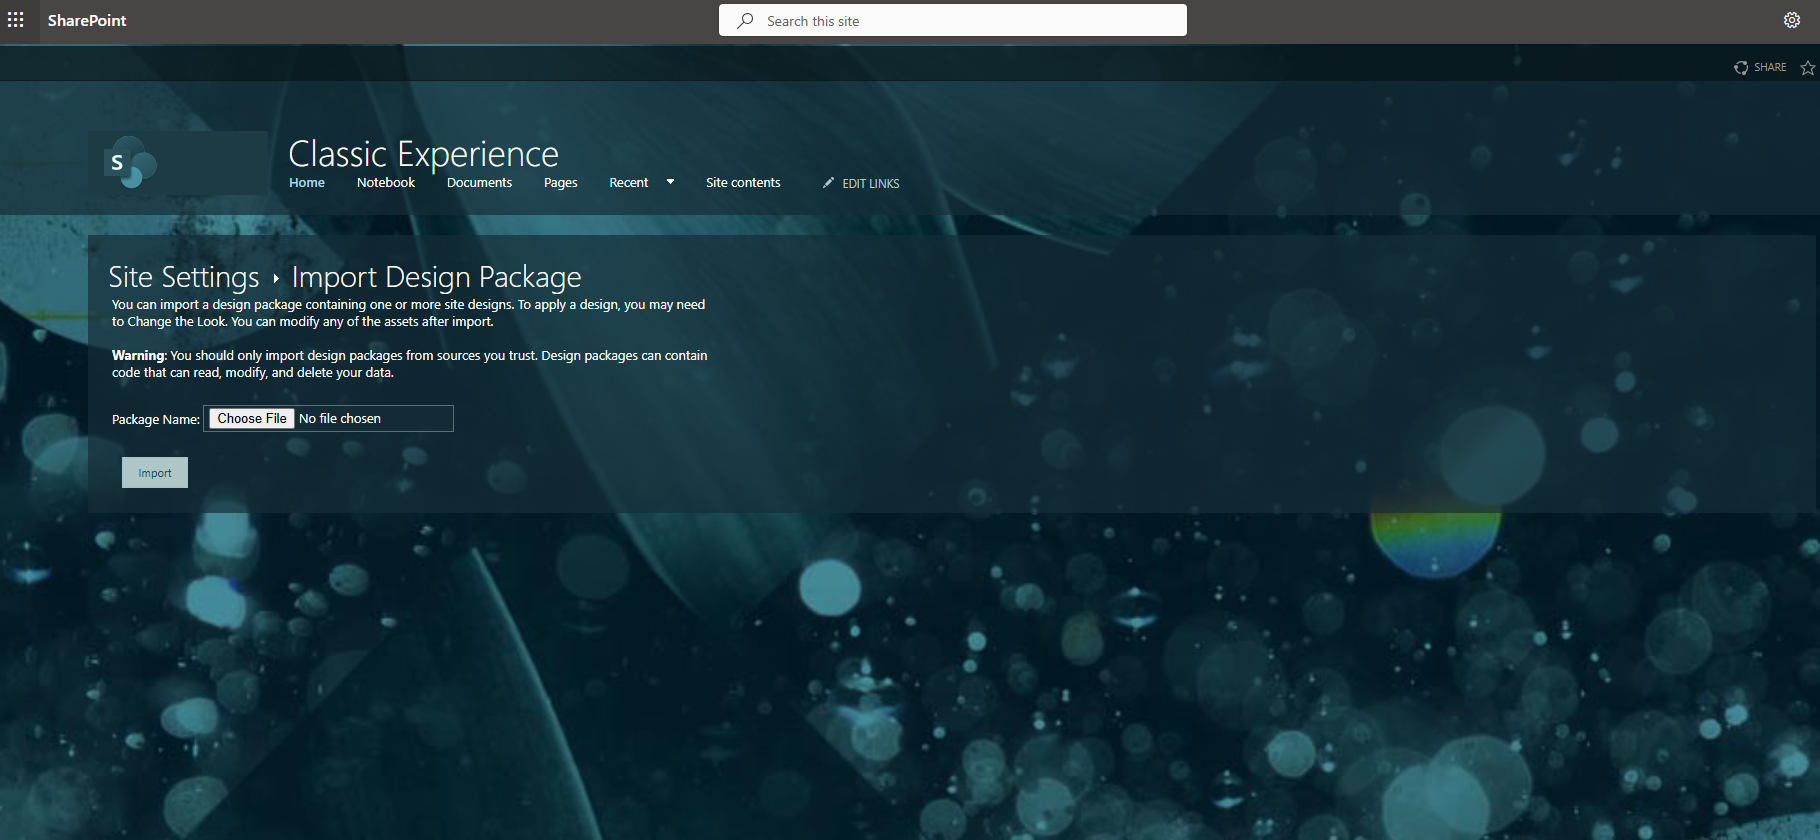
Once the activation is complete, the Design Manager now appears in the settings, and if we select it, we navigate to a new page with various options. On the first tab, we have a general description and the ability to import a new solution from scratch, which we have designed and is typically a .wsp file.
To import the solution, we select where we have saved the .wsp file and choose import.
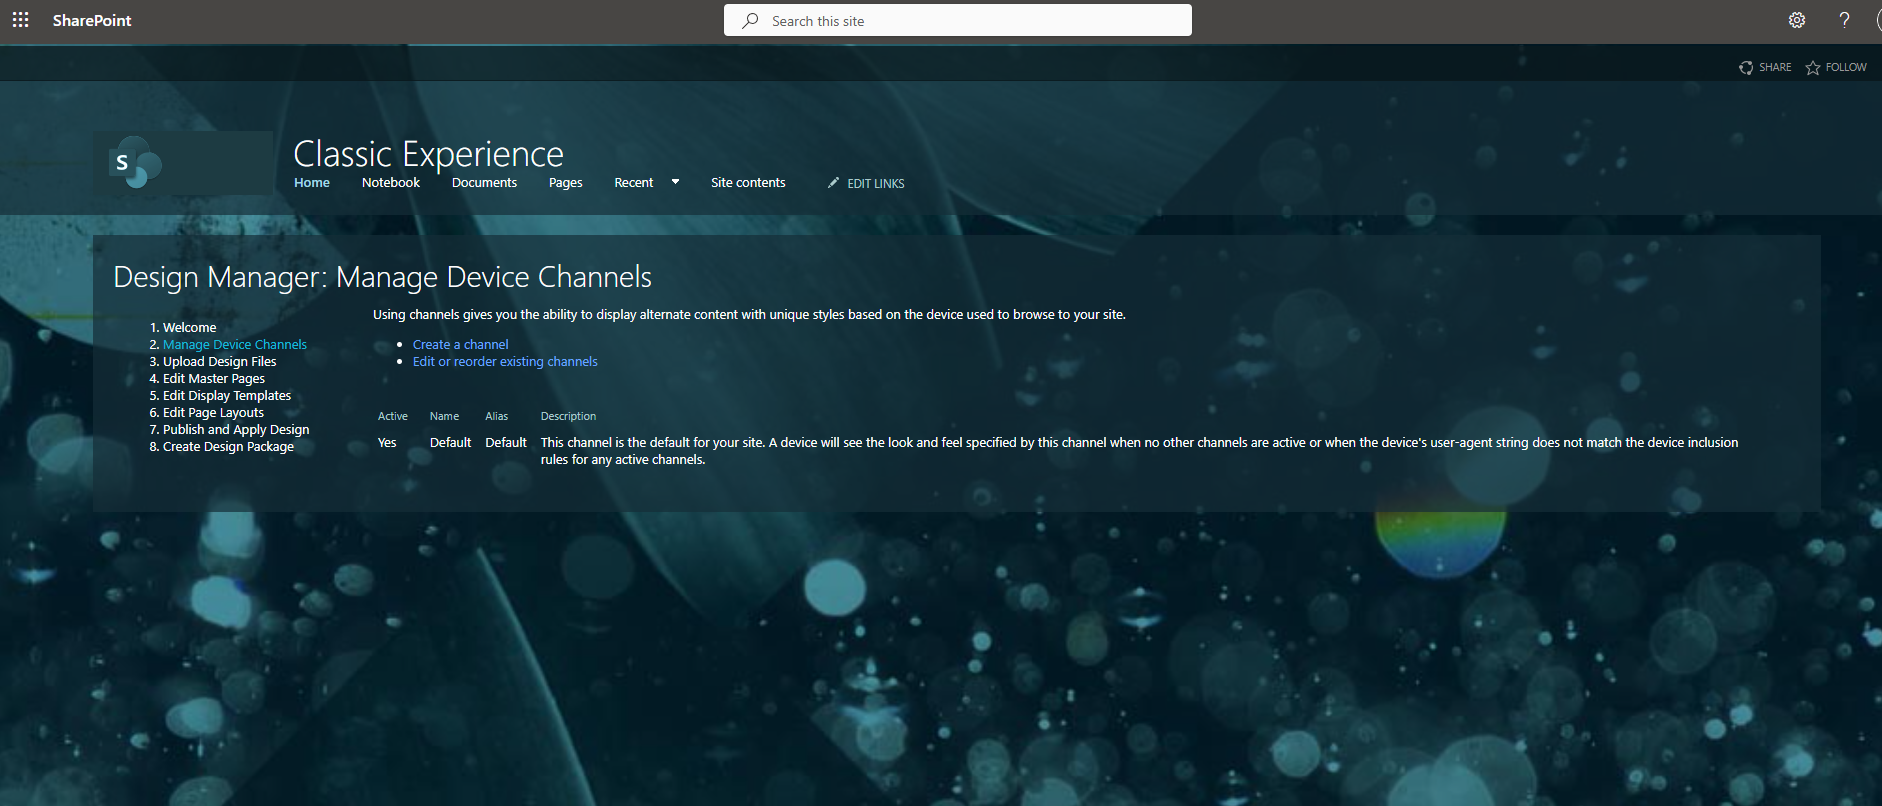
In the second option, manage device channels, I have the ability to present alternative content with a different style.
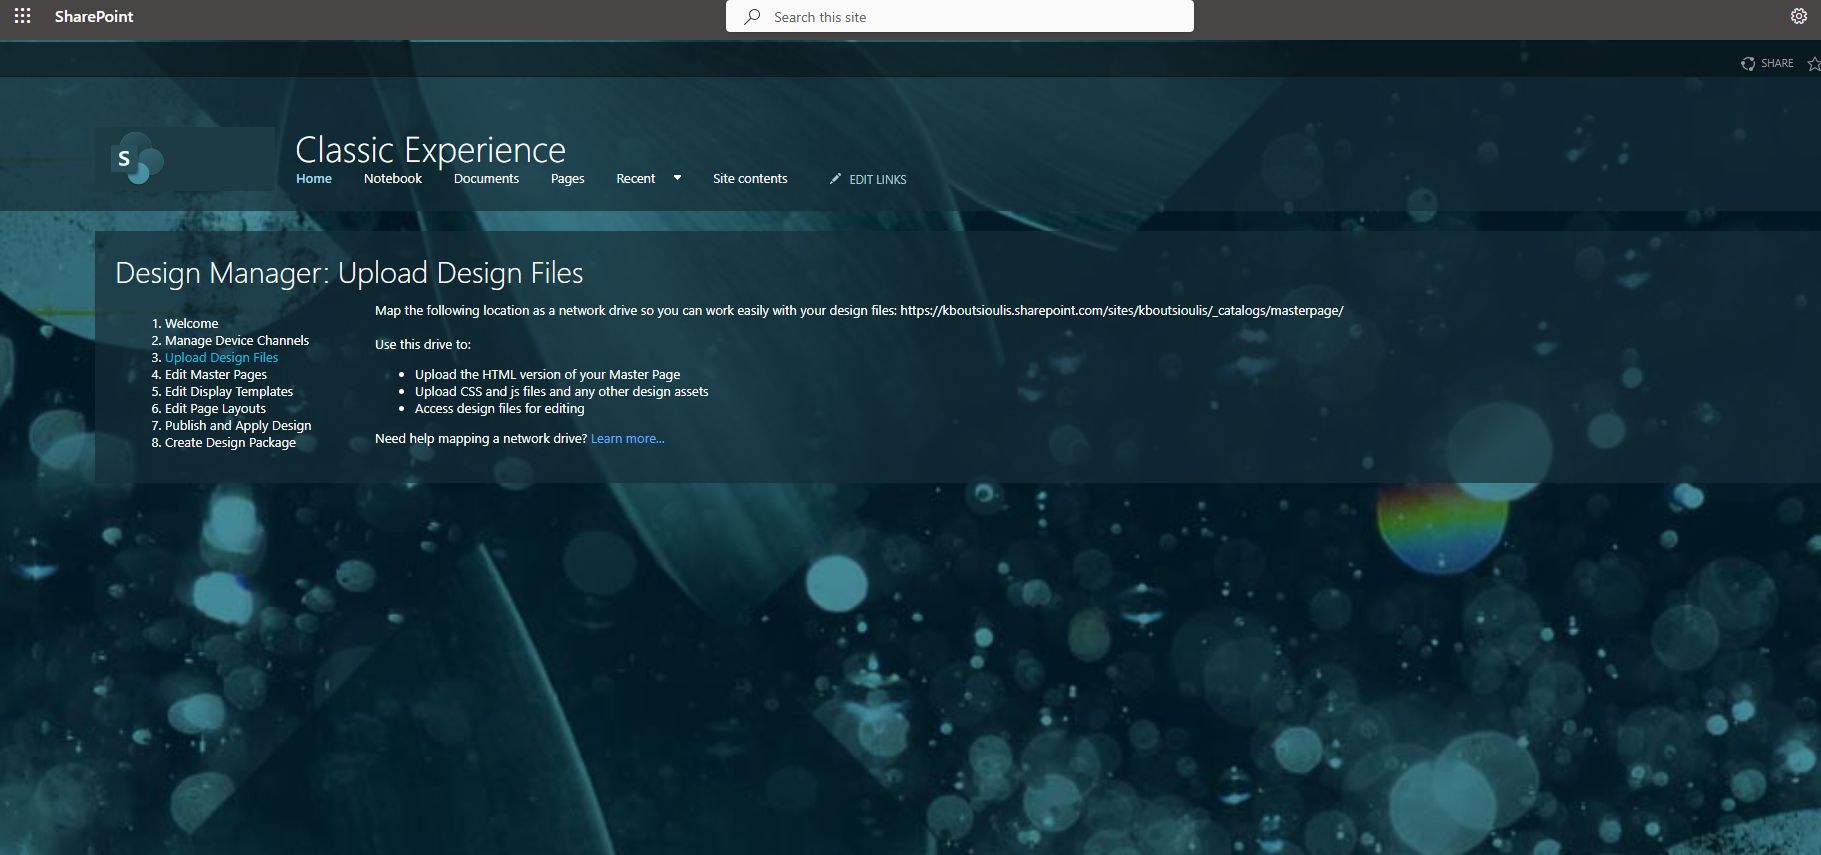
In the next tab, we can upload a solution to the link that appears at the top of the page, which is the library with the master pages. In reality, we can upload HTML, CSS, and JS files, and SharePoint will create a new master page in this form. I should note here that this process carries a risk if not done by a professional with programming knowledge, because if a master page with an error is applied, you may end up not having access to this page at all. So, during the file upload and the process of composing the new master page, if it is successfully completed, then apply the new master page to a page.
If everything has been successfully completed, you will see it along with the original available ones and Conversion Successful.

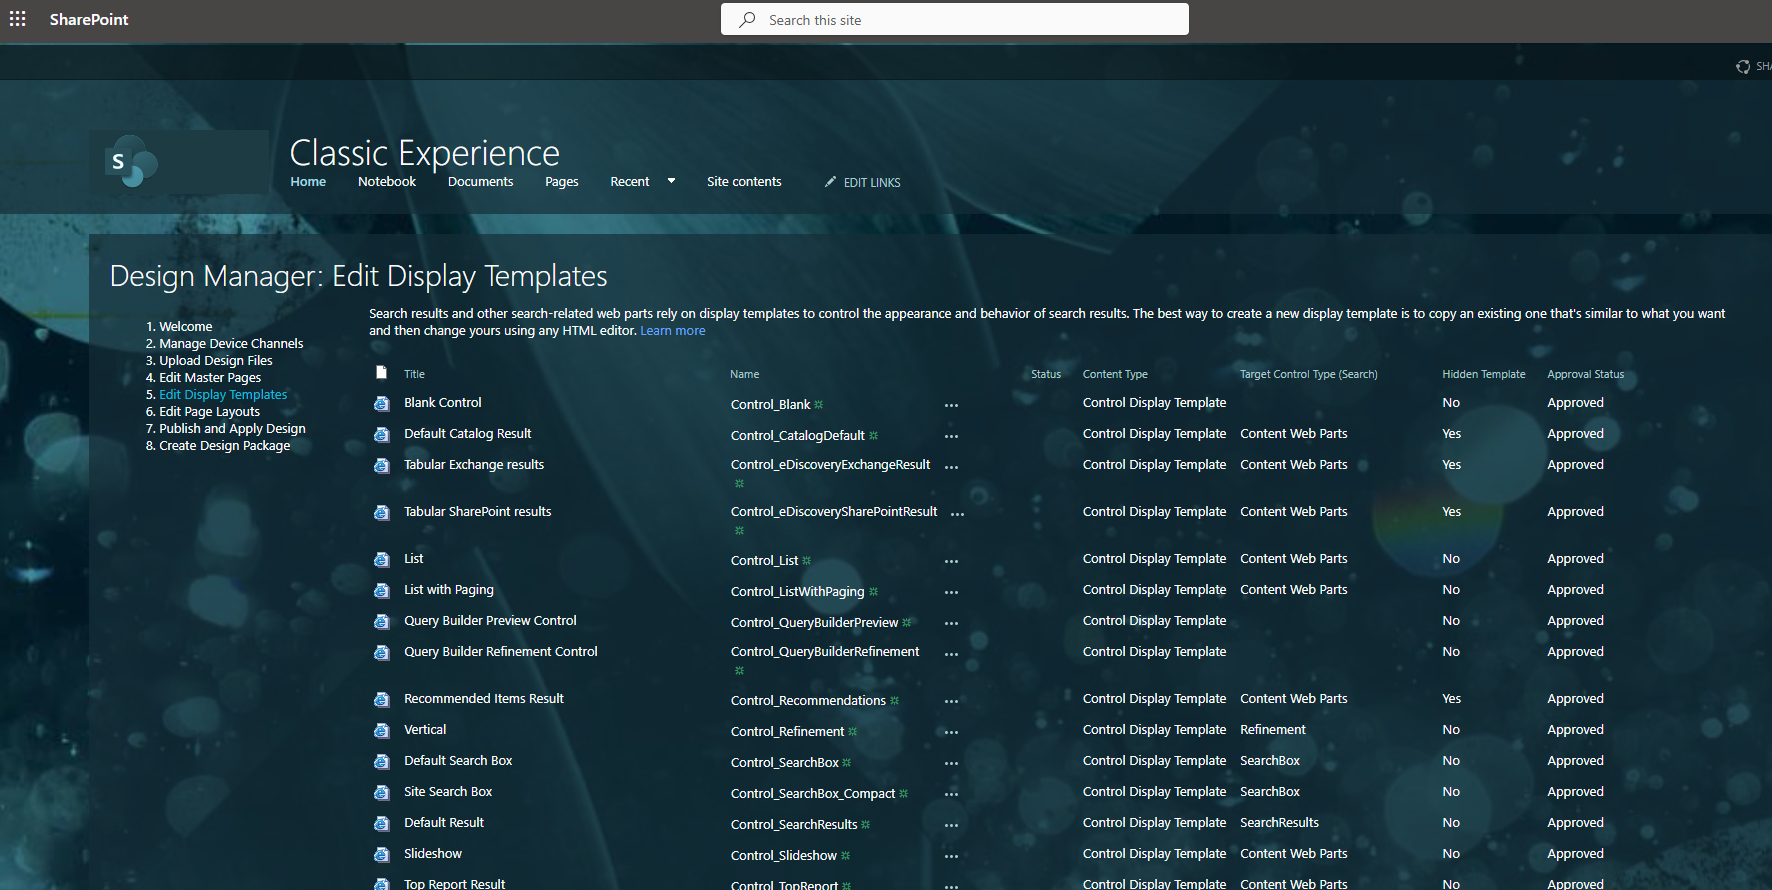
In the next option, you can see all the available templates that exist by default in SharePoint.
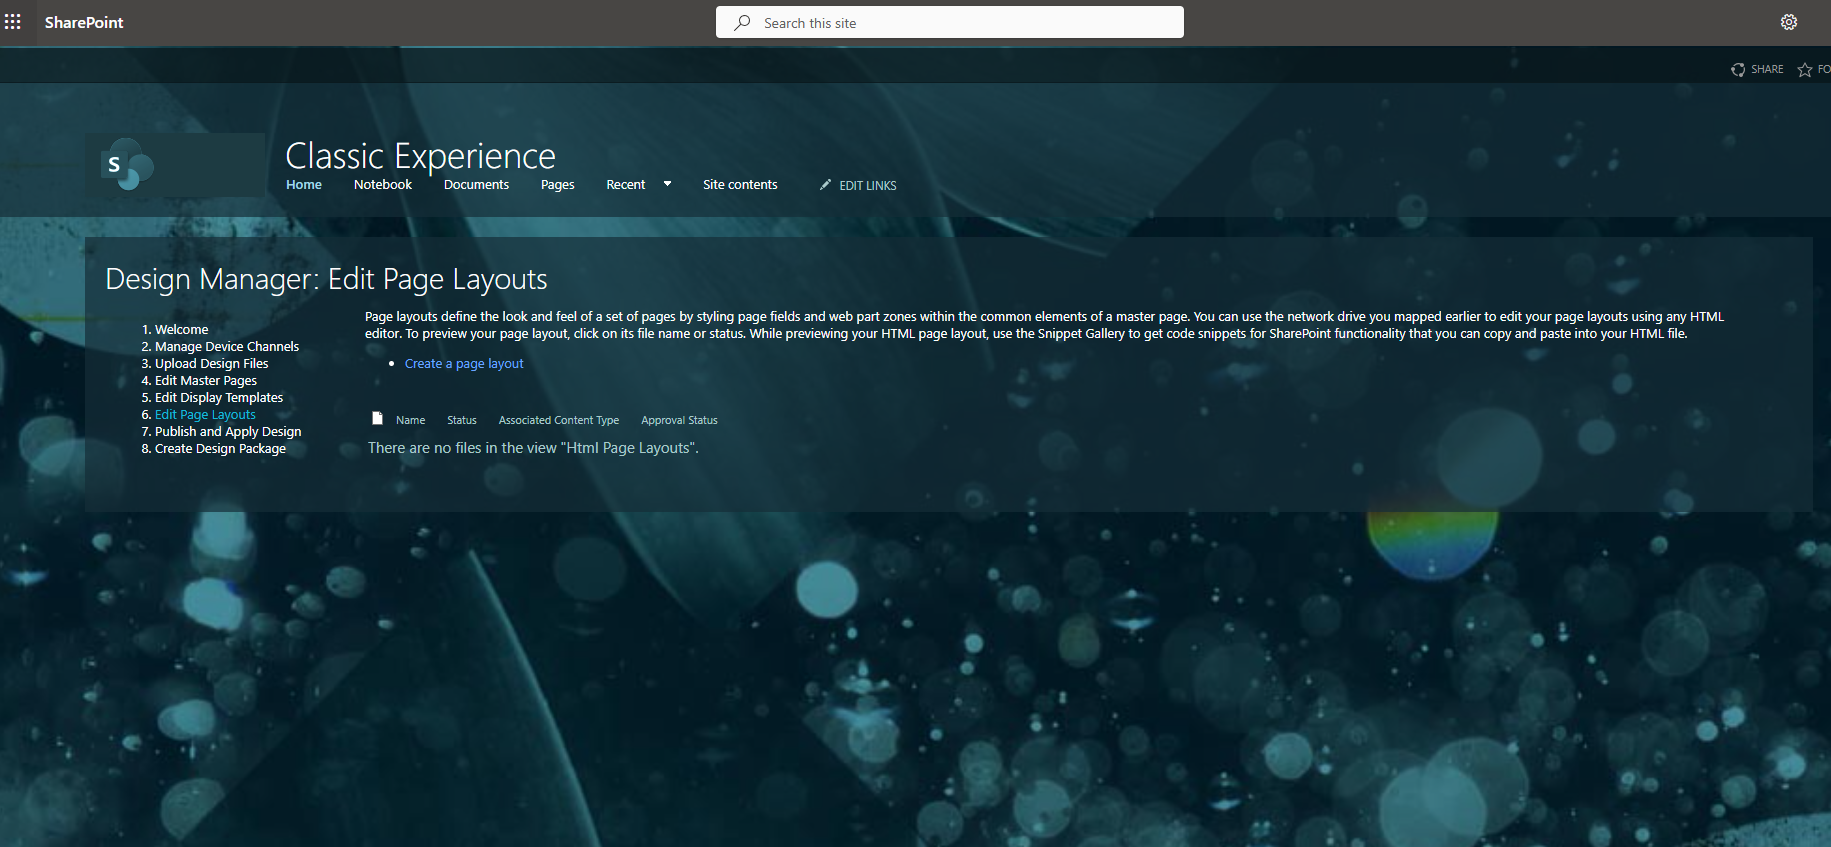
In the next option, you have the ability to create your own layouts for your pages, again based on some templates provided by SharePoint.
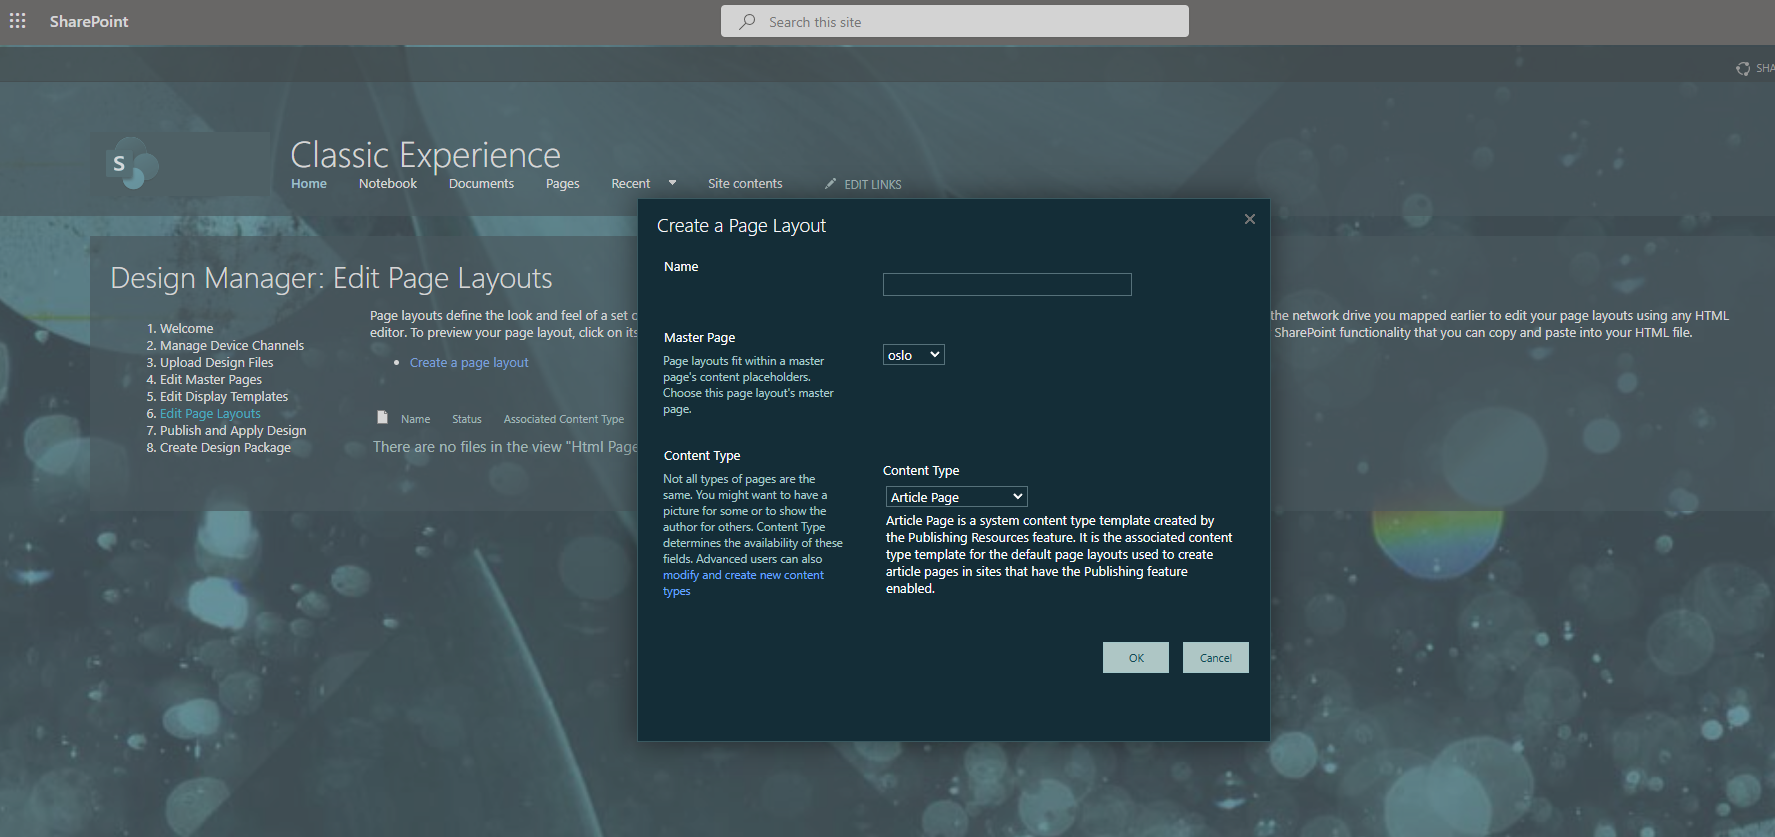
And as you can see, during this process, you first need to select the master page and then the available template for the layout.
The next option is very important because through the link assign master pages to your site based on device channel, you can apply a master page to your site.
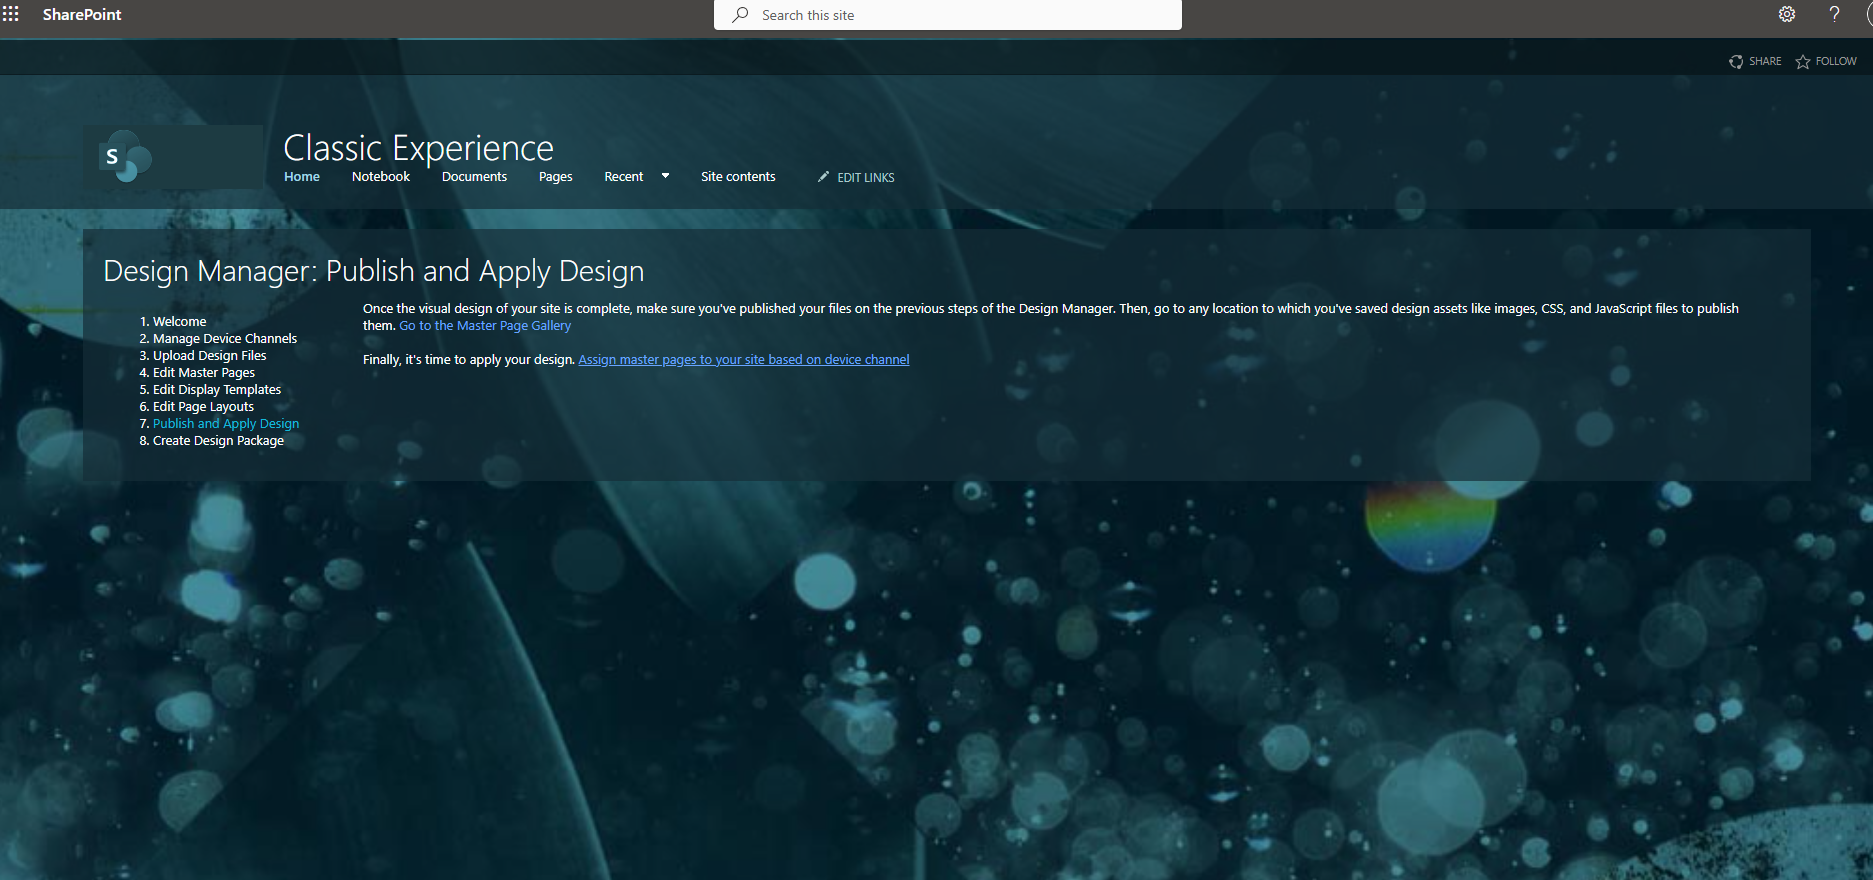
You select the default Site master page and then the system master page for the channels.
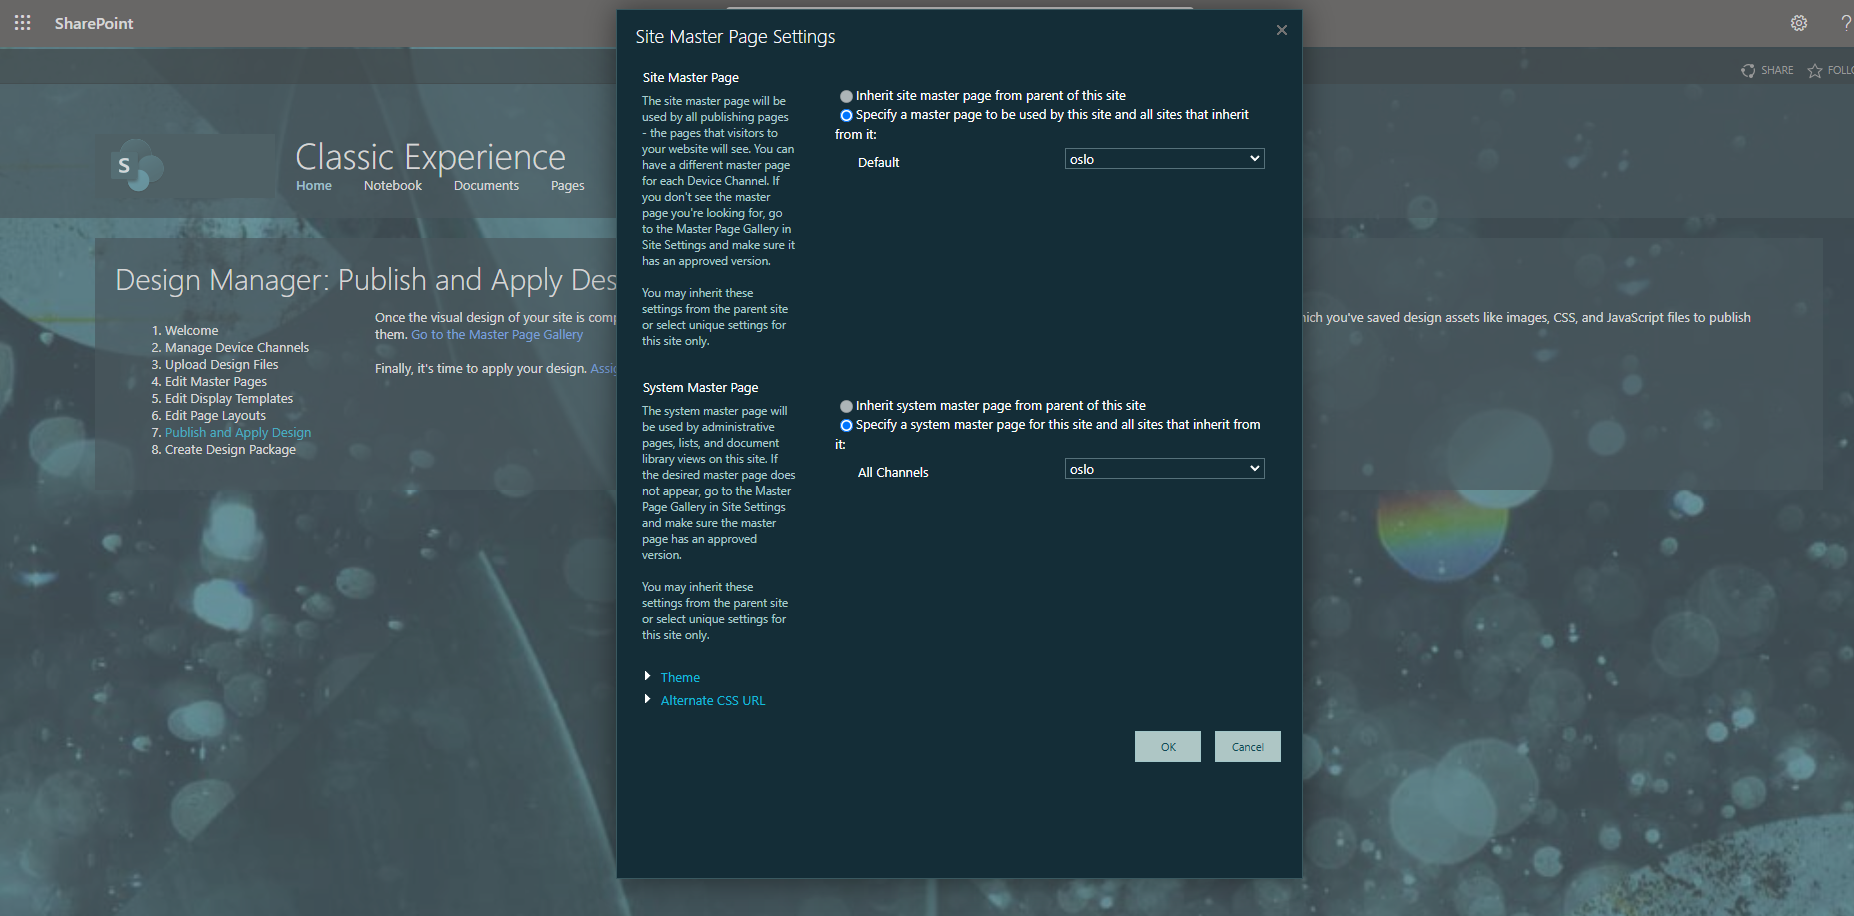
You can also inherit the theme from the parent site. I should also note that there is the option to change the CSS either from the available ones or from custom CSS in our channels.

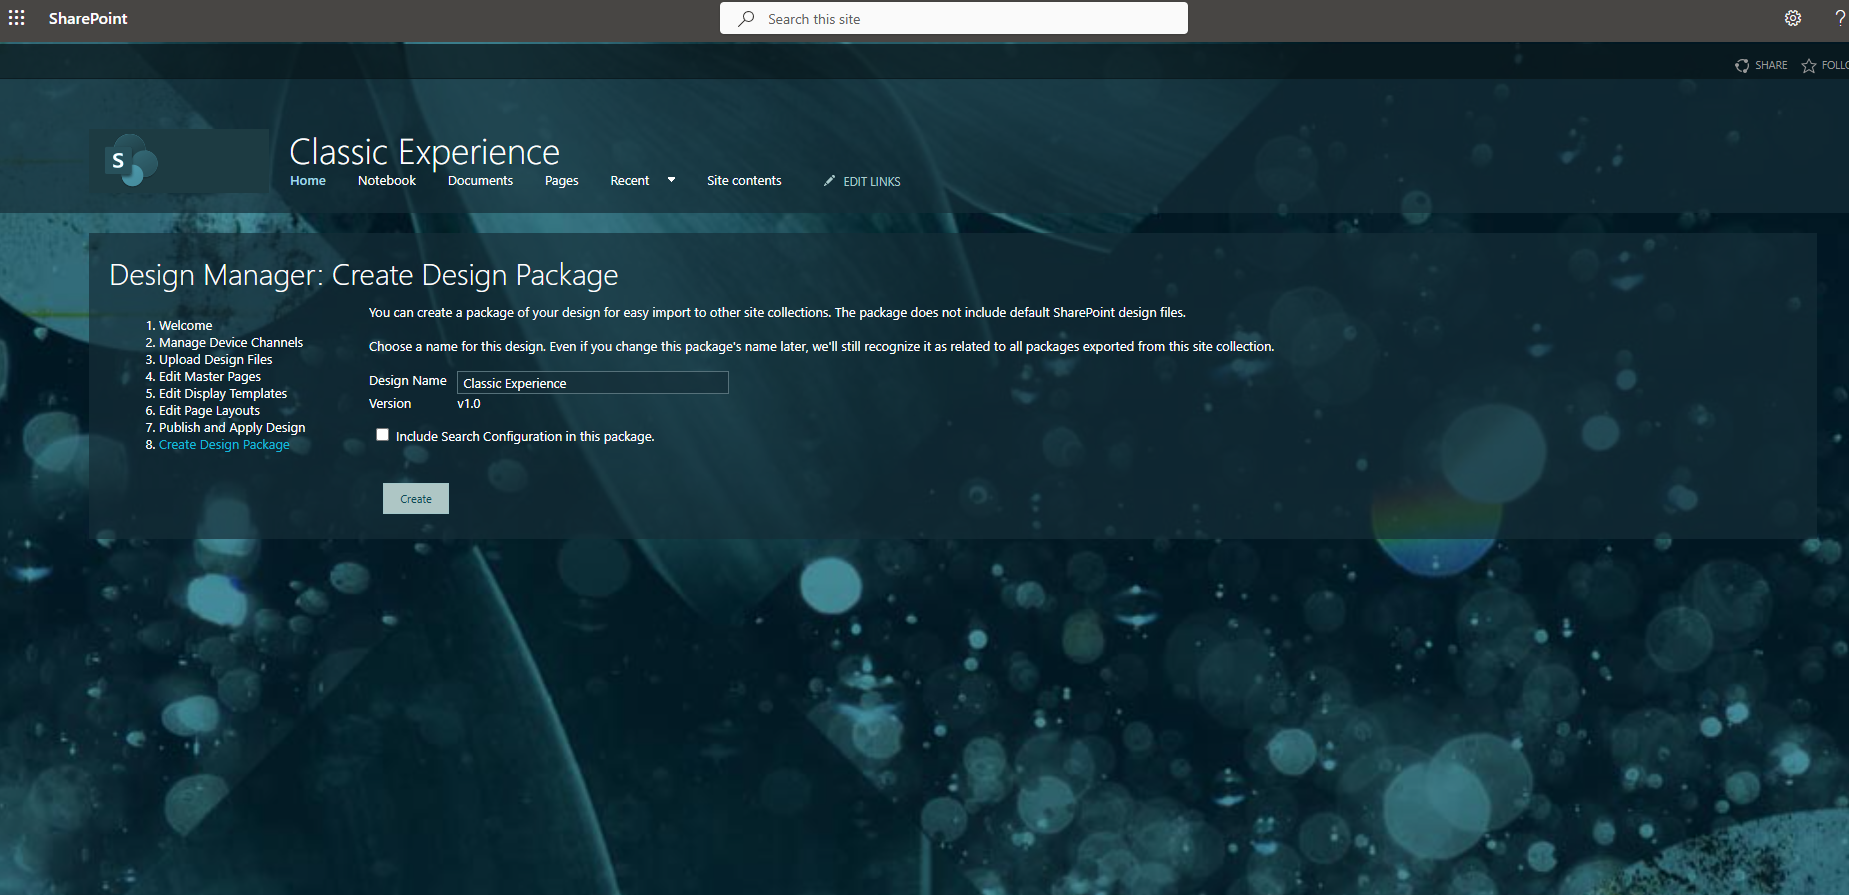
The last option is the creation of a design package. However, this is a different process that we will analyze in another article.
 #ModerWork
#M365_Apps_Services
#BusinessApps
#SharePoint
#PowerAutomate
#technology
#microsoft
#digitaltransformation
#cloud
#mvpbuzz
#m365
#ModerWork
#M365_Apps_Services
#BusinessApps
#SharePoint
#PowerAutomate
#technology
#microsoft
#digitaltransformation
#cloud
#mvpbuzz
#m365
Visit Archives below to find more articles about Microsoft technologies on Modern Workplace