
Free Material
Find hereMore than 150 Articles about Microsoft Technologies on Modern Workplace
Official Site
Microsoft Most Valuable Professional M365 Apps & Services
Microsoft Most Valuable Professional Business Applications
Consultant & Sr Cloud Solution Architect Modern Wokrplace
Find hereMore than 150 Articles about Microsoft Technologies on Modern Workplace
21 May 2024
In today's article, we will see how we can transfer items from one list to another in SharePoint using Power Automate.
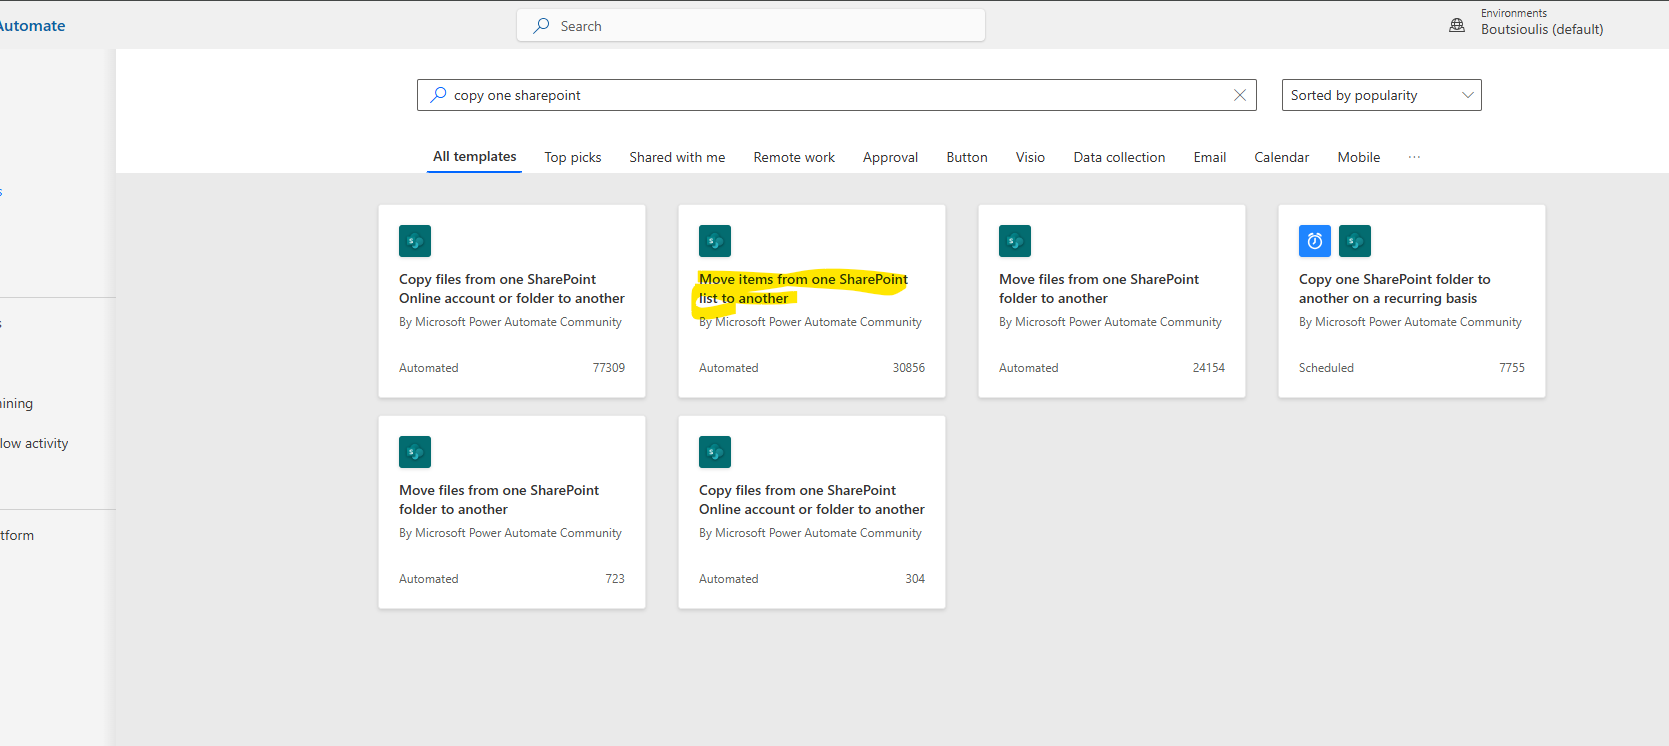
First, you need to have an active M365 subscription and, once logged into the service, select Power Automates. There, in the left column, select templates and then find the "Move items from one SharePoint list to another" template.
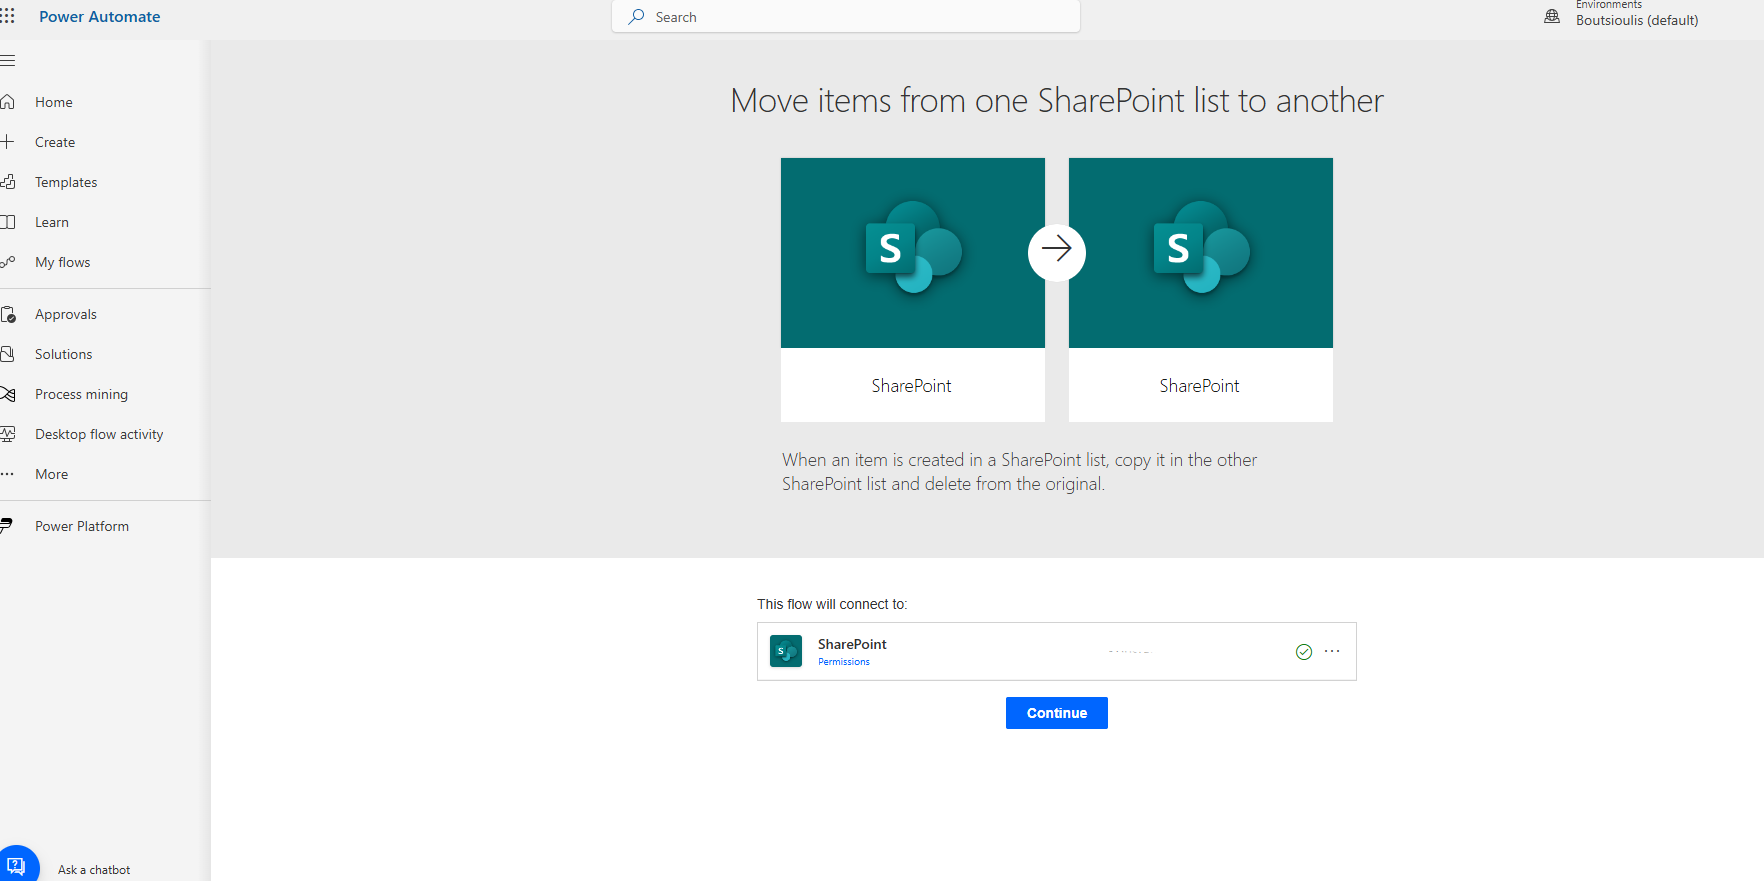
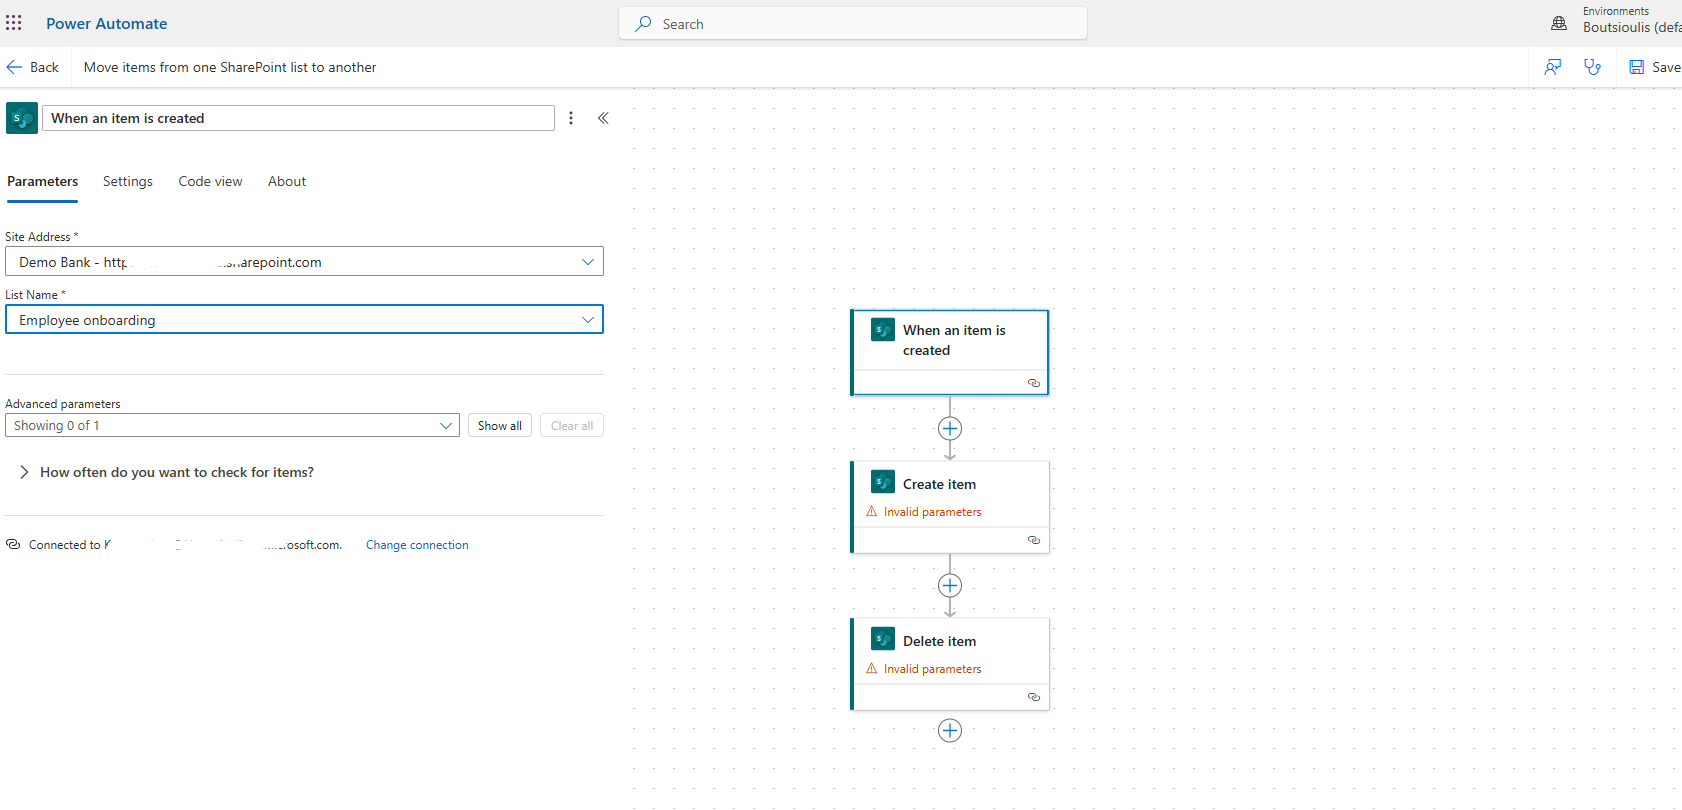
Next, select "Continue" to allow all necessary connections. As you can see, we have an automation with three actions where the first trigger is "when an item is created." In the site address, enter the address of the site hosting the list, and in the list name, enter the name of your list.
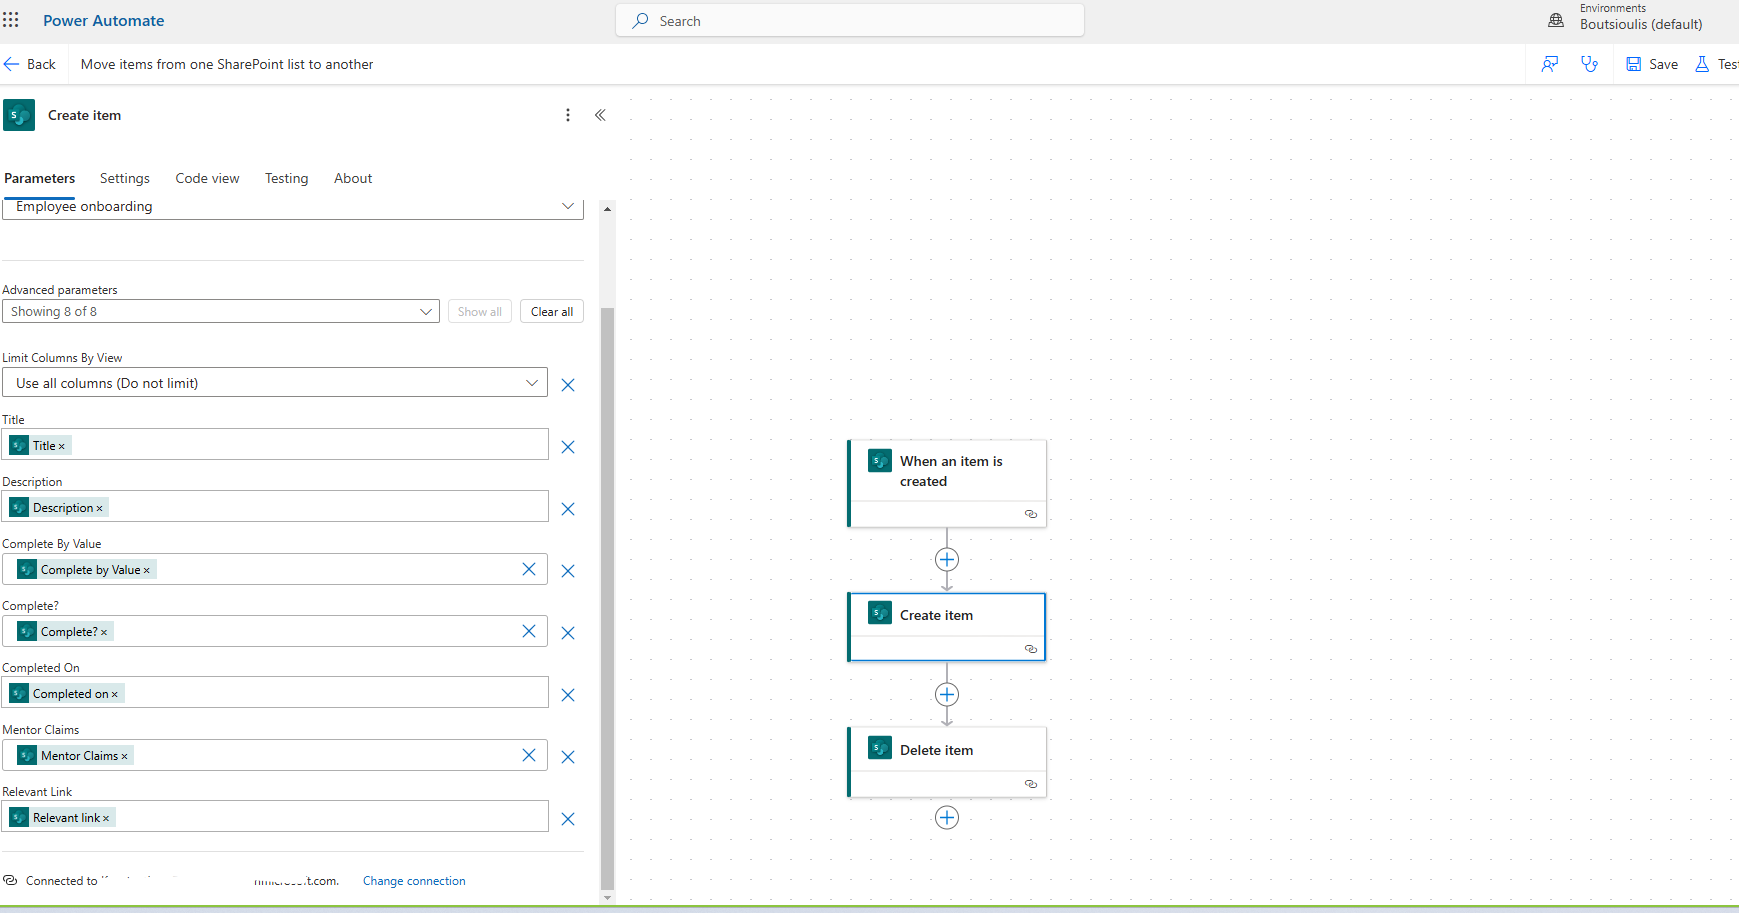
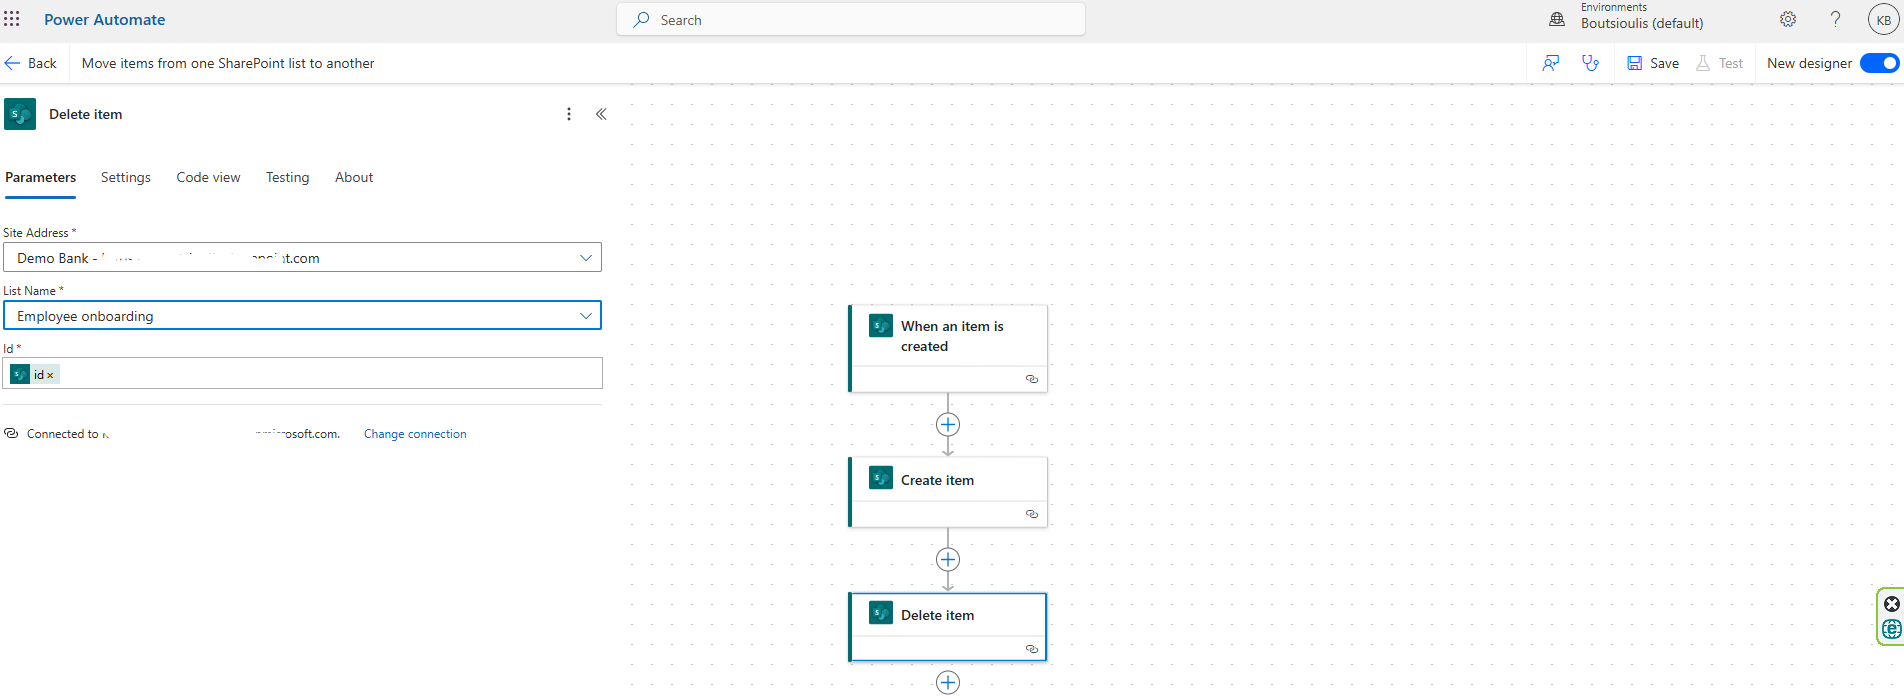
In the next step, which is "create item," specify again the site hosting the destination list and the name of the destination list, as well as all the item details one by one in each field as shown in the image below.
Finally, you need to add a new action of type "delete item" and specify the address of the site hosting the original list, as well as the list name and the item identifier to delete it from the original list.
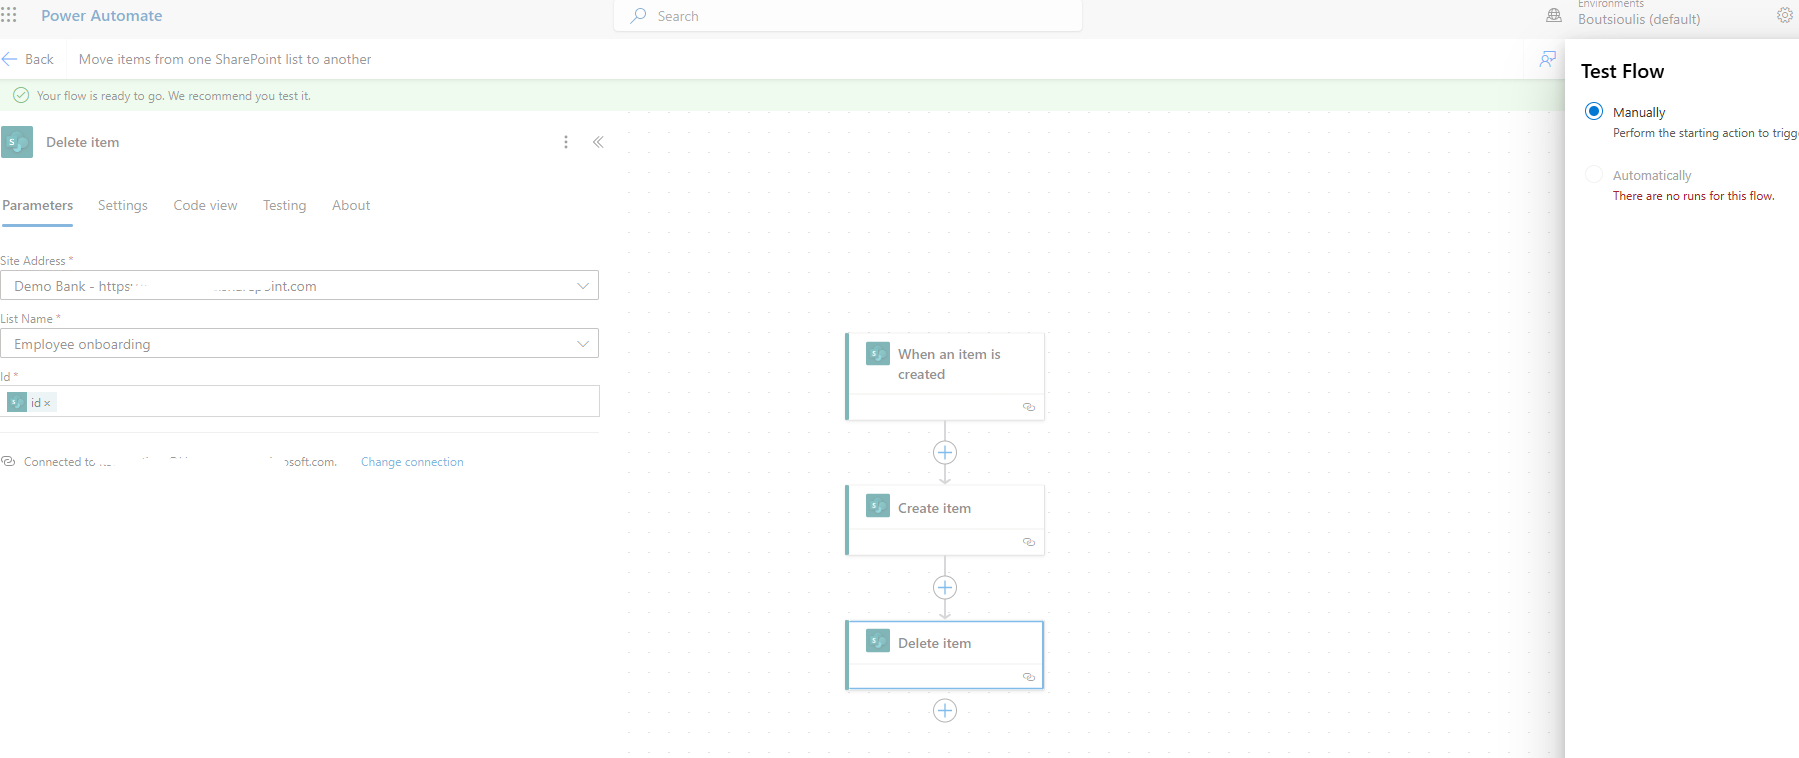
In the next step, we will save our automate and run a manual test.
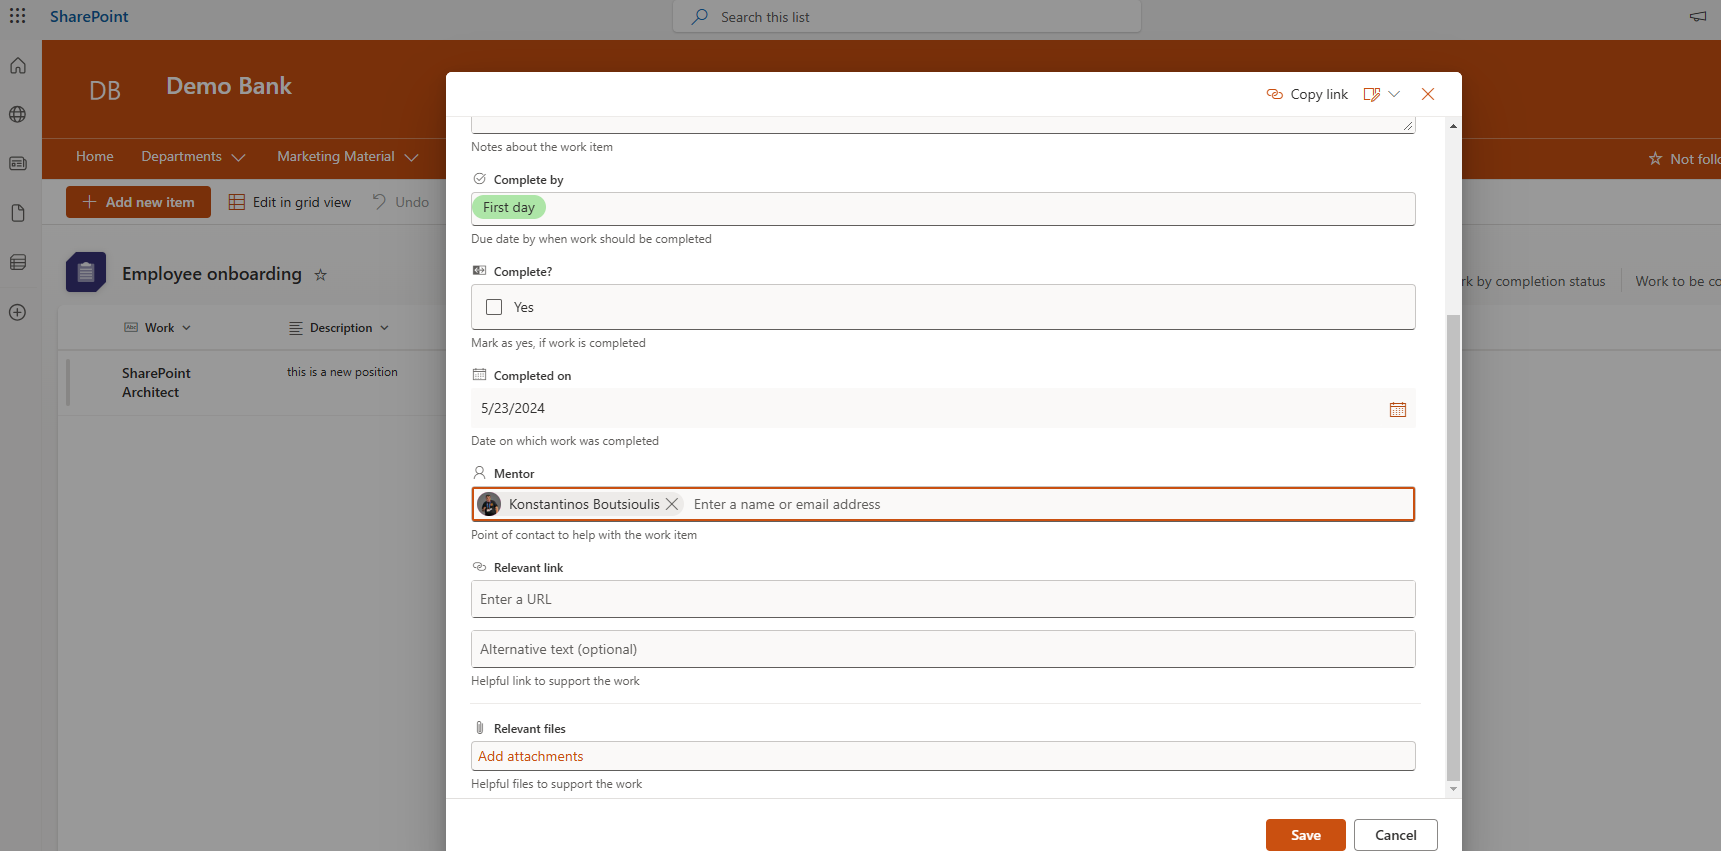
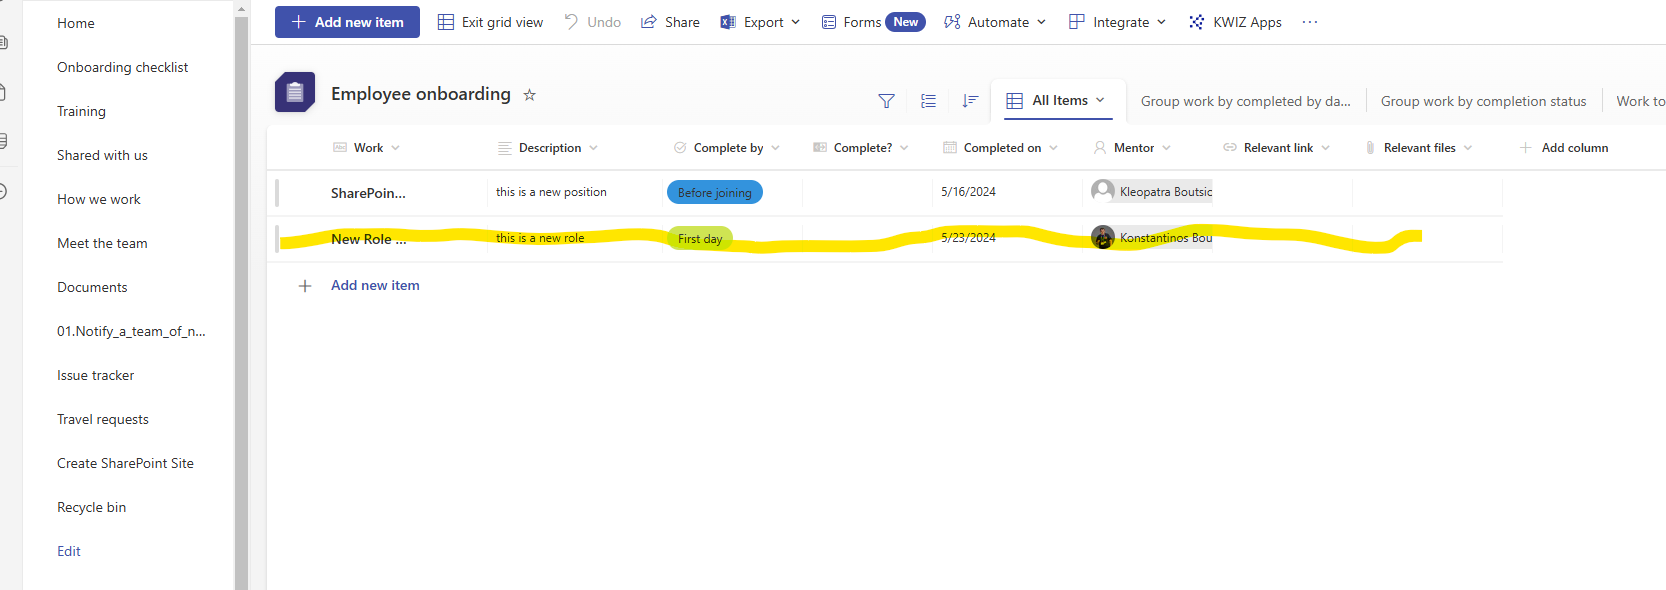
We return to the list and create a new item.
We return to the automate and see that it has executed successfully without any errors.
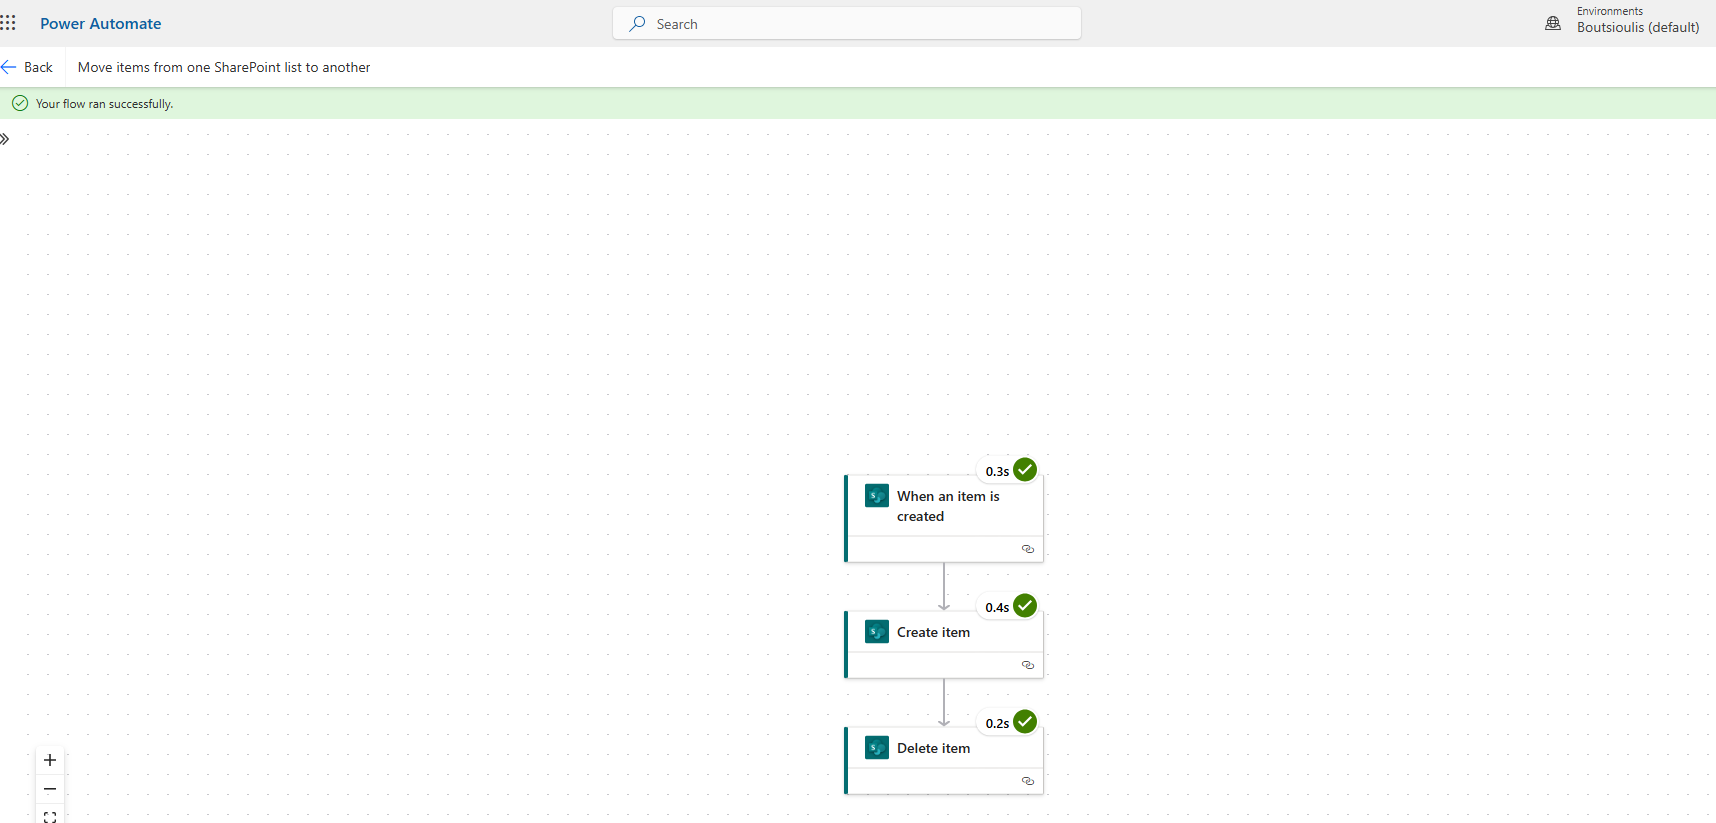
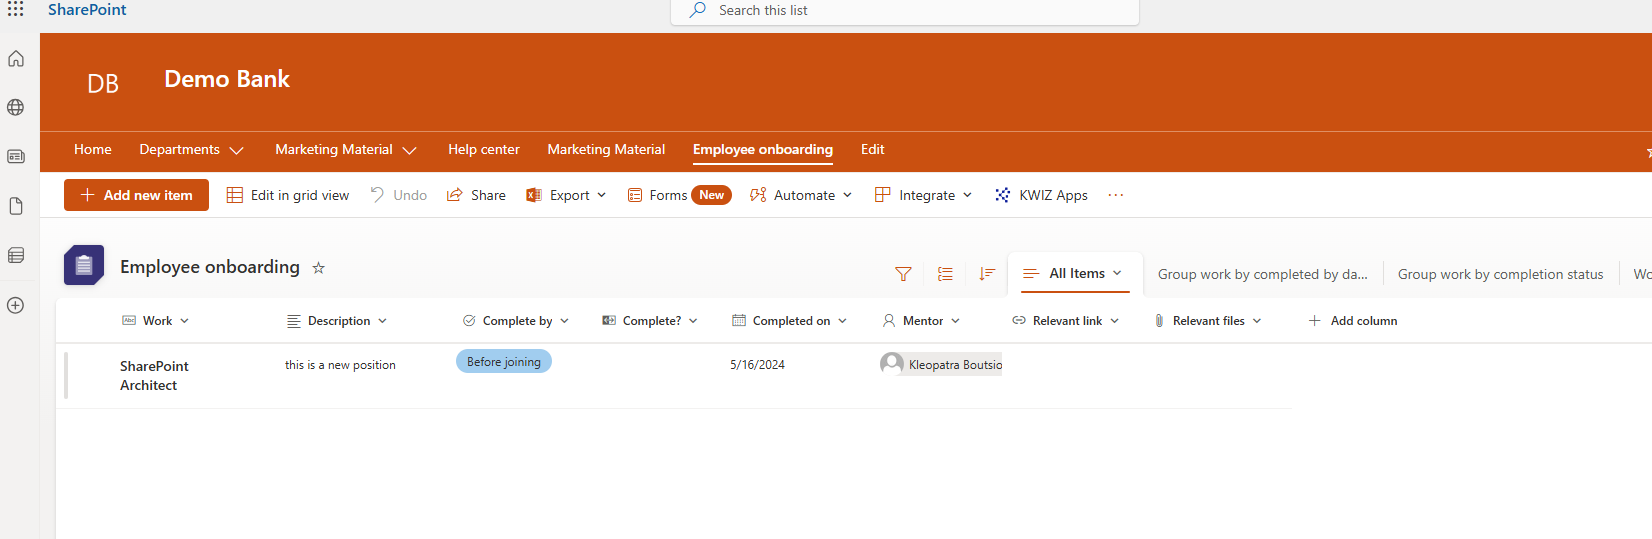
As you can see below, it has been transferred to the destination list and deleted from the original list.
 #ModerWork
#M365_Apps_Services
#BusinessApps
#SharePoint
#PowerAutomate
#technology
#microsoft
#digitaltransformation
#cloud
#mvpbuzz
#m365
#ModerWork
#M365_Apps_Services
#BusinessApps
#SharePoint
#PowerAutomate
#technology
#microsoft
#digitaltransformation
#cloud
#mvpbuzz
#m365
Visit Archives below to find more articles about Microsoft technologies on Modern Workplace