
Free Material
Find hereMore than 150 Articles about Microsoft Technologies on Modern Workplace
Official Site
Microsoft Most Valuable Professional M365 Apps & Services
Microsoft Most Valuable Professional Business Applications
Consultant & Sr Cloud Solution Architect Modern Wokrplace
Find hereMore than 150 Articles about Microsoft Technologies on Modern Workplace
06 December 2023
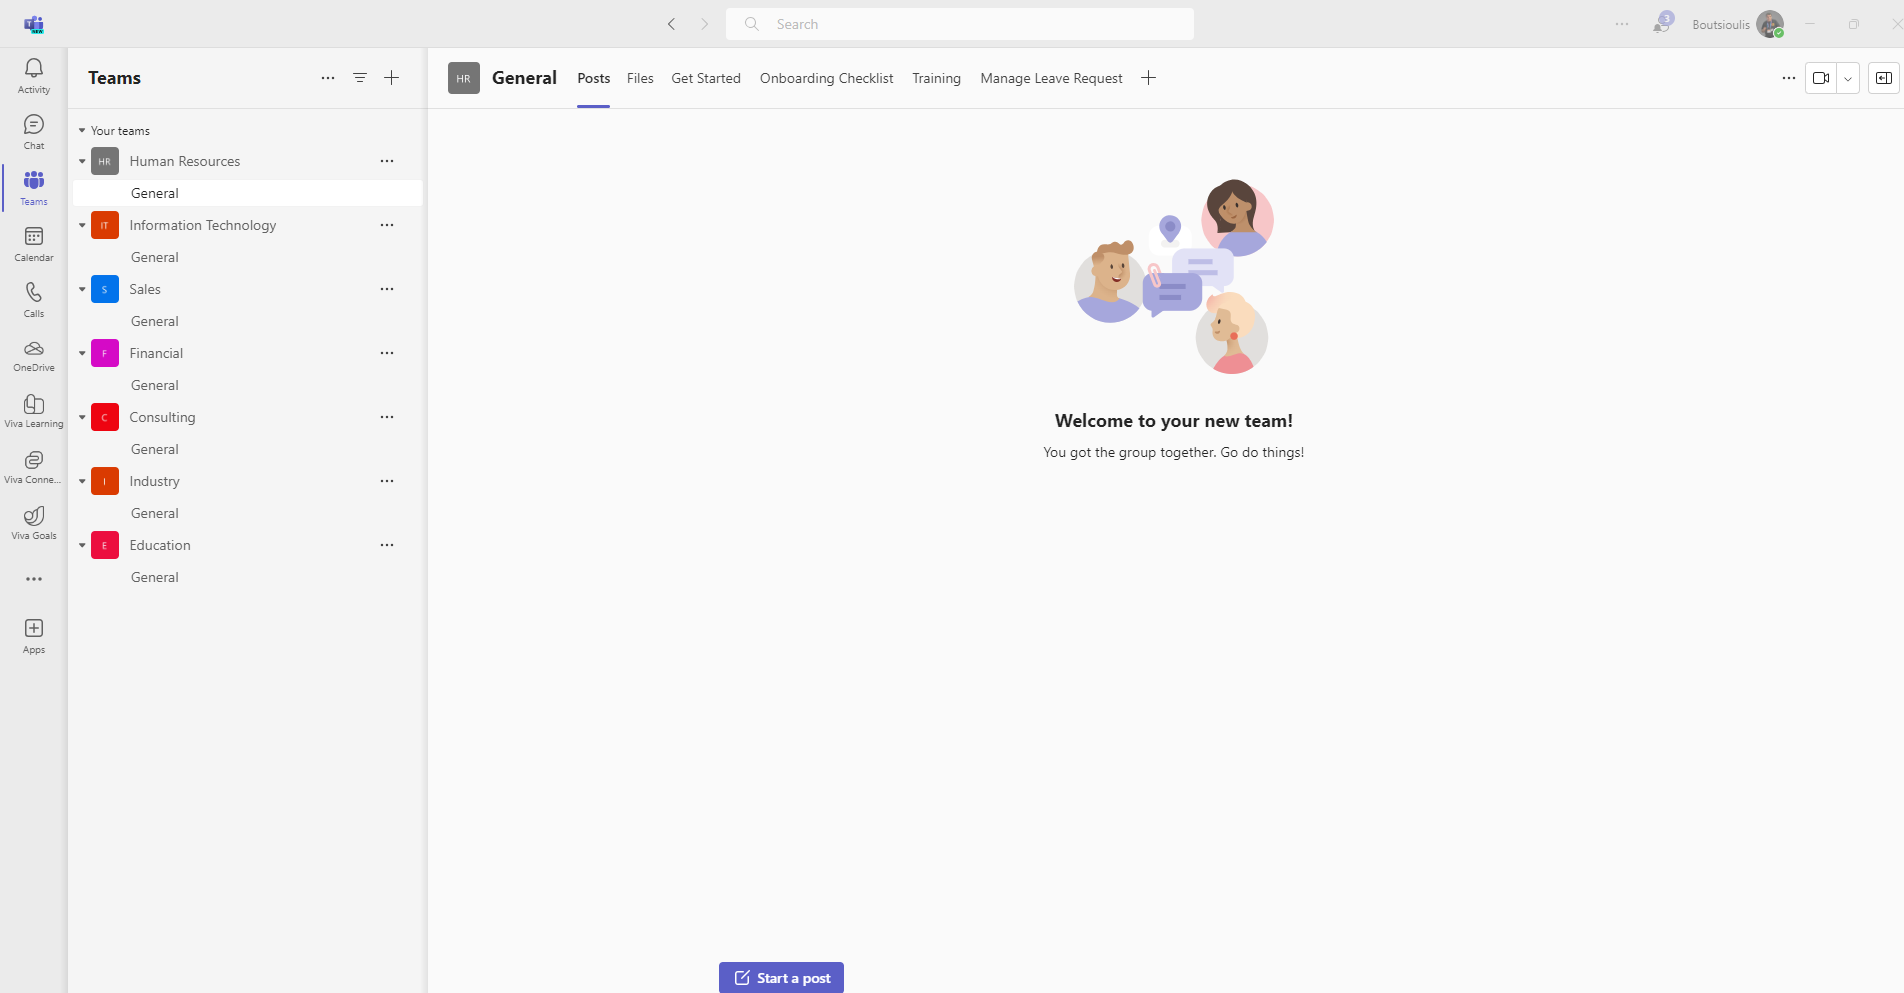
In today's article we will continue the presentations about the new Teams in combination with Teams Premium and show you how we can create a webinar type call. Firstly as I have mentioned you will need to have an active M365 and Teams Premium subscription so that we have the ability to use all the features listed below First we will need to log in to the Microsoft Teams application
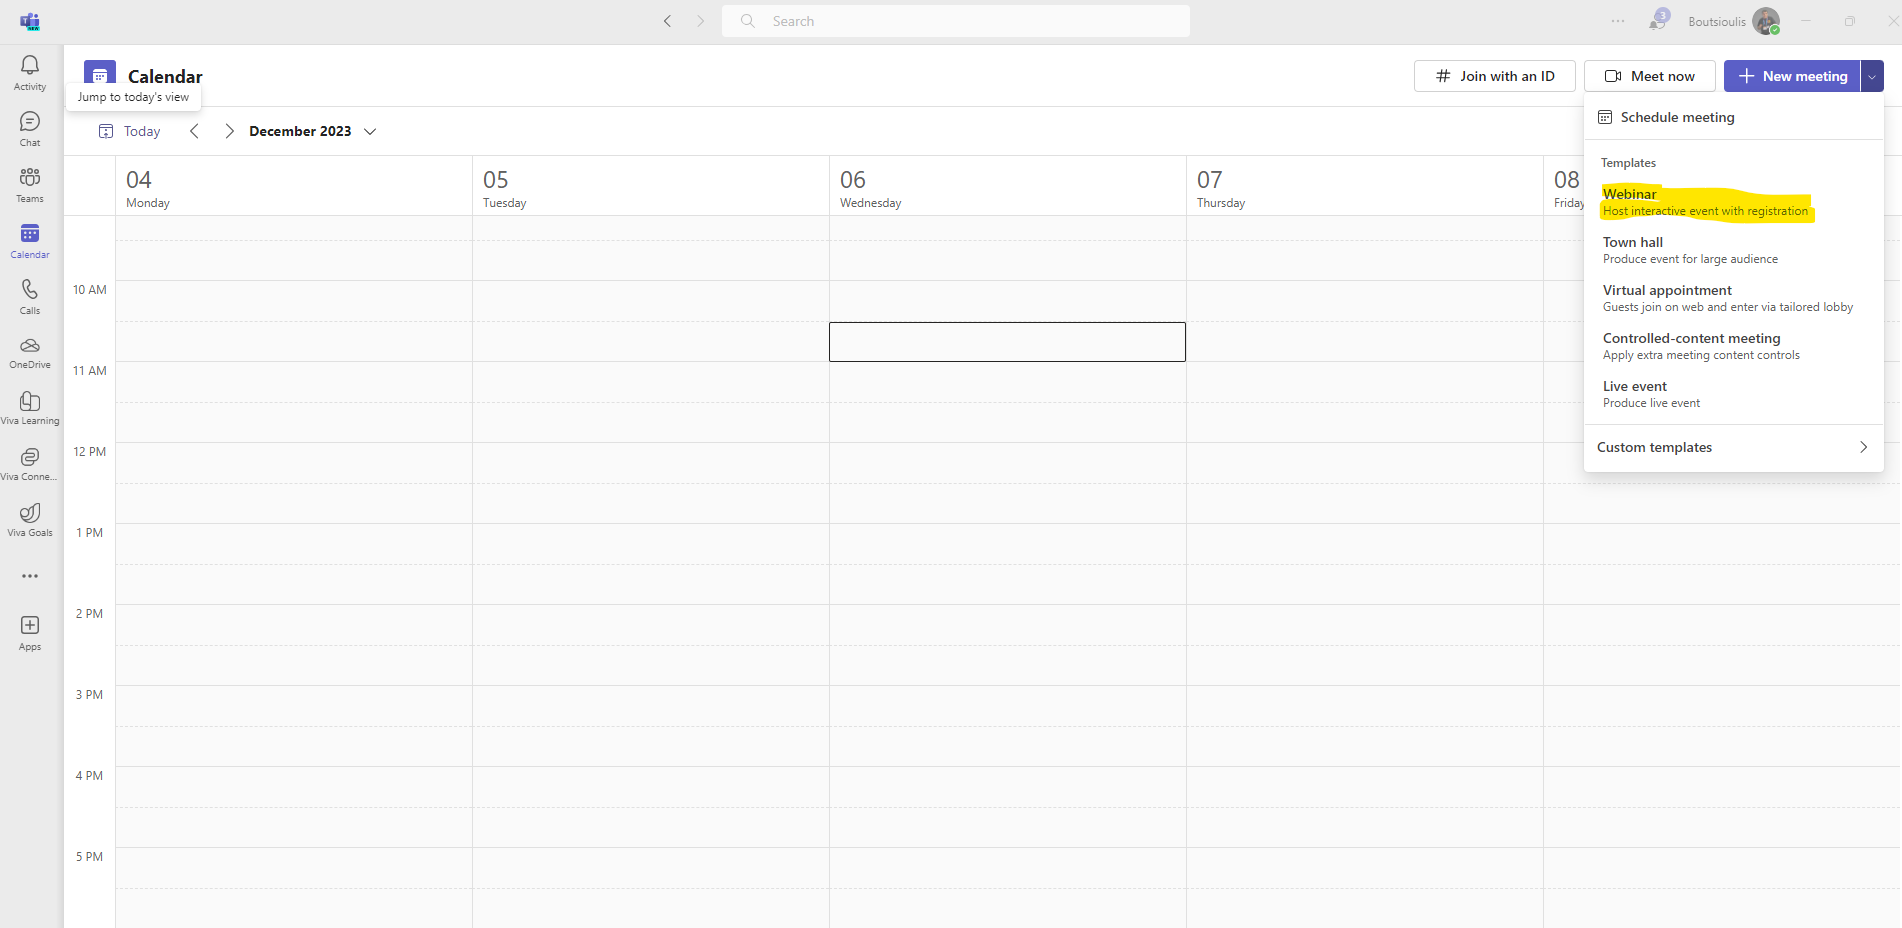
And then we select calendar on the left .There we have to go to the top right in the New Meeting option next to the arrow to select Webinar
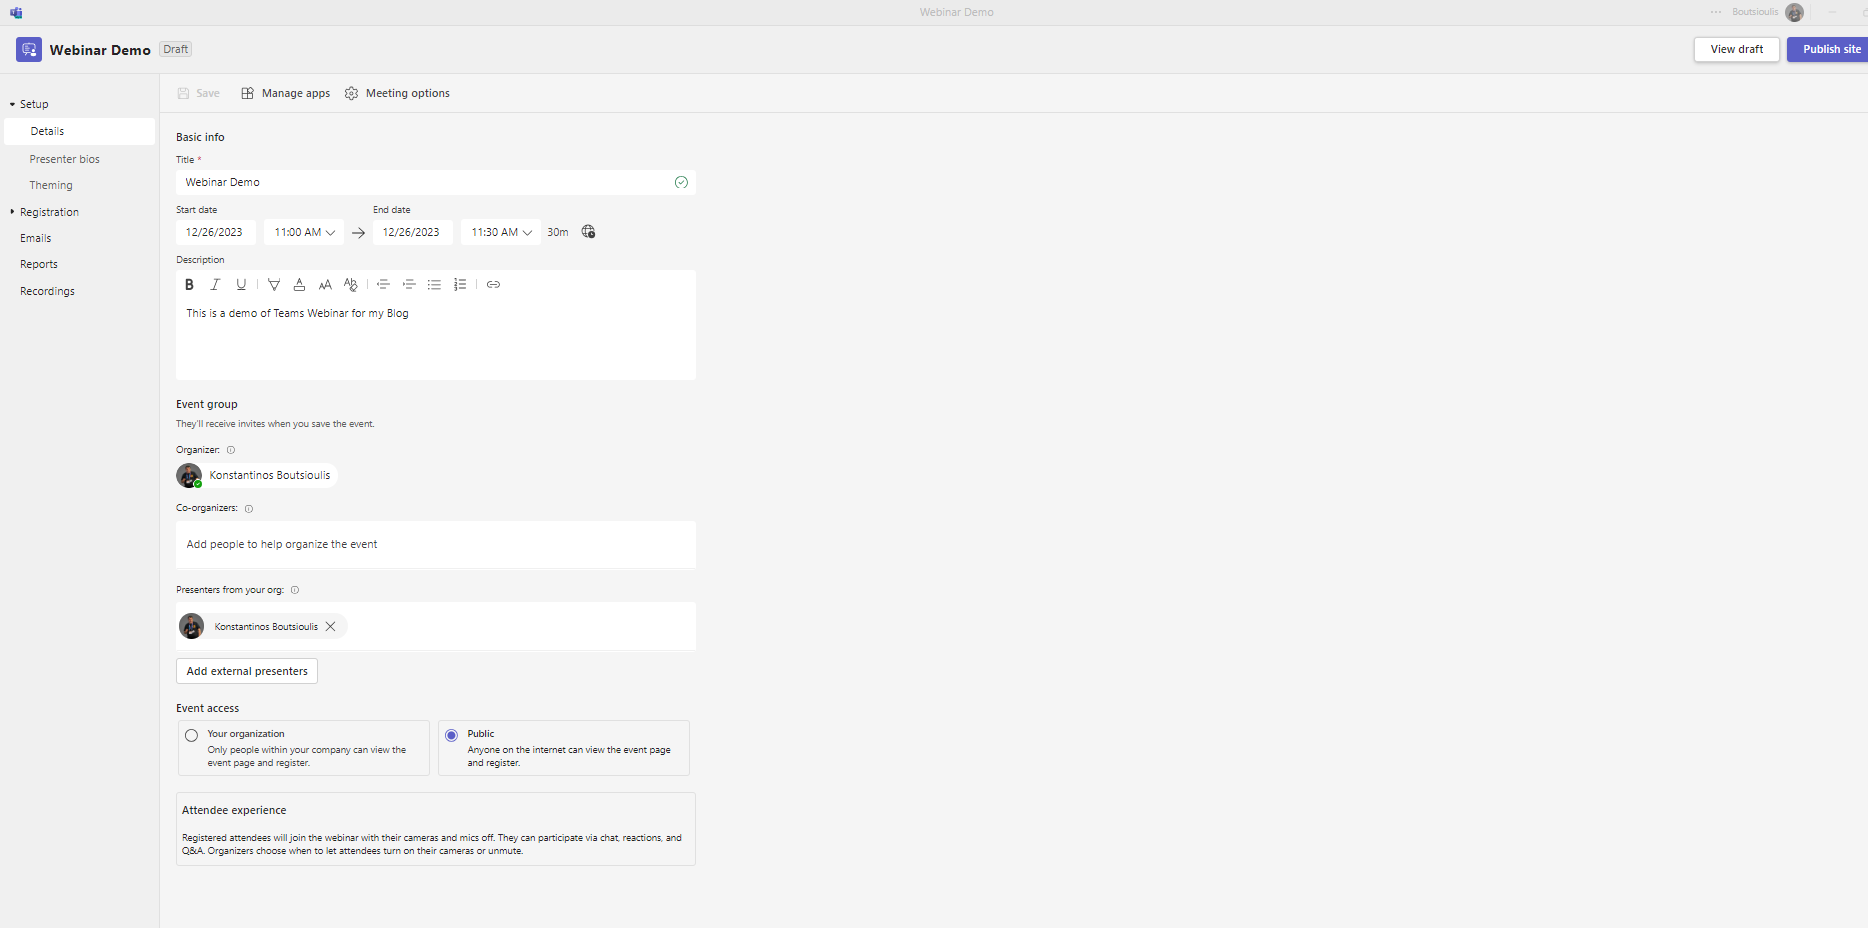
As in Town Hall and here in the same logic it opens a webinar management page with different tabs and properties underneath In the first tab Details is pretty much our familiar tab that we create an event where at the top we are asked for a title of the event and immediately below we have to enter the date and time of opening as well as date and time of end of the event There is the context in which we should enter a description for our webinar There is the field of organizer as well as field with co-organizer as well as another field where we can enter Presenters from our organization. If we wish to import presenters from outside our organization we select the next field to import external presenters (press button add external presenters) We then have the option to choose whether we want the event to be targeted only to our organization members or we want it to be a Public webinar
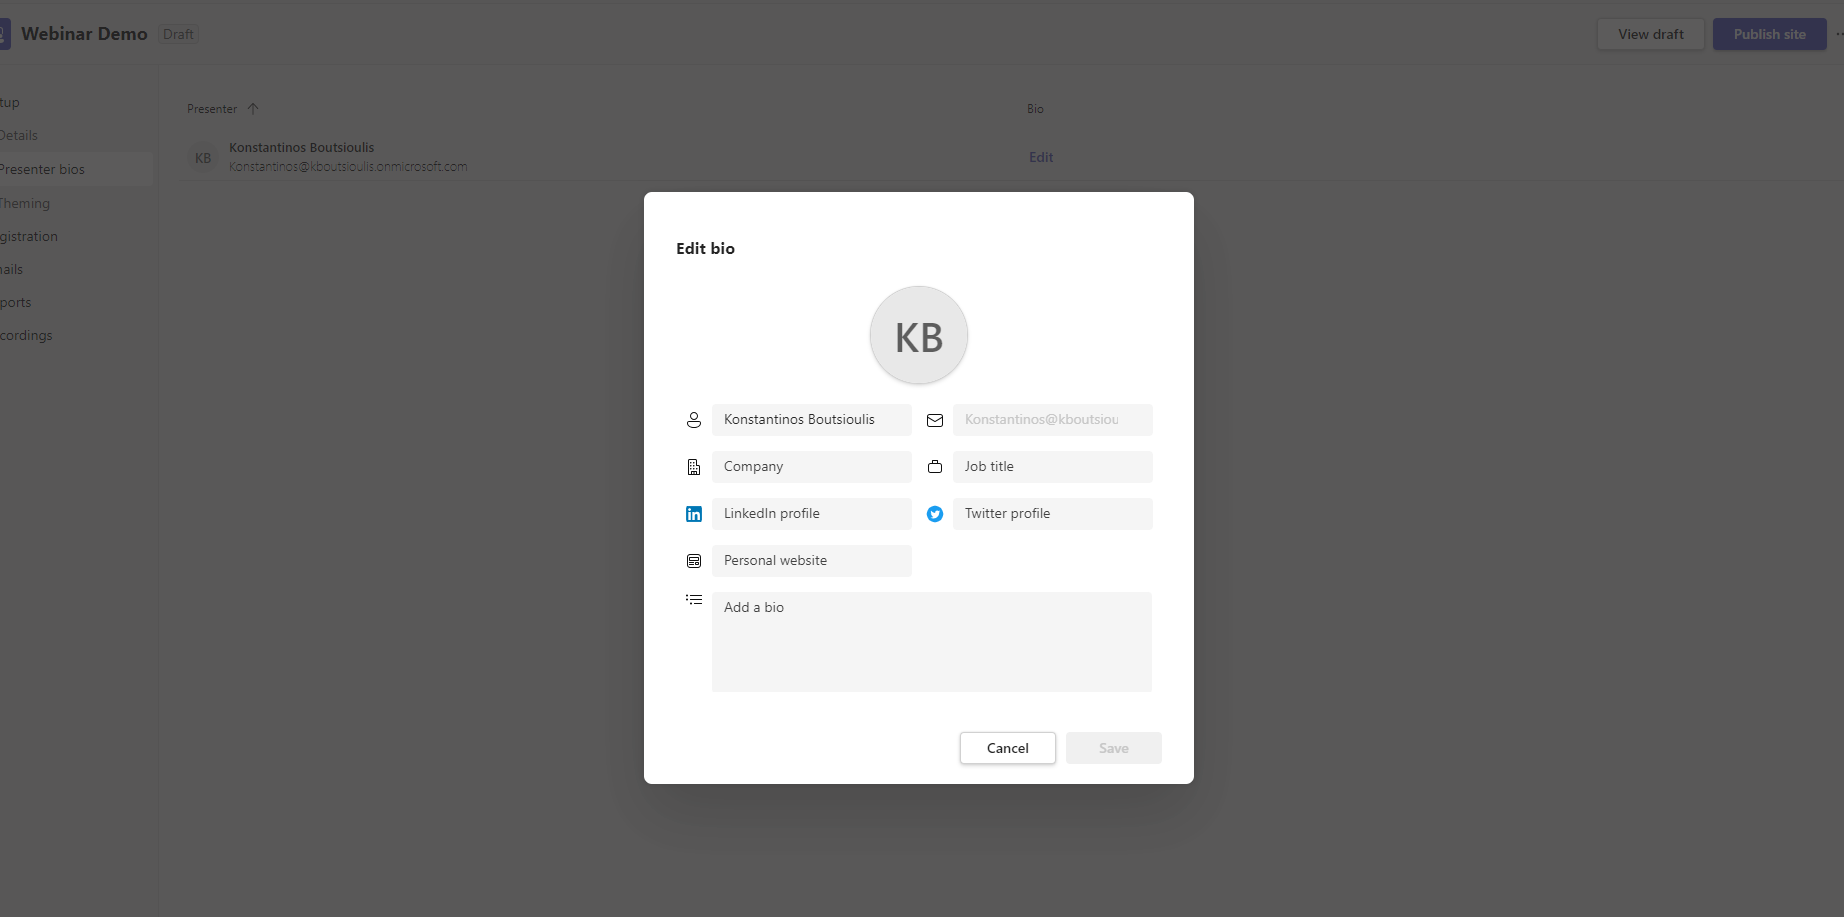
In the second option of the webinar we will be able to see the presenters and their emails and there is an edit on the right
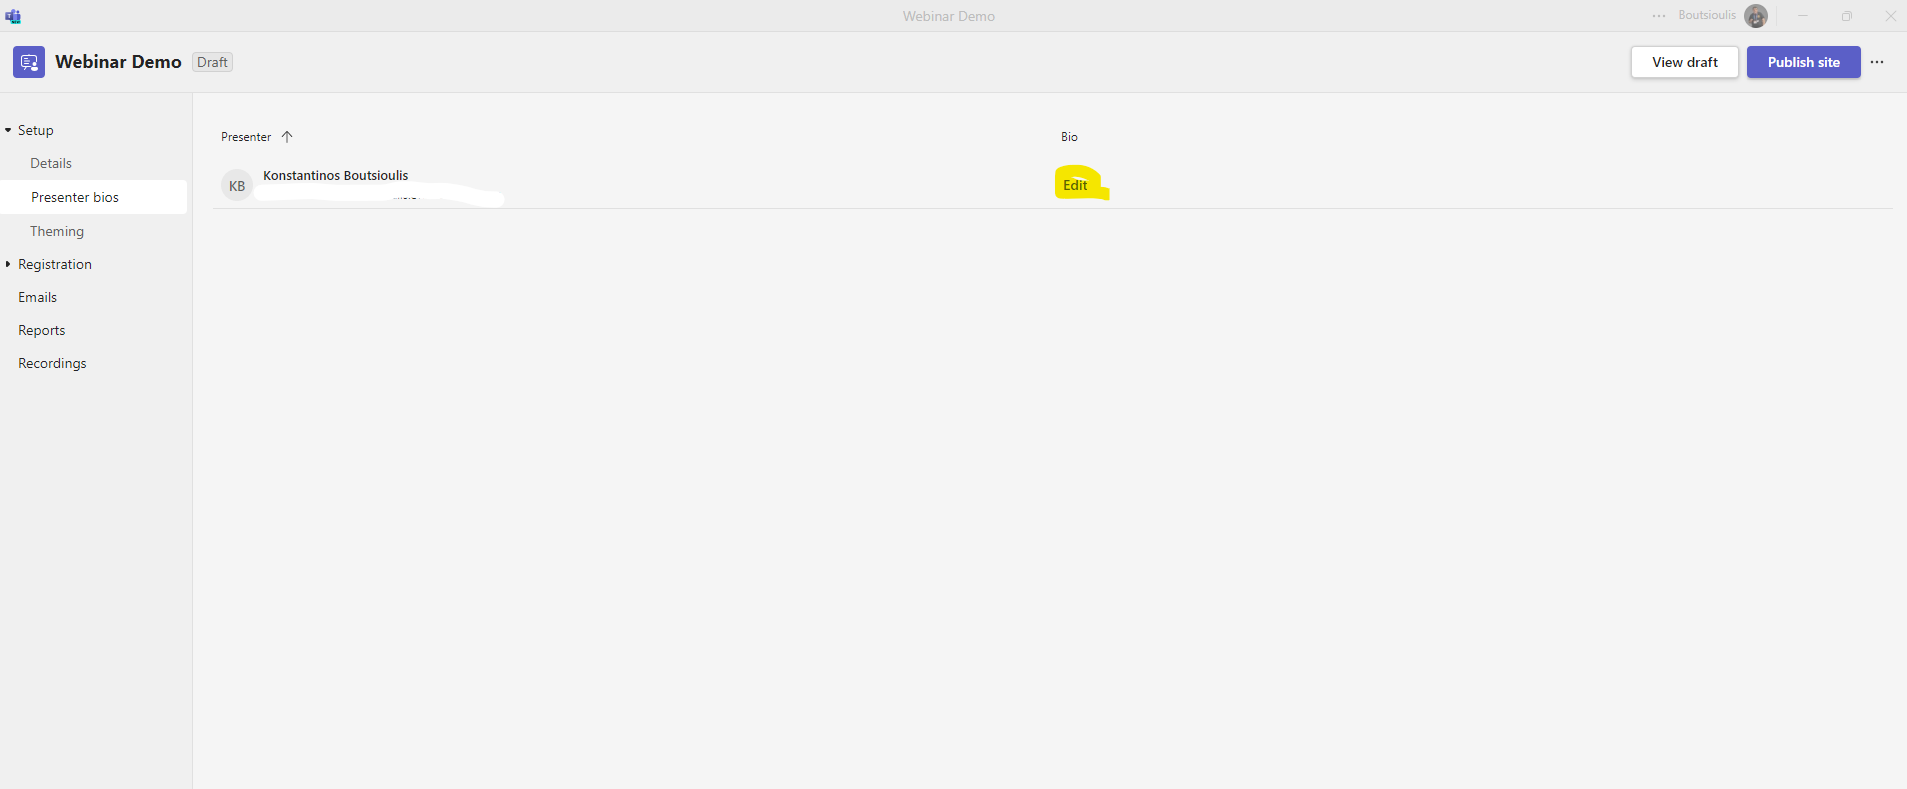
Here we have the option to enter the speaker's bio as well as a number of social profiles
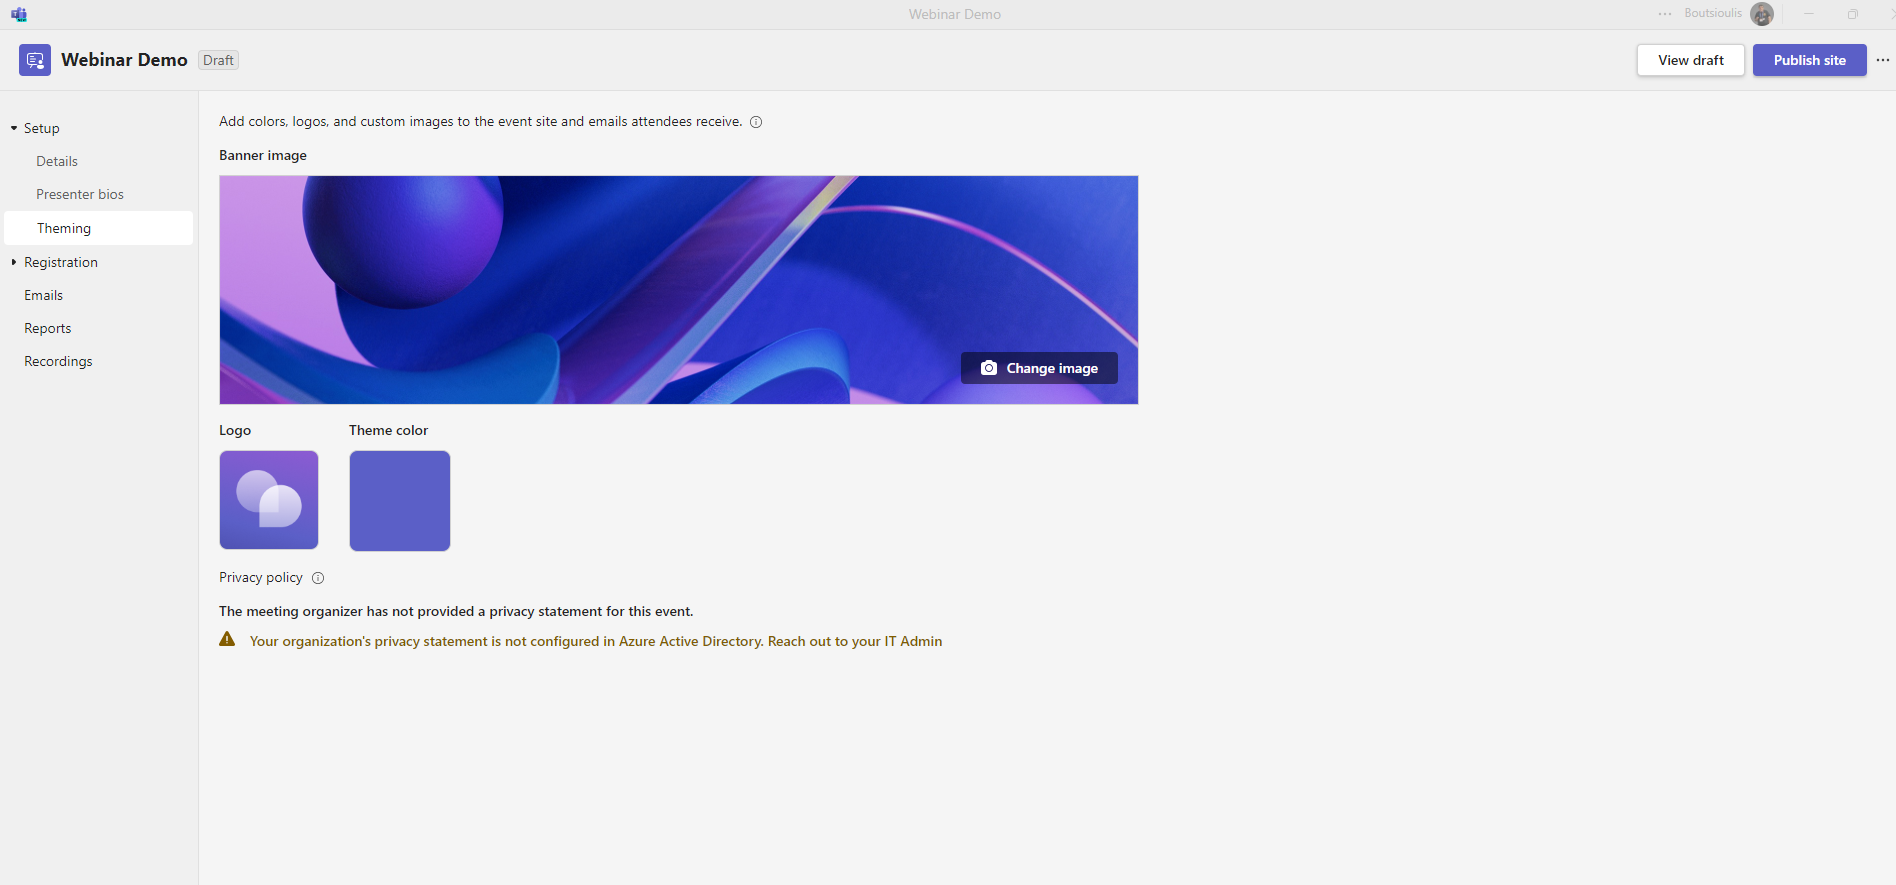
In the next theming tab as I have mentioned in other articles we select the background image and the logo of the organization that will be sent to the emails of the participants or stored on the webinar page
And as I mentioned a little while ago in the image below you can see a Preview of the page that will be created during the webinar
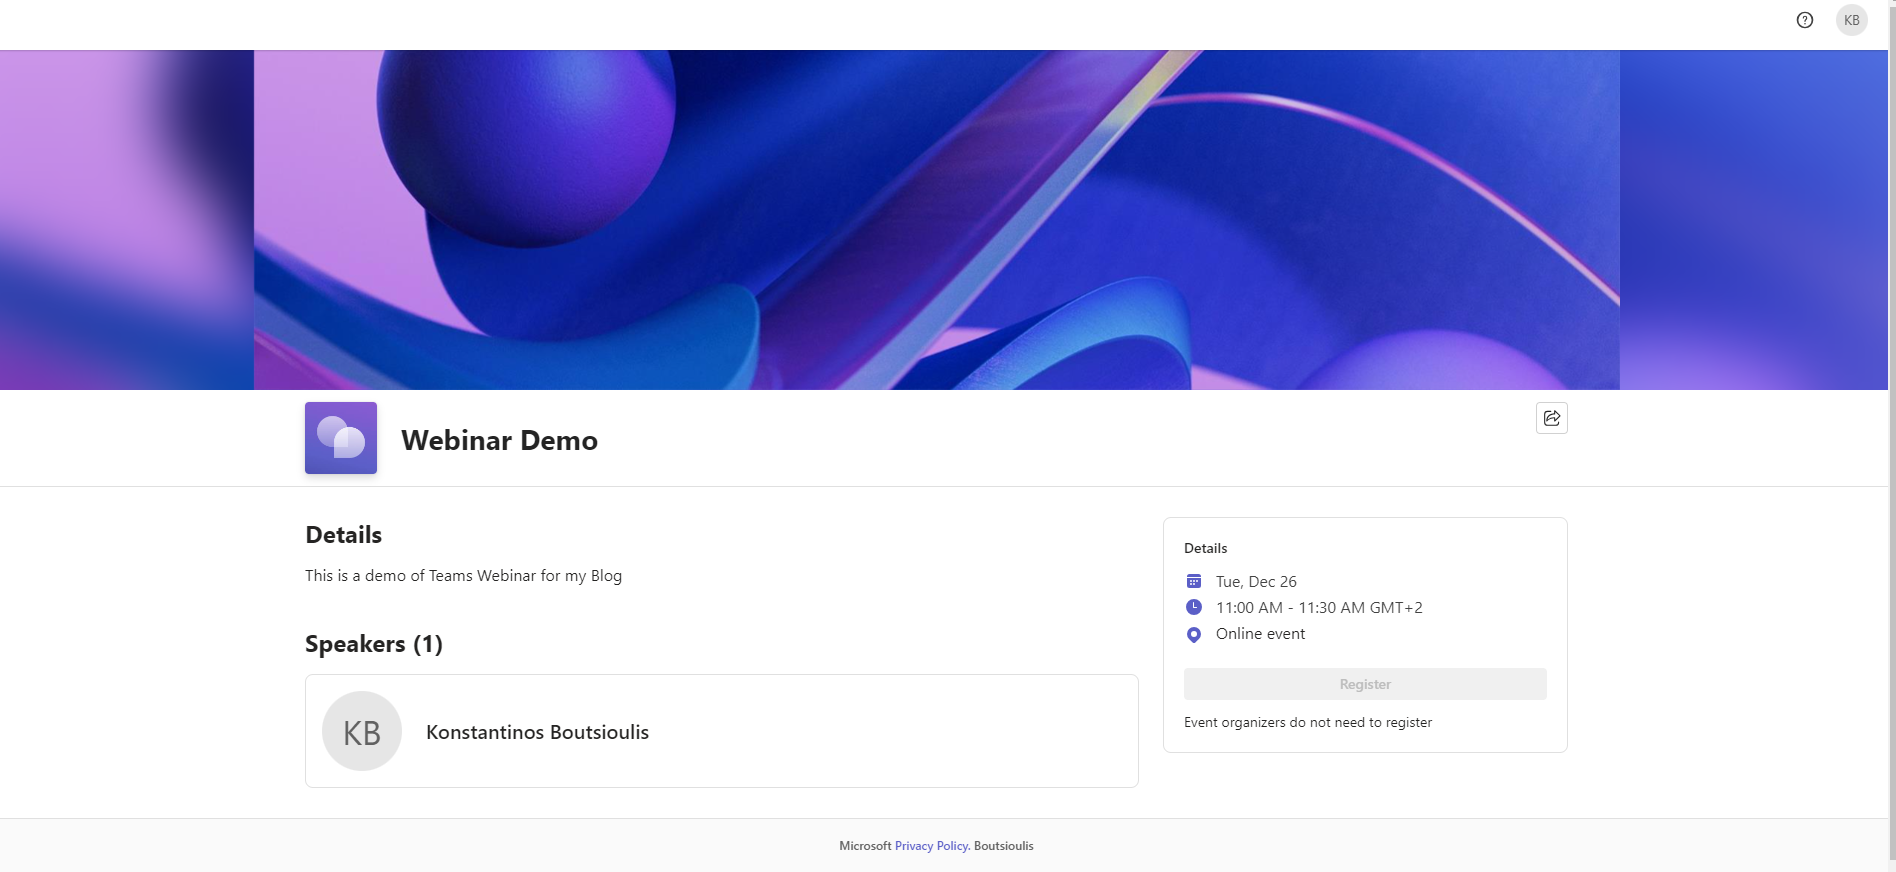
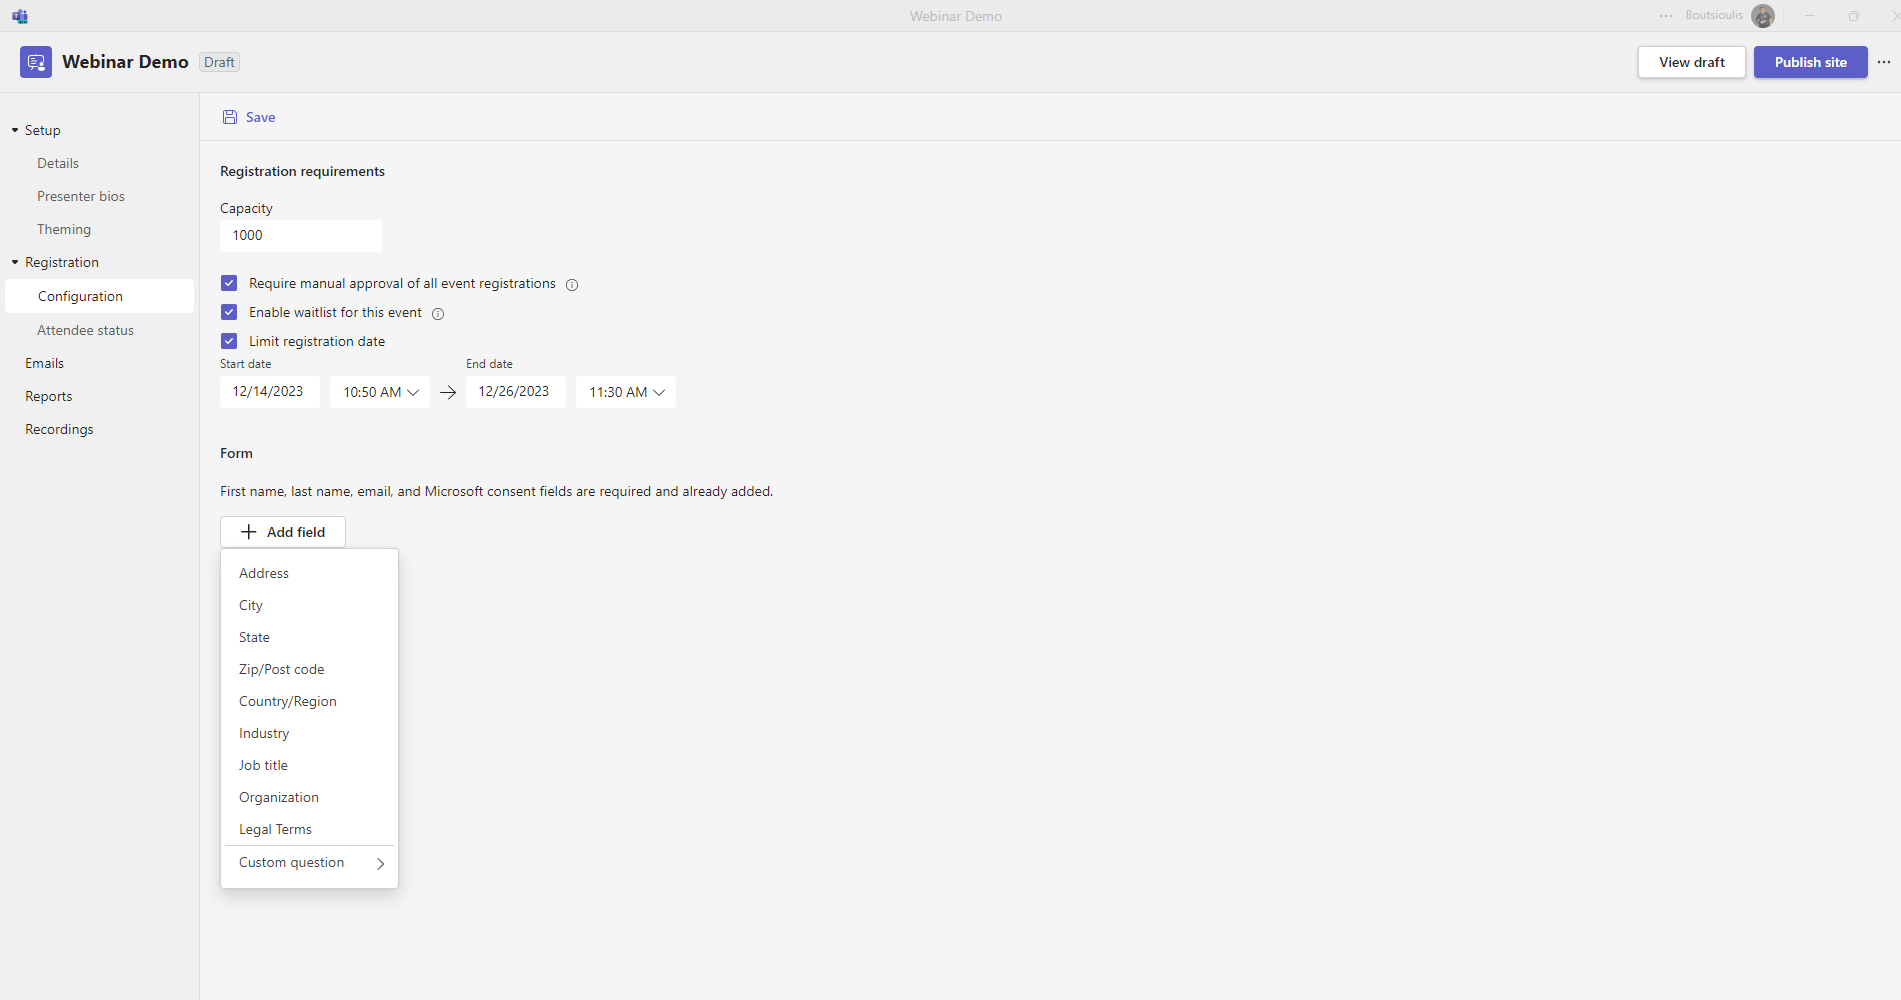
If you have not noticed correctly on the right side there is a register button and let's go to the next group with options which is called Registration Here in the first subtab called configuration you can change the capacity for the registrations with default 1000 And at the bottom a row of options if you want to do a manual approval of the registrations or activate the waiting list or set a date by which the registrations should be done If you want to add another field click on the add field and add your choice

As you can see there are a number of options such as address, city, organization, job title and others as well as a custom question that you would like to put in the community
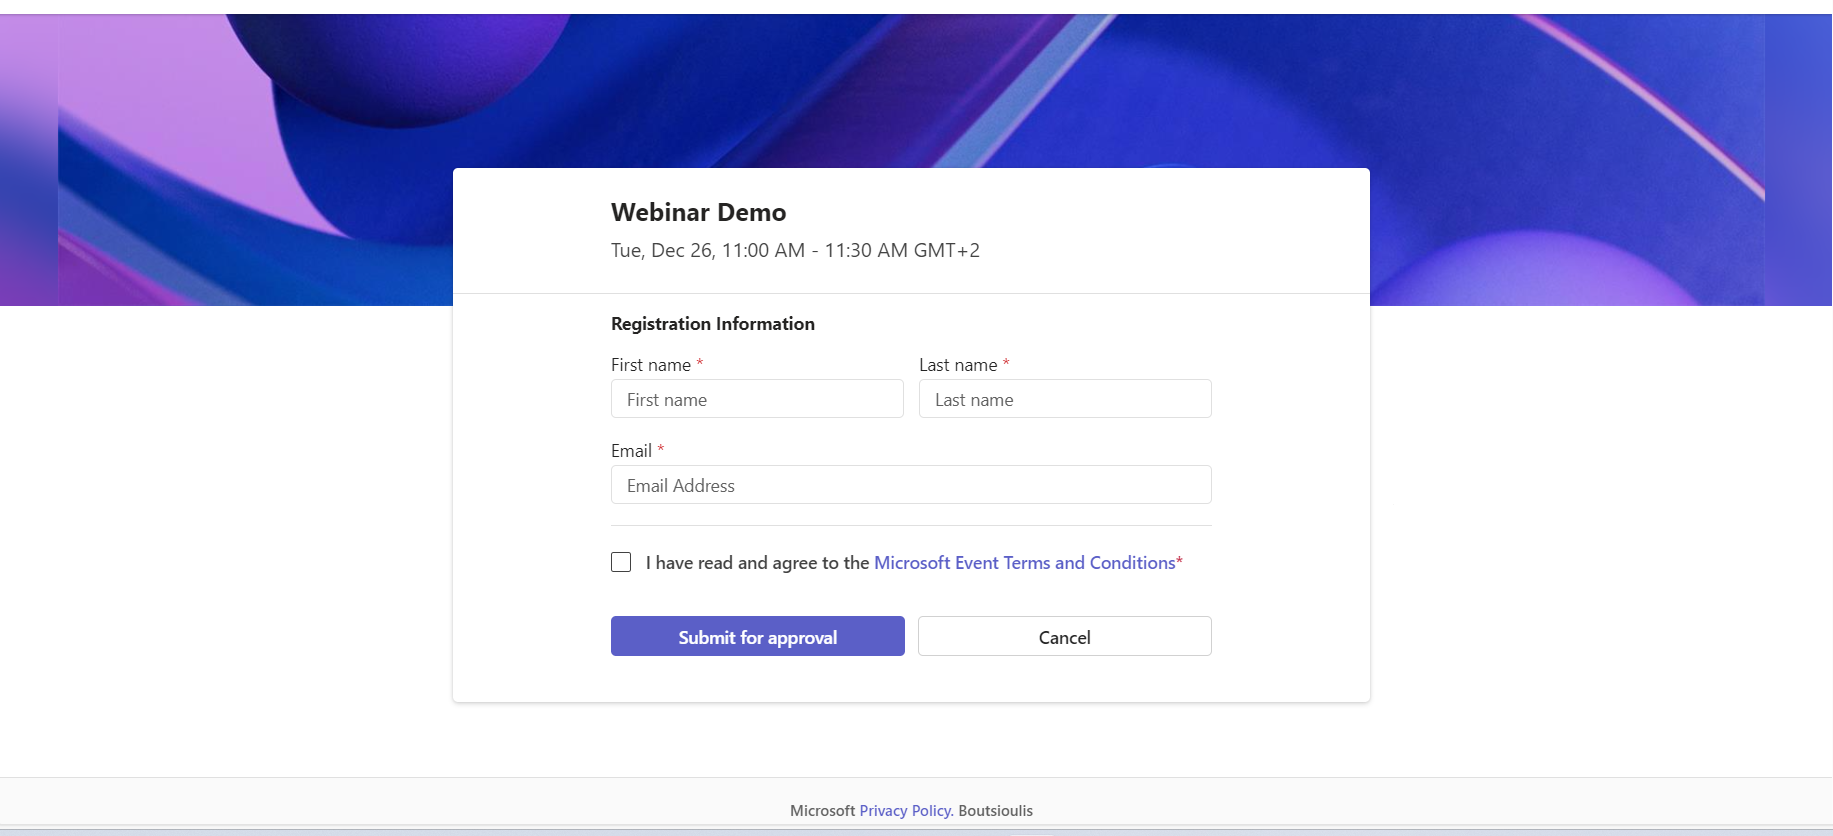
If we click register on the home page, a new window will open in the following format where we will have to submit our details to participate in the webinar
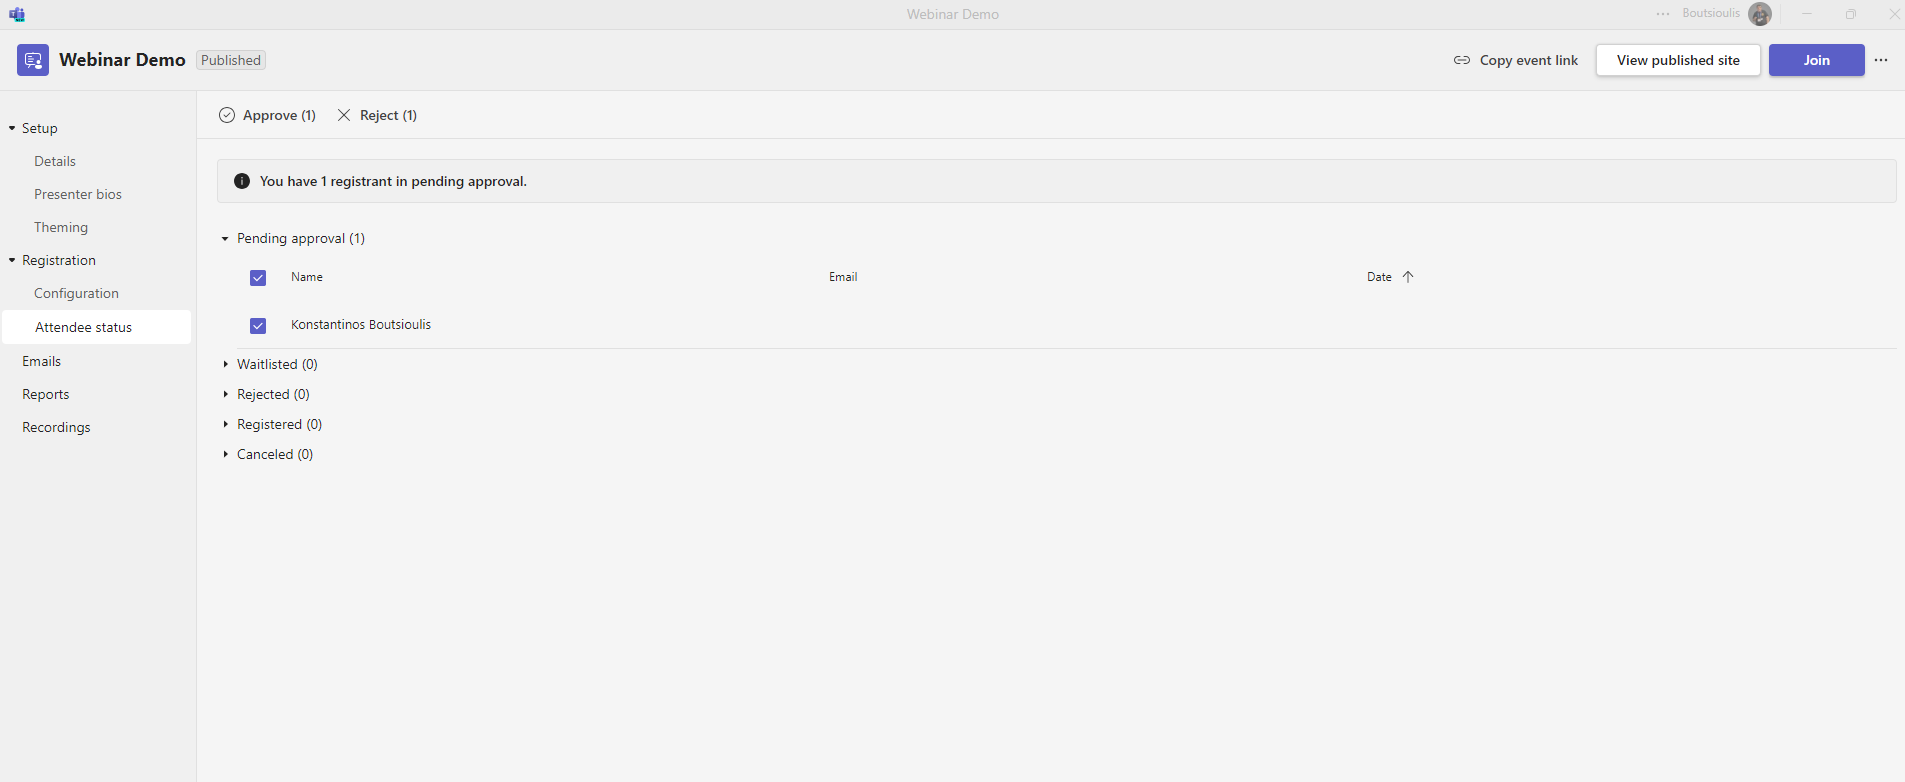
After submission as you can see in the next tab attendee status has passed the application that I made and is in pending status until it is accepted by the organizer .At the same time you can see all types of options such as rejected . waitlisted,,registered and canceled
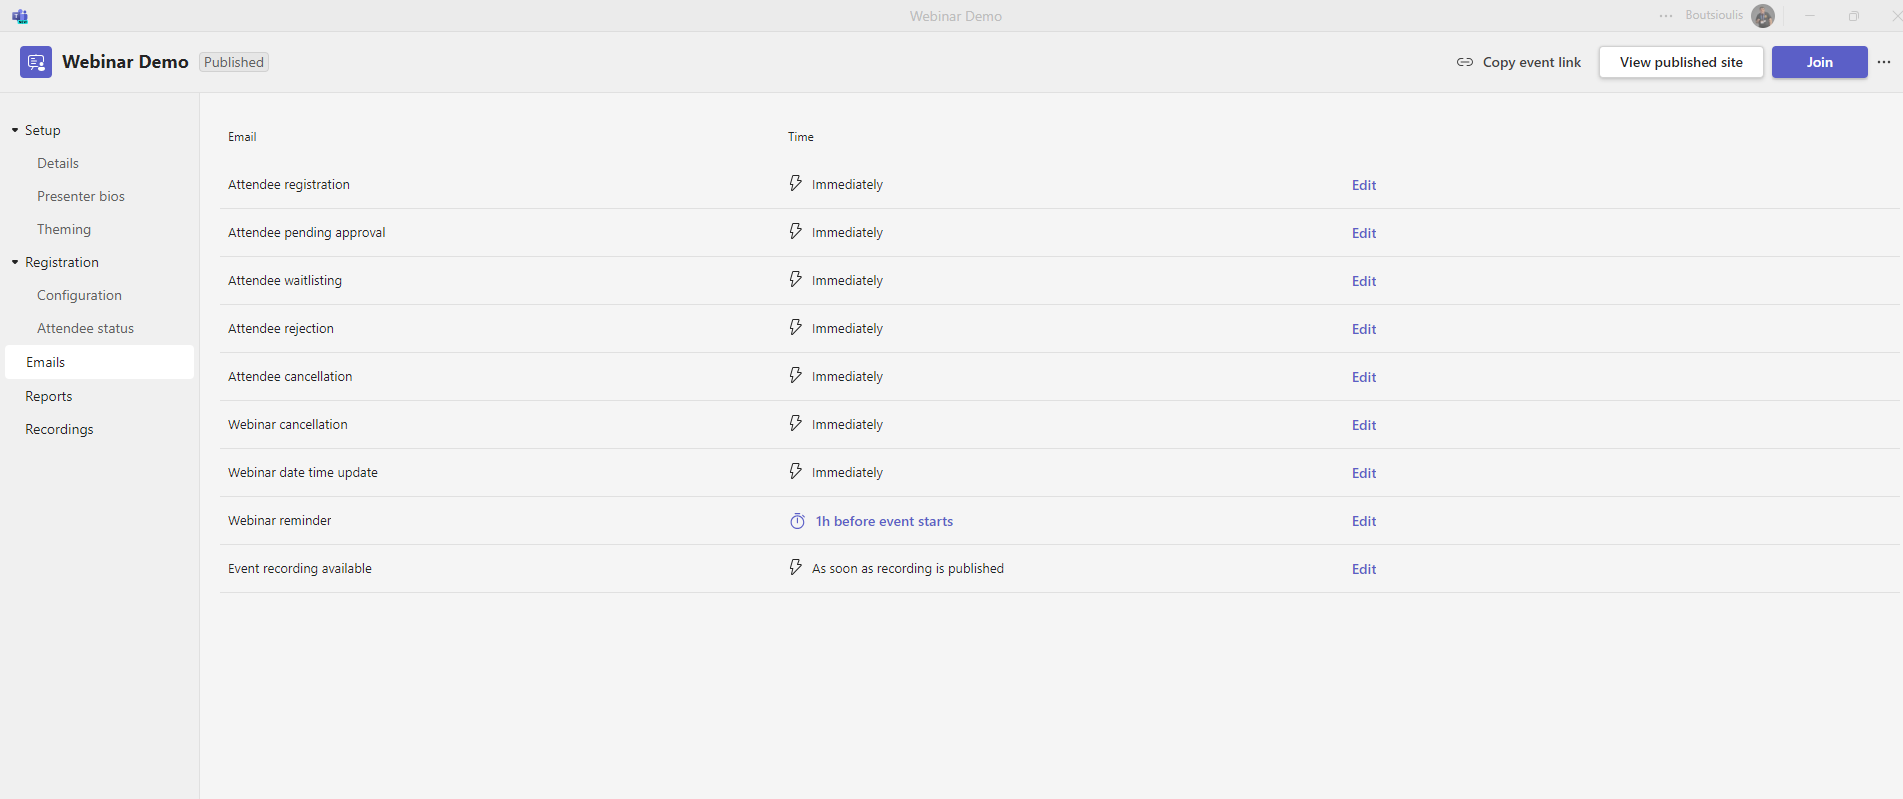
And we went to the tab with most options although they have similar approach . It's the emails tab and we see a row of options where on the right there is the edit tab to be able to edit and make changes
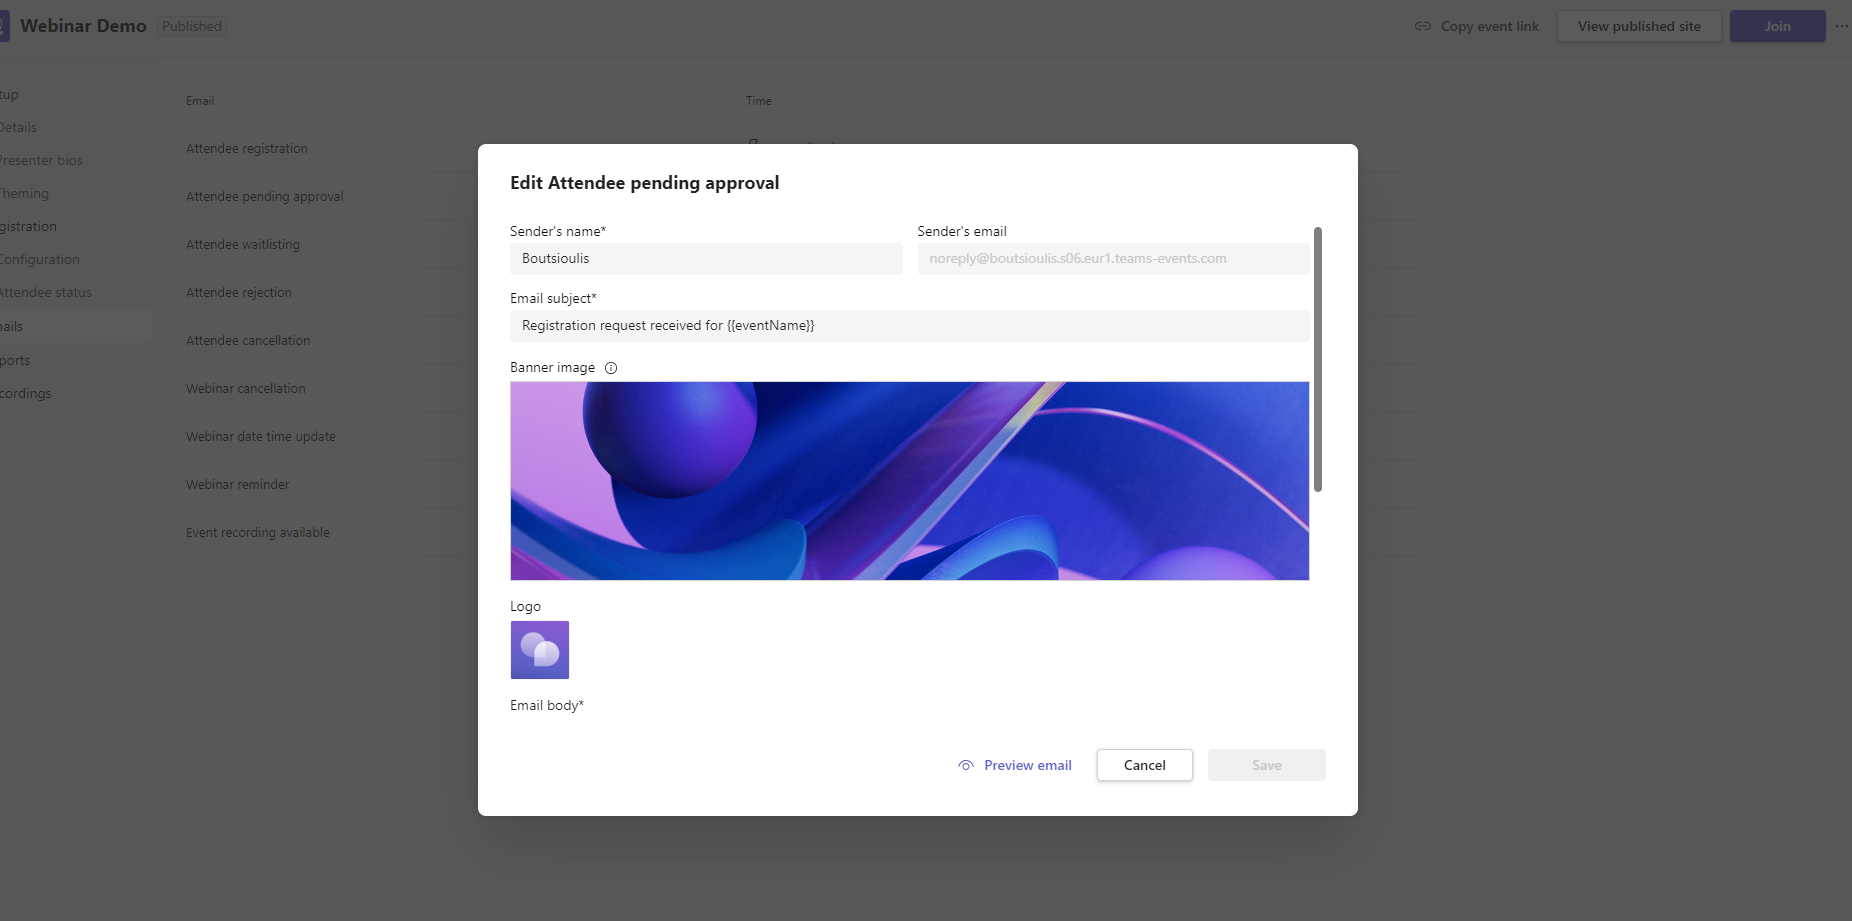
First we see the attendee pending approval where with edit opens a page that gives us the possibility to add sender's name and sender's mail as well as email subject as well as we can change the body of the email as we wish .The icons have been added from another previous option
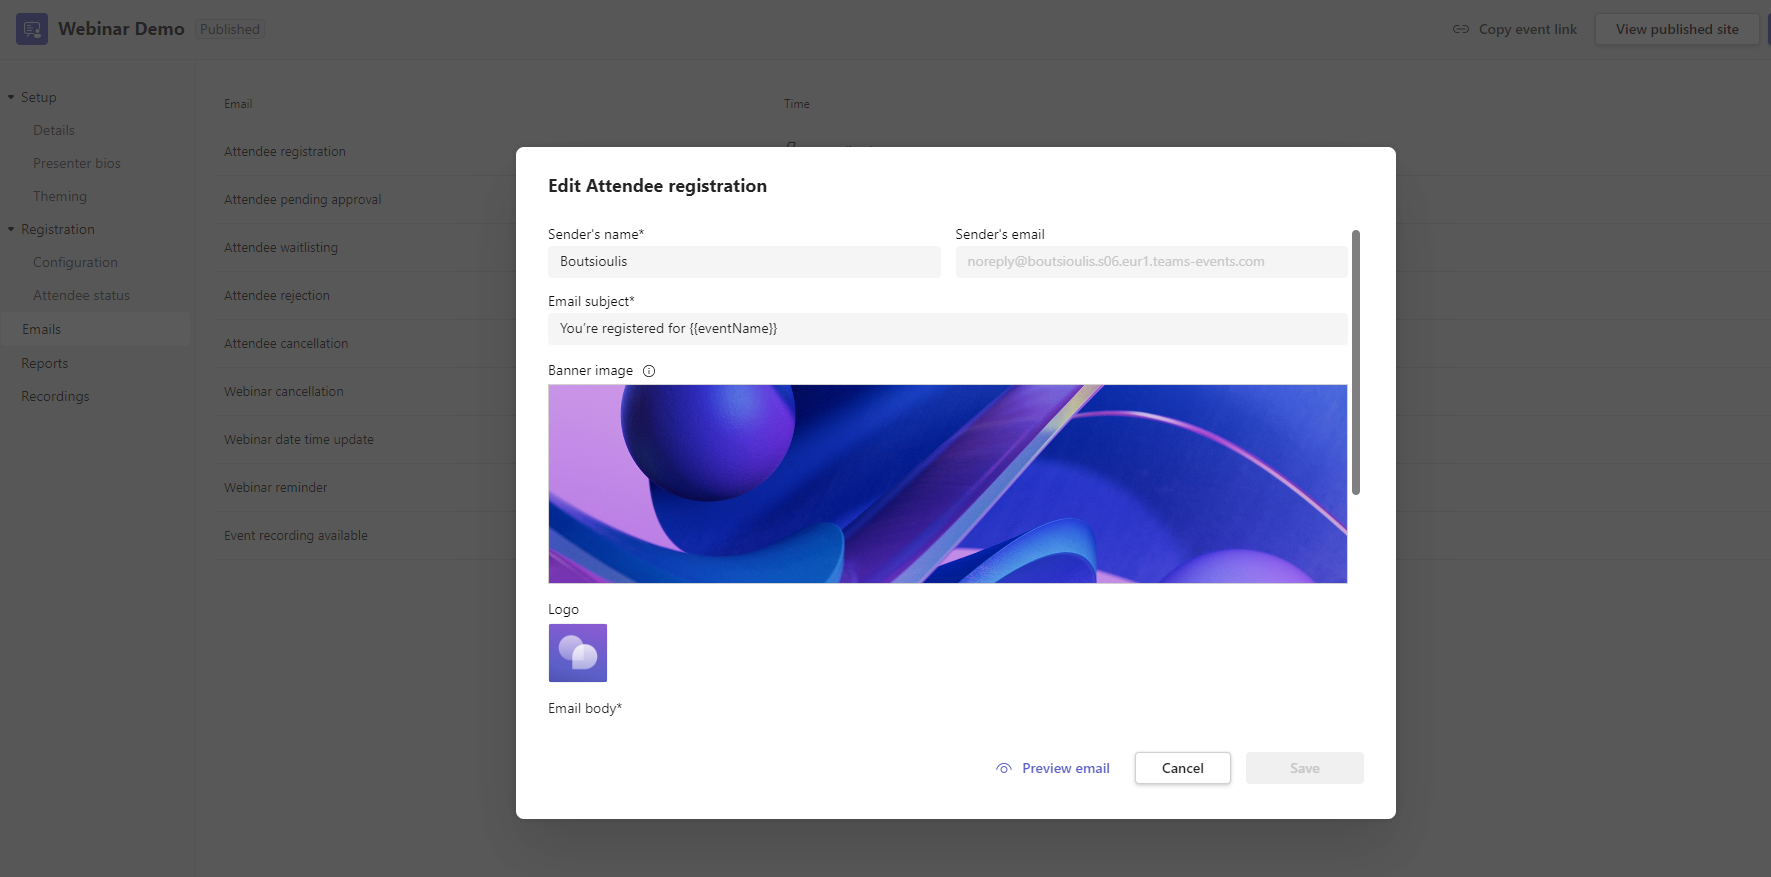
Then we see the attendee pending approval where with edit opens a page that gives us the possibility to add sender's name and sender's mail as well as email subject and we can change the body of the email as we wish .The icons have been added from another previous option
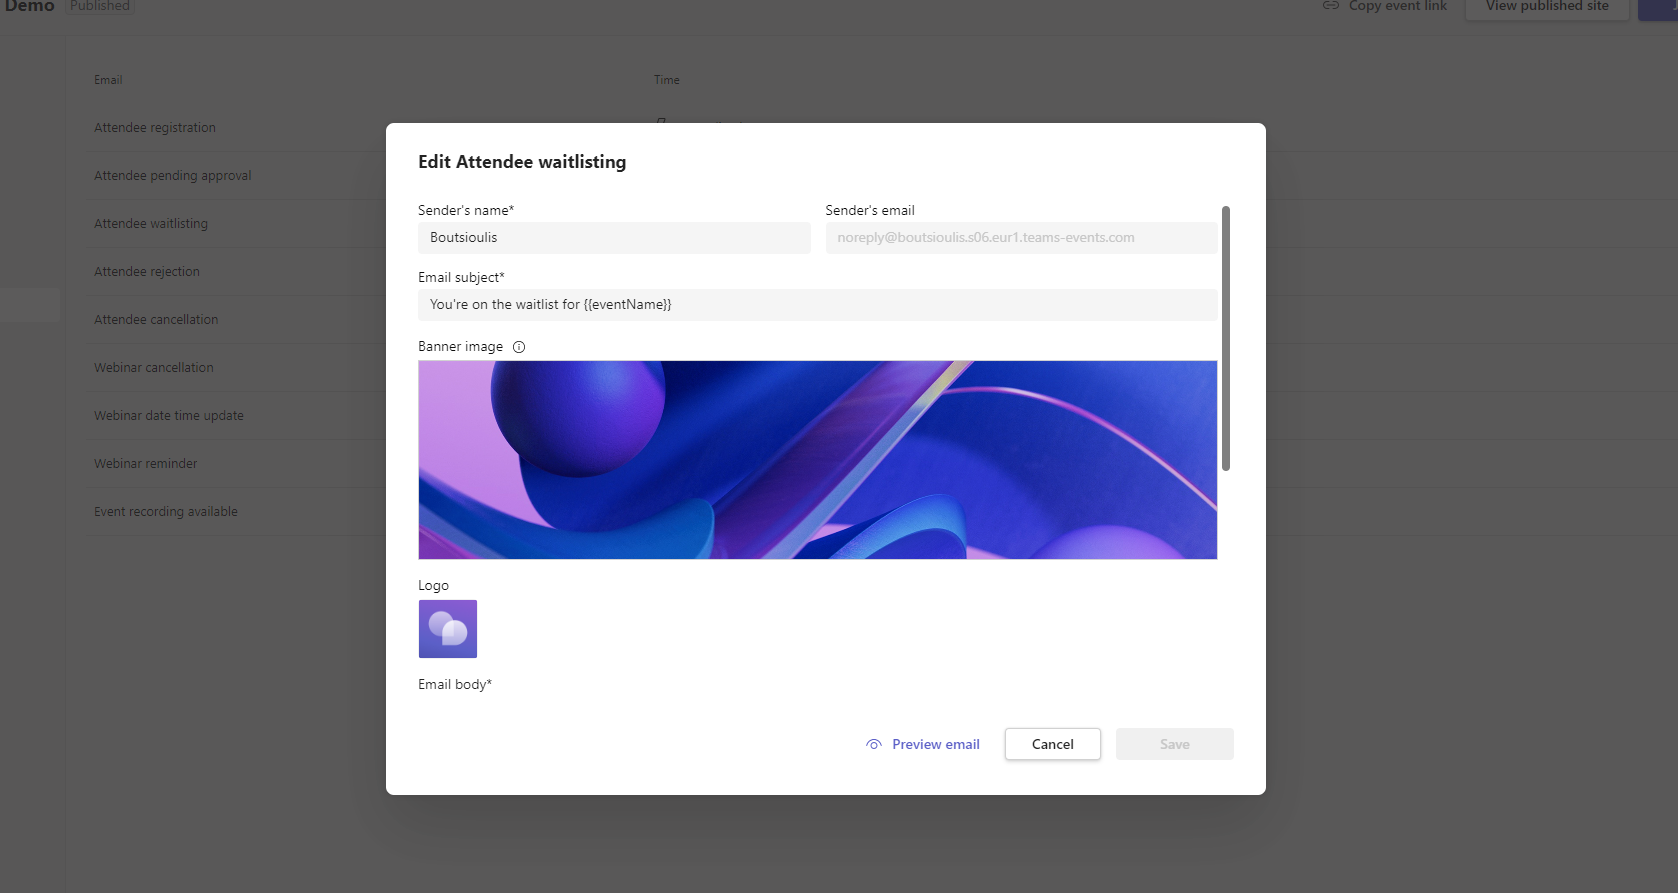
The same happens with the attendee waiting list where with edit opens a page that gives us the possibility to add sender's name and sender's mail as well as email subject and we can also change the body of the email as we wish .The icons have been added from another previous option
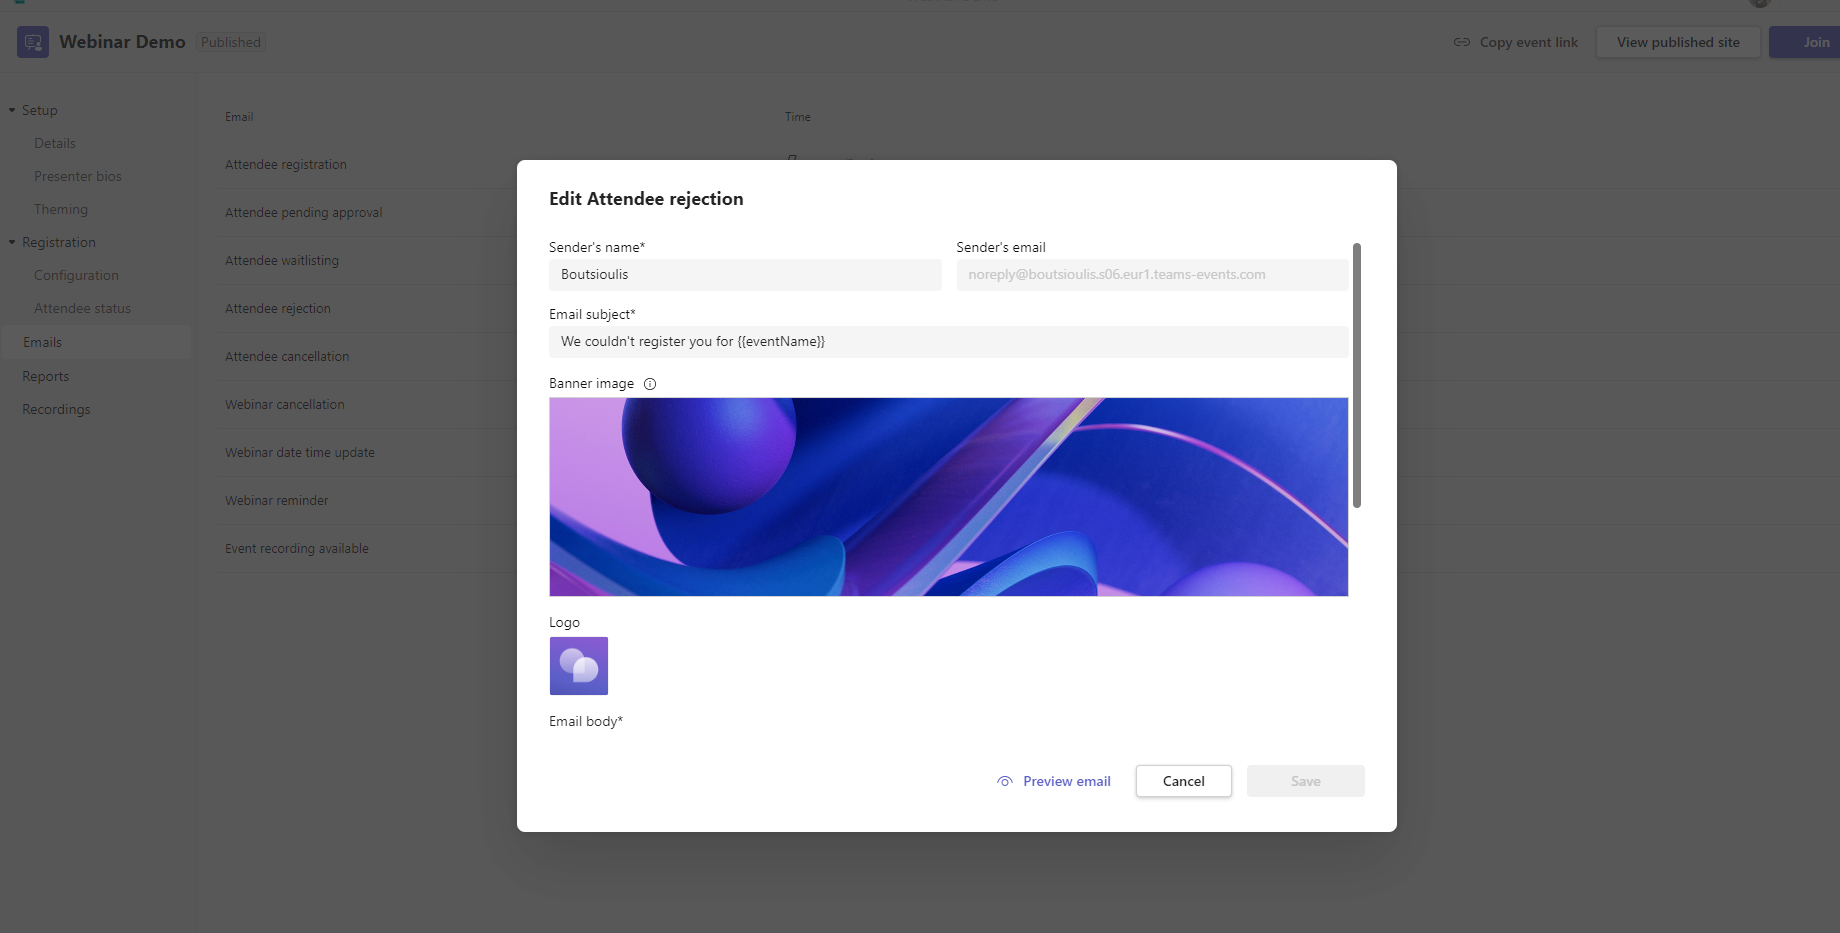
Same logic as before with attendee rejection
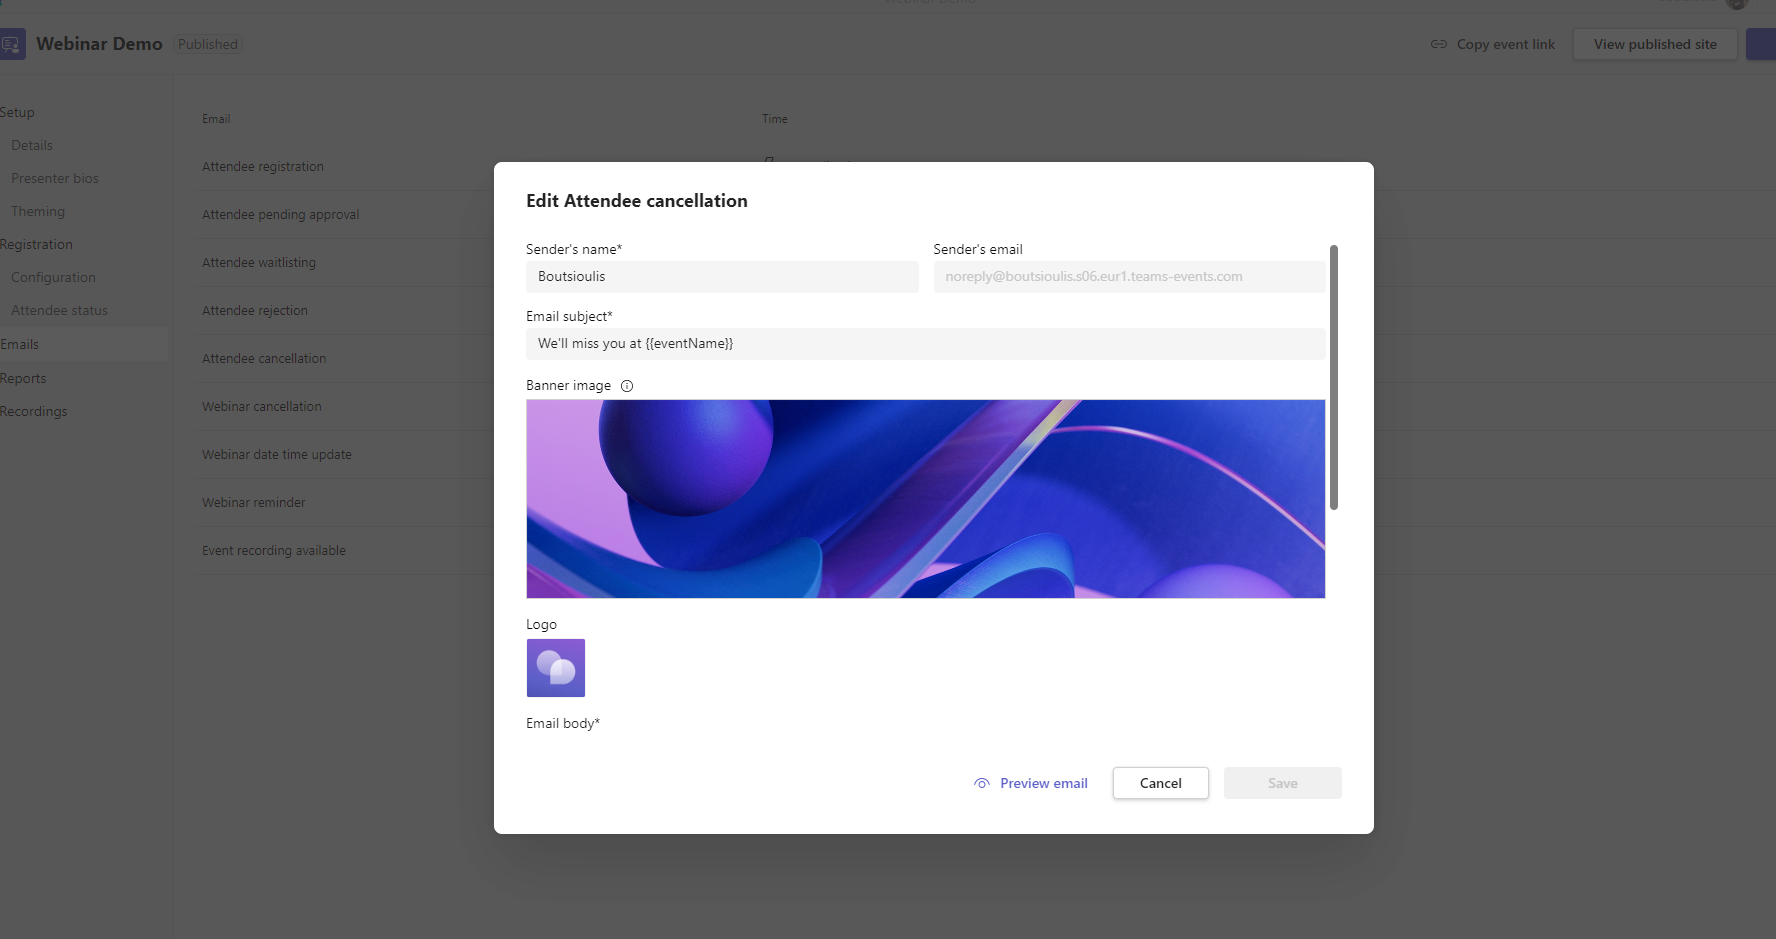
As well as the same with attendee cancellation
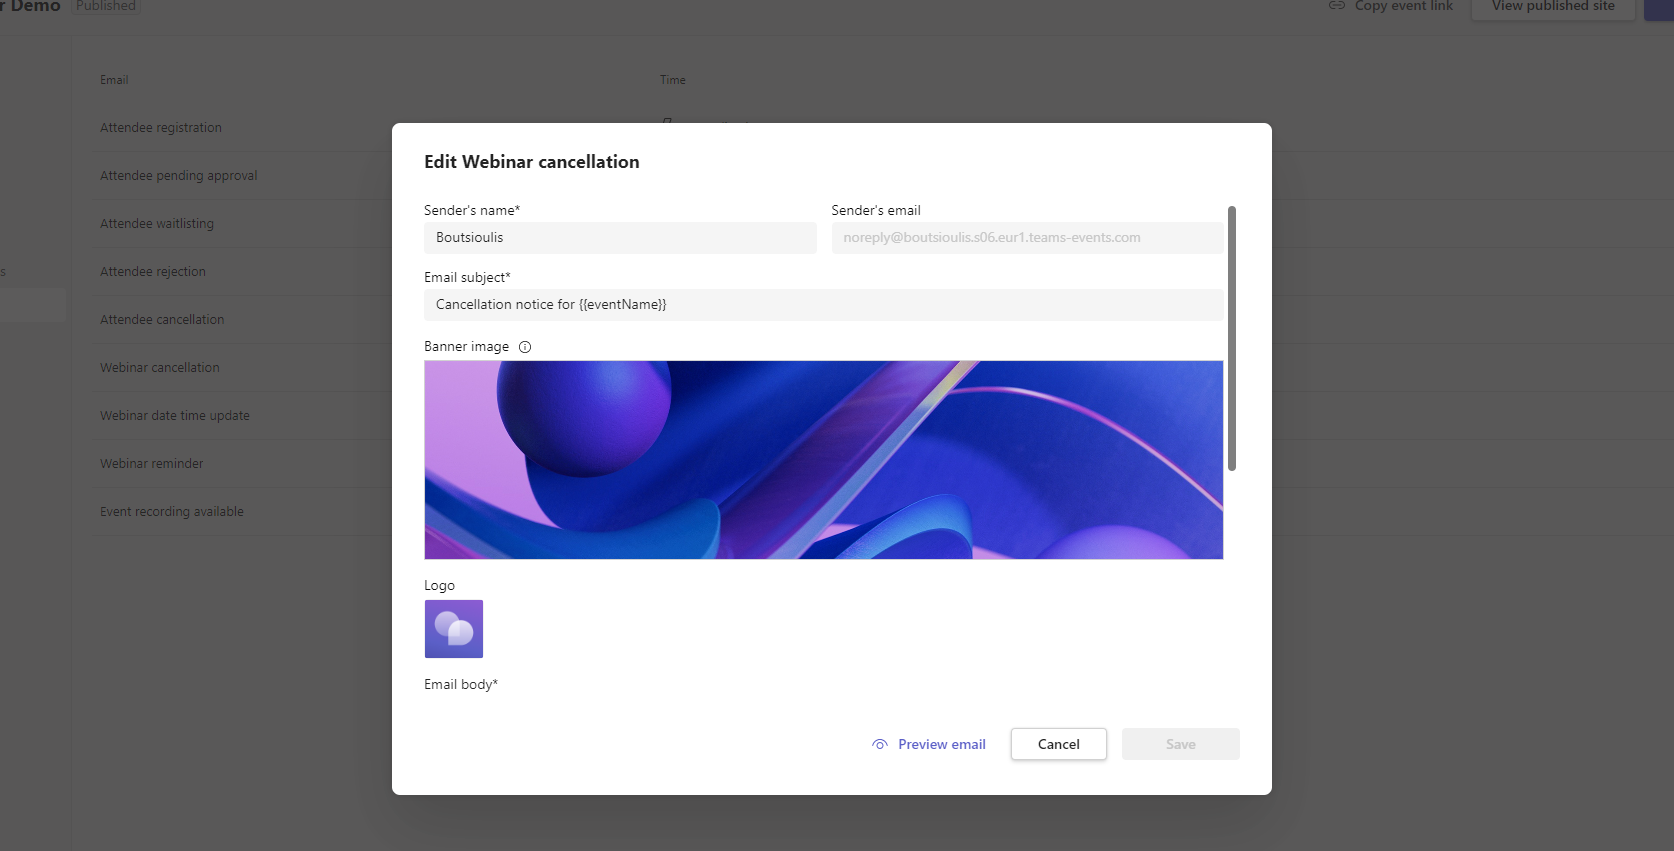
We continue with the webinar cancellation which is exactly the same as above
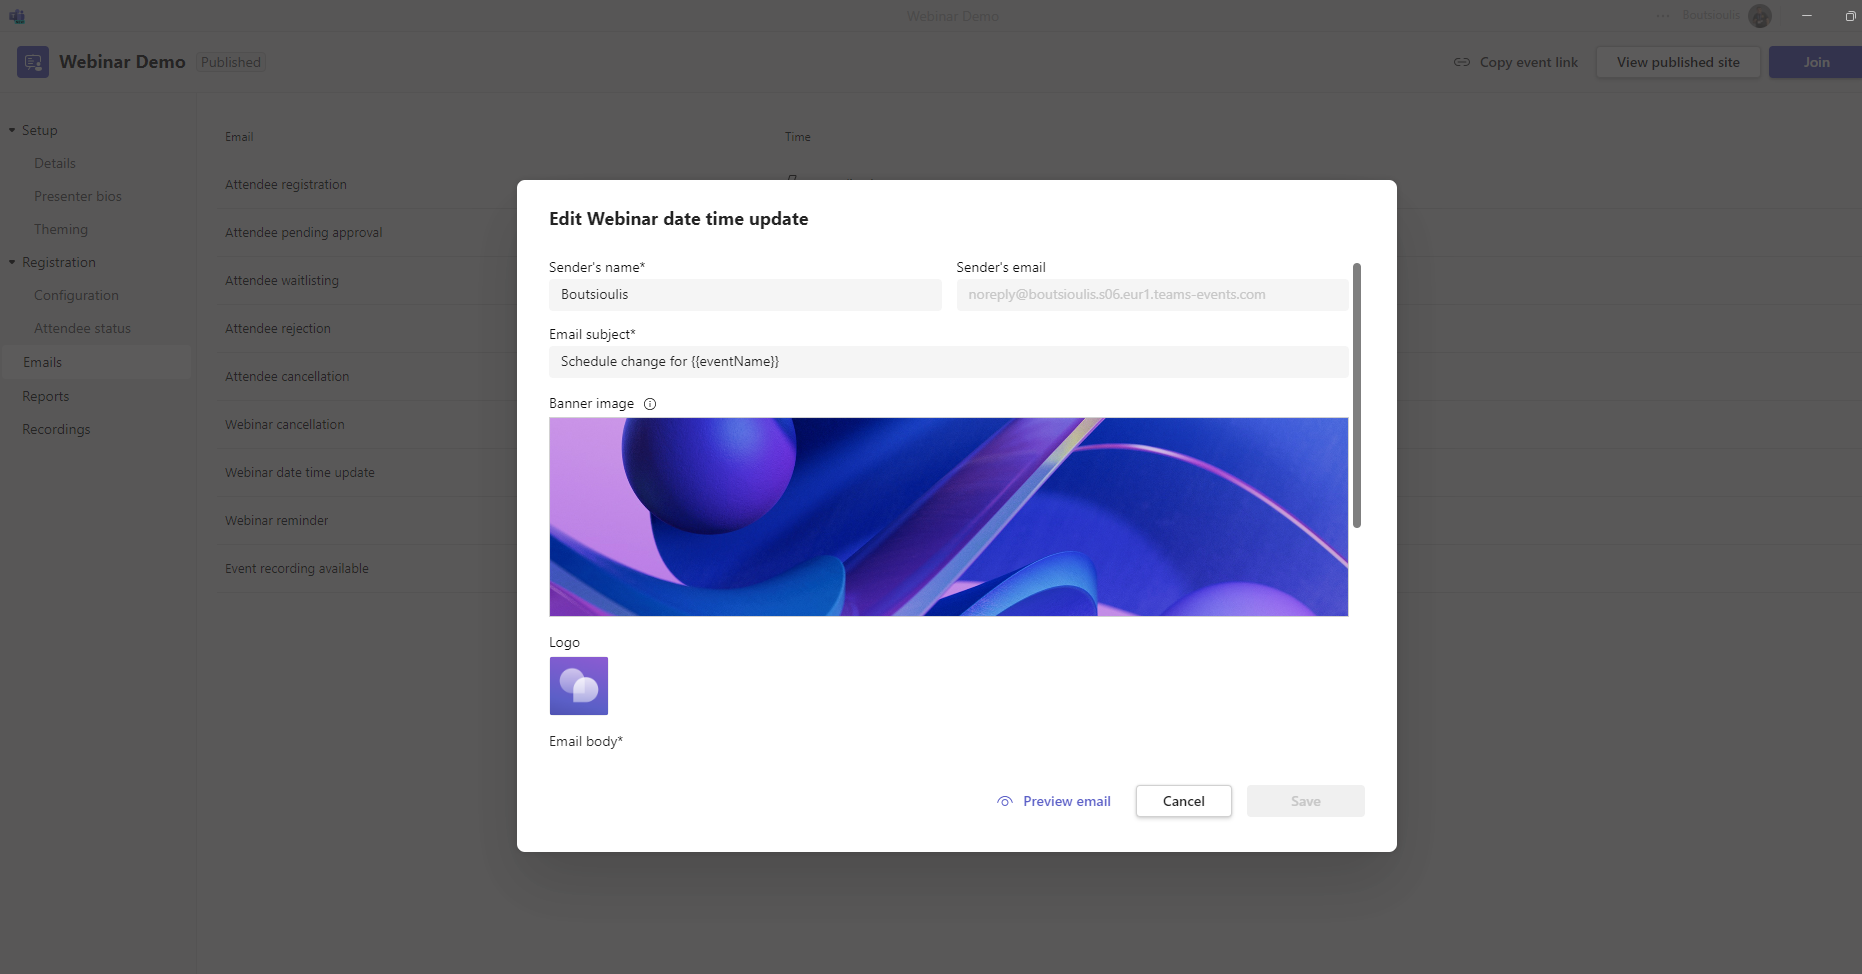
And in the next option we have the same form concerning the webinar date time update
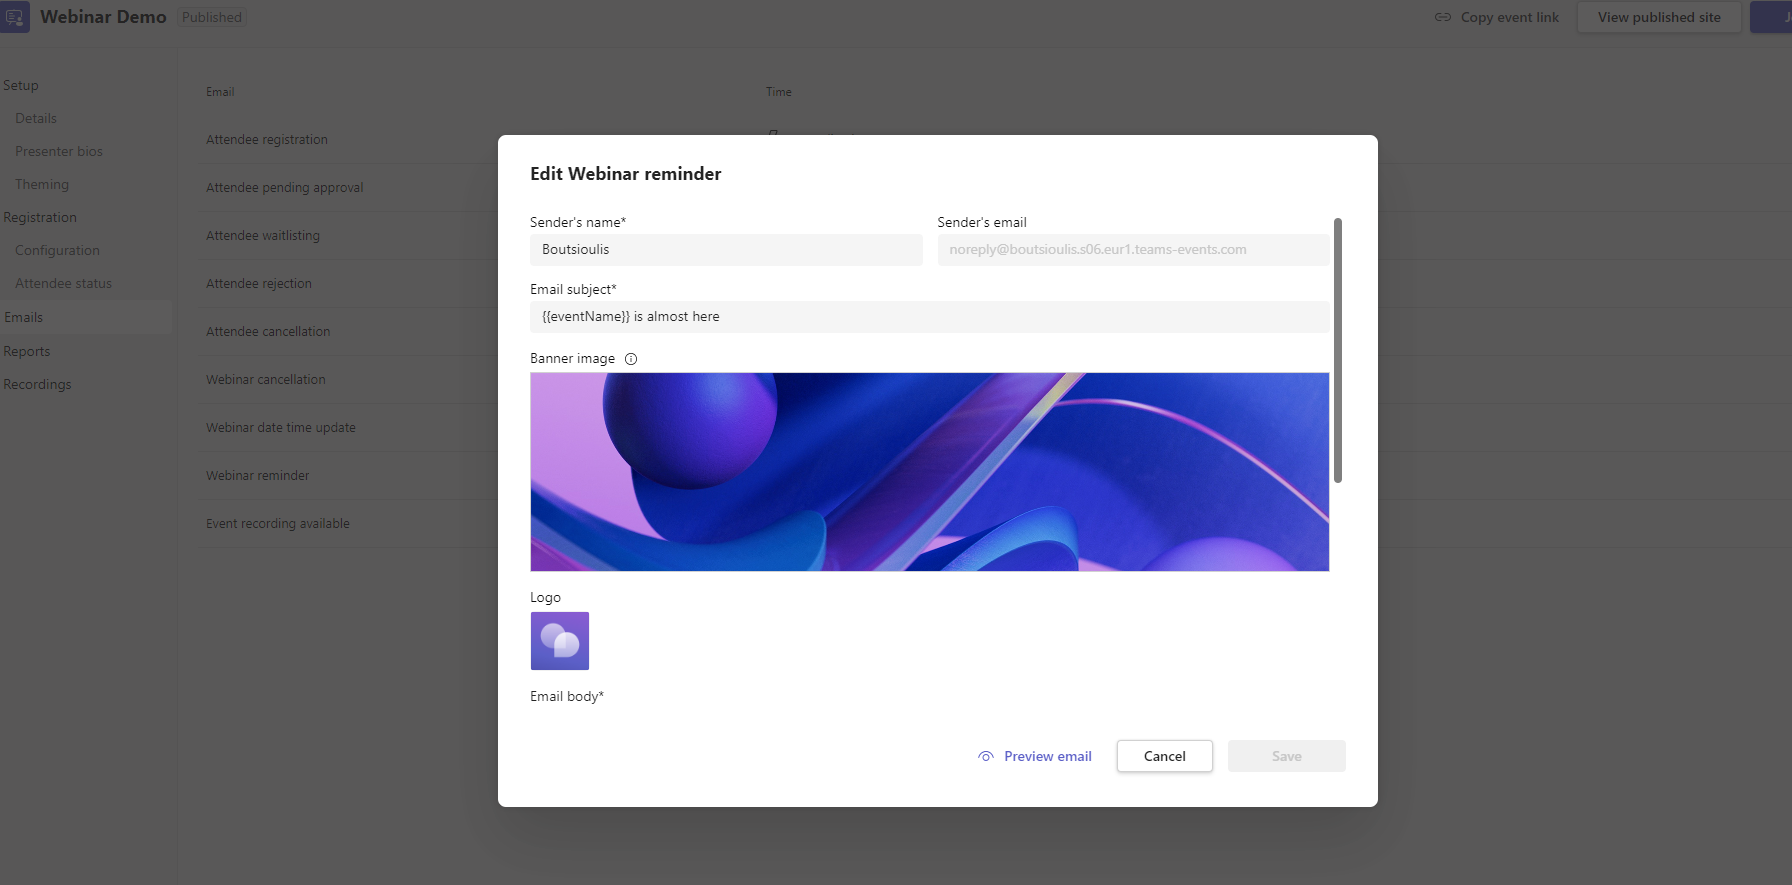
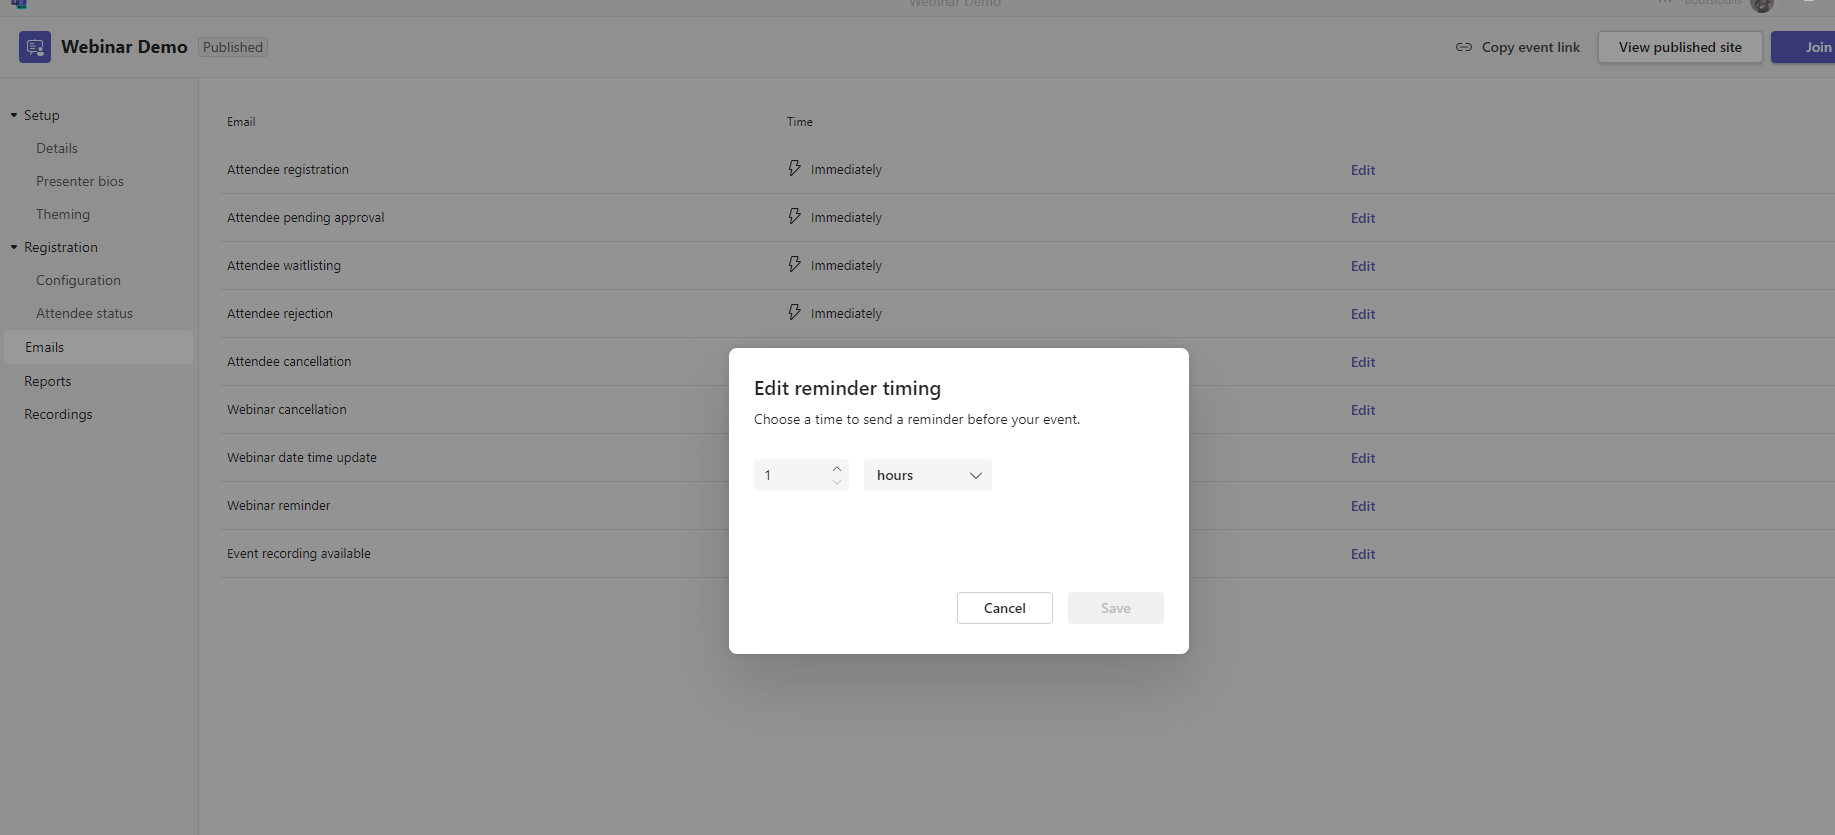
And of course we couldn't follow a different format with the above in the option to have webinar reminder a feature of Teams Premium
But here, in addition to the email format, we also need to specify the time the reminder will be sent
And finally and in the last option for recording available we have exactly the same format
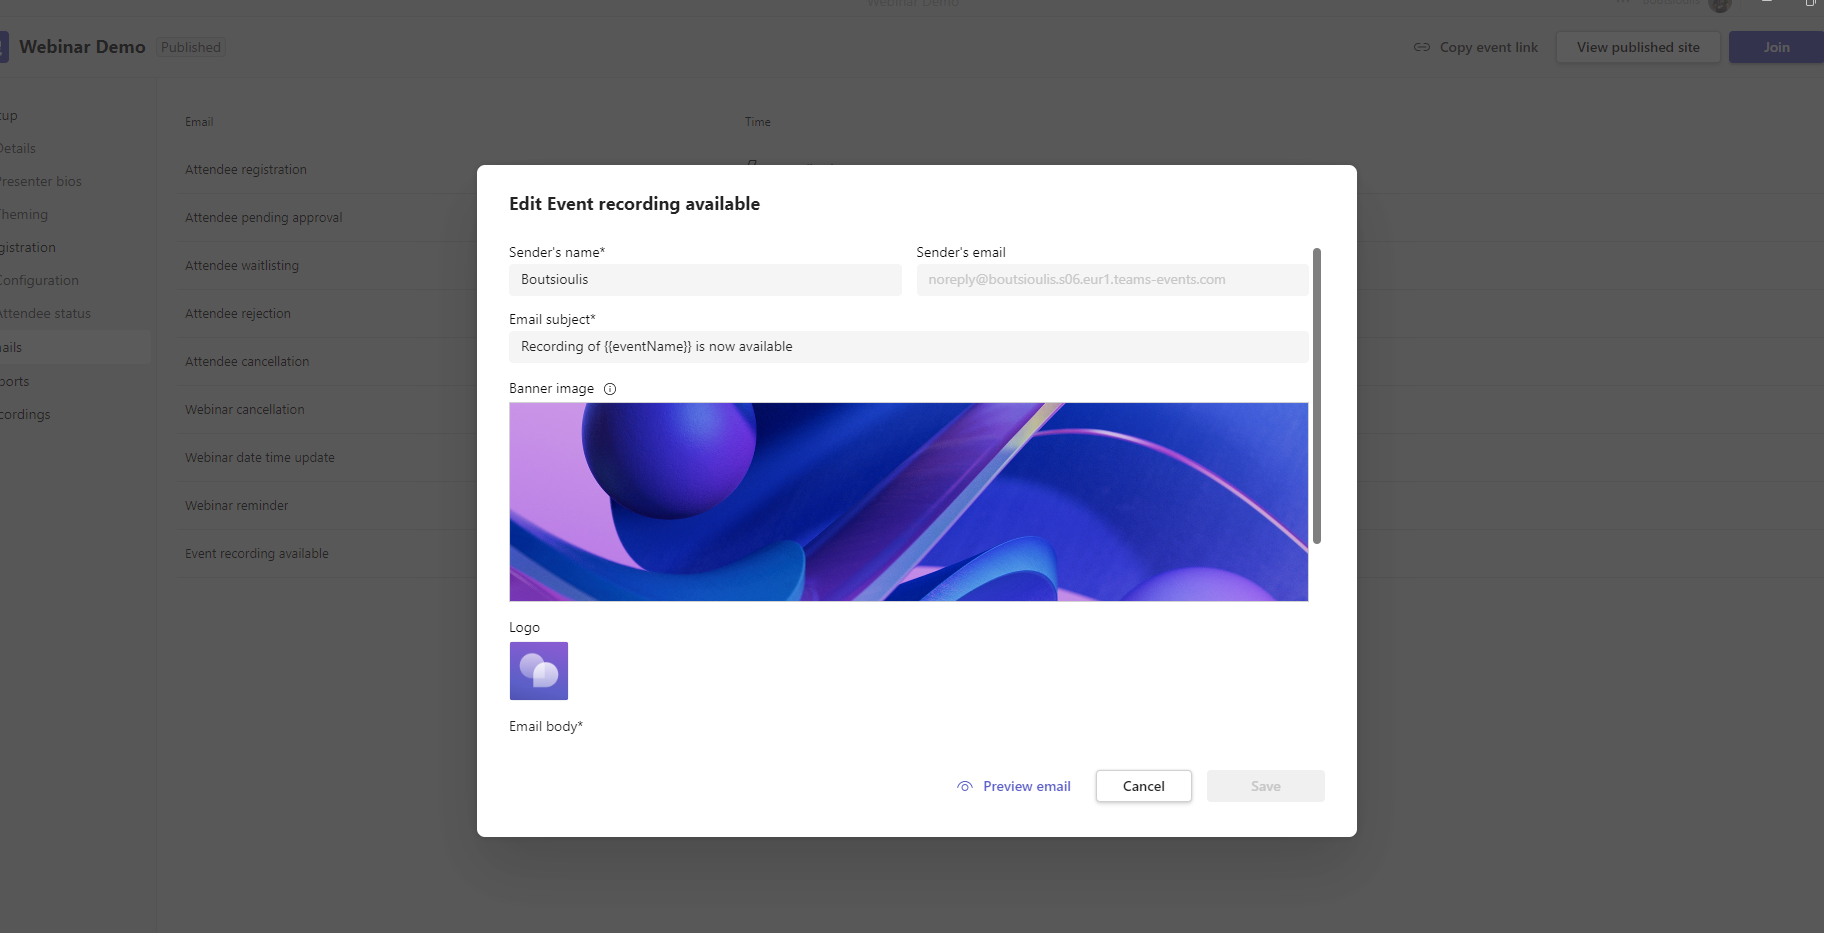
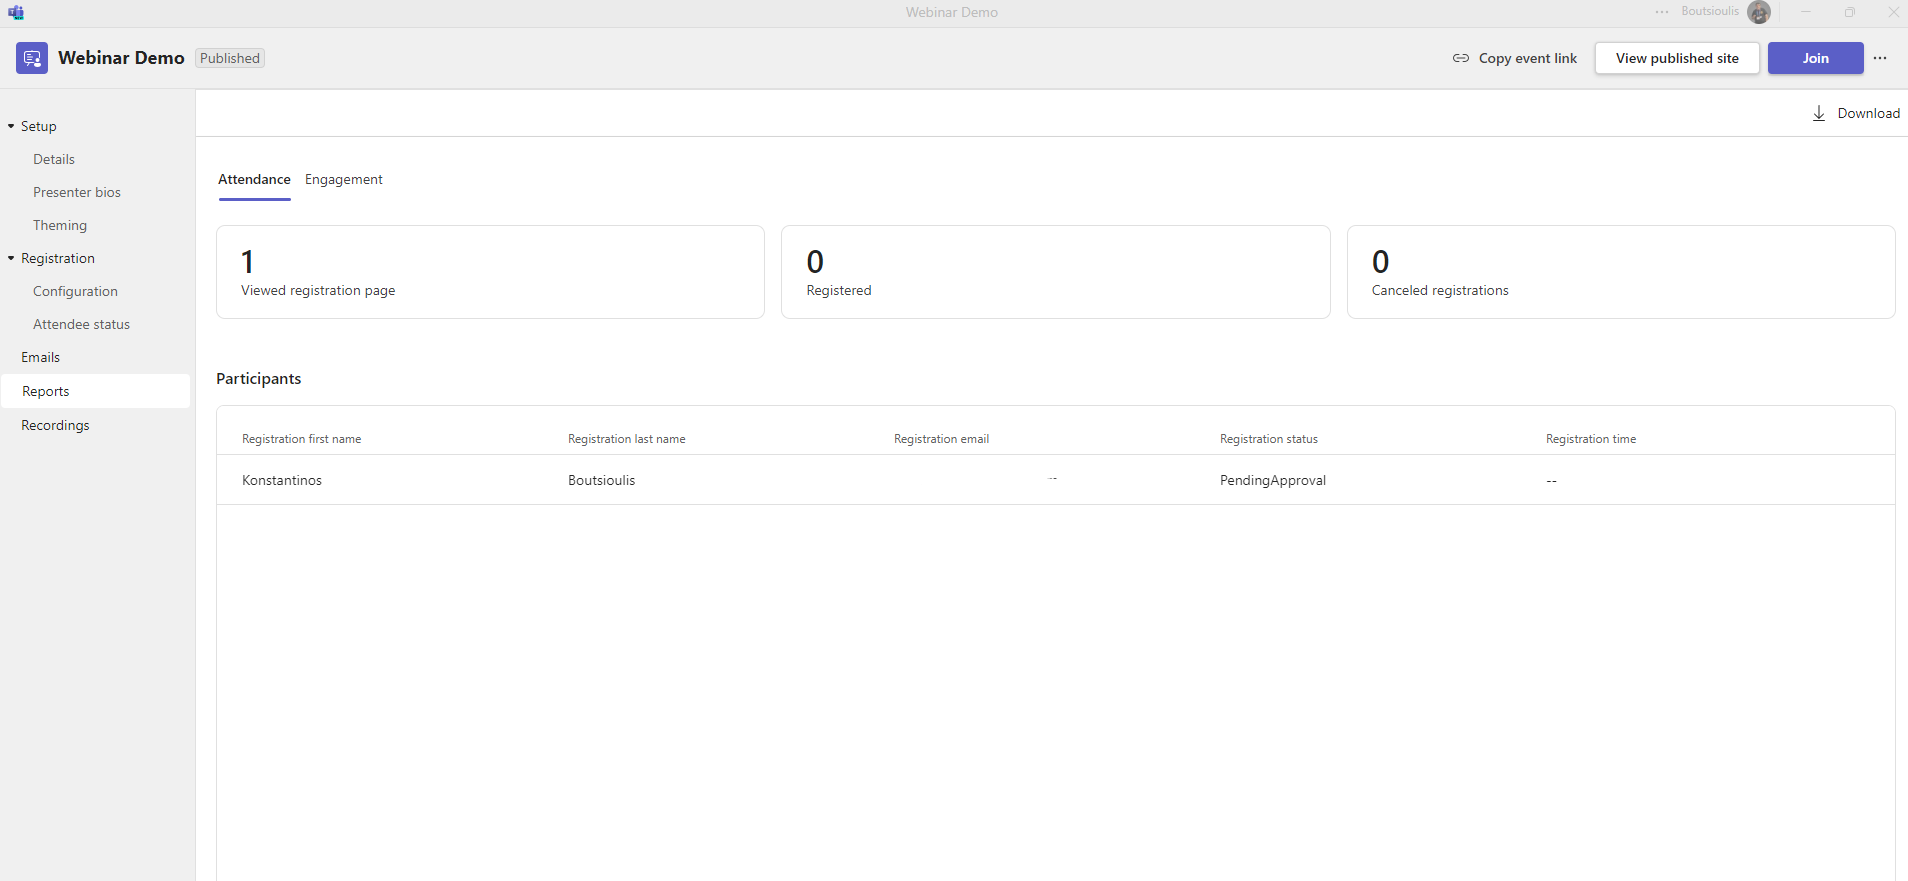
Here we should mention whether we could have differentiations depending on the different situation or one could keep the same branding in all the possible scenarios mentioned above In the next tab we go to the reports tab where we can view information about the participants and how many have cancelled their participation or how many have visited the registration page
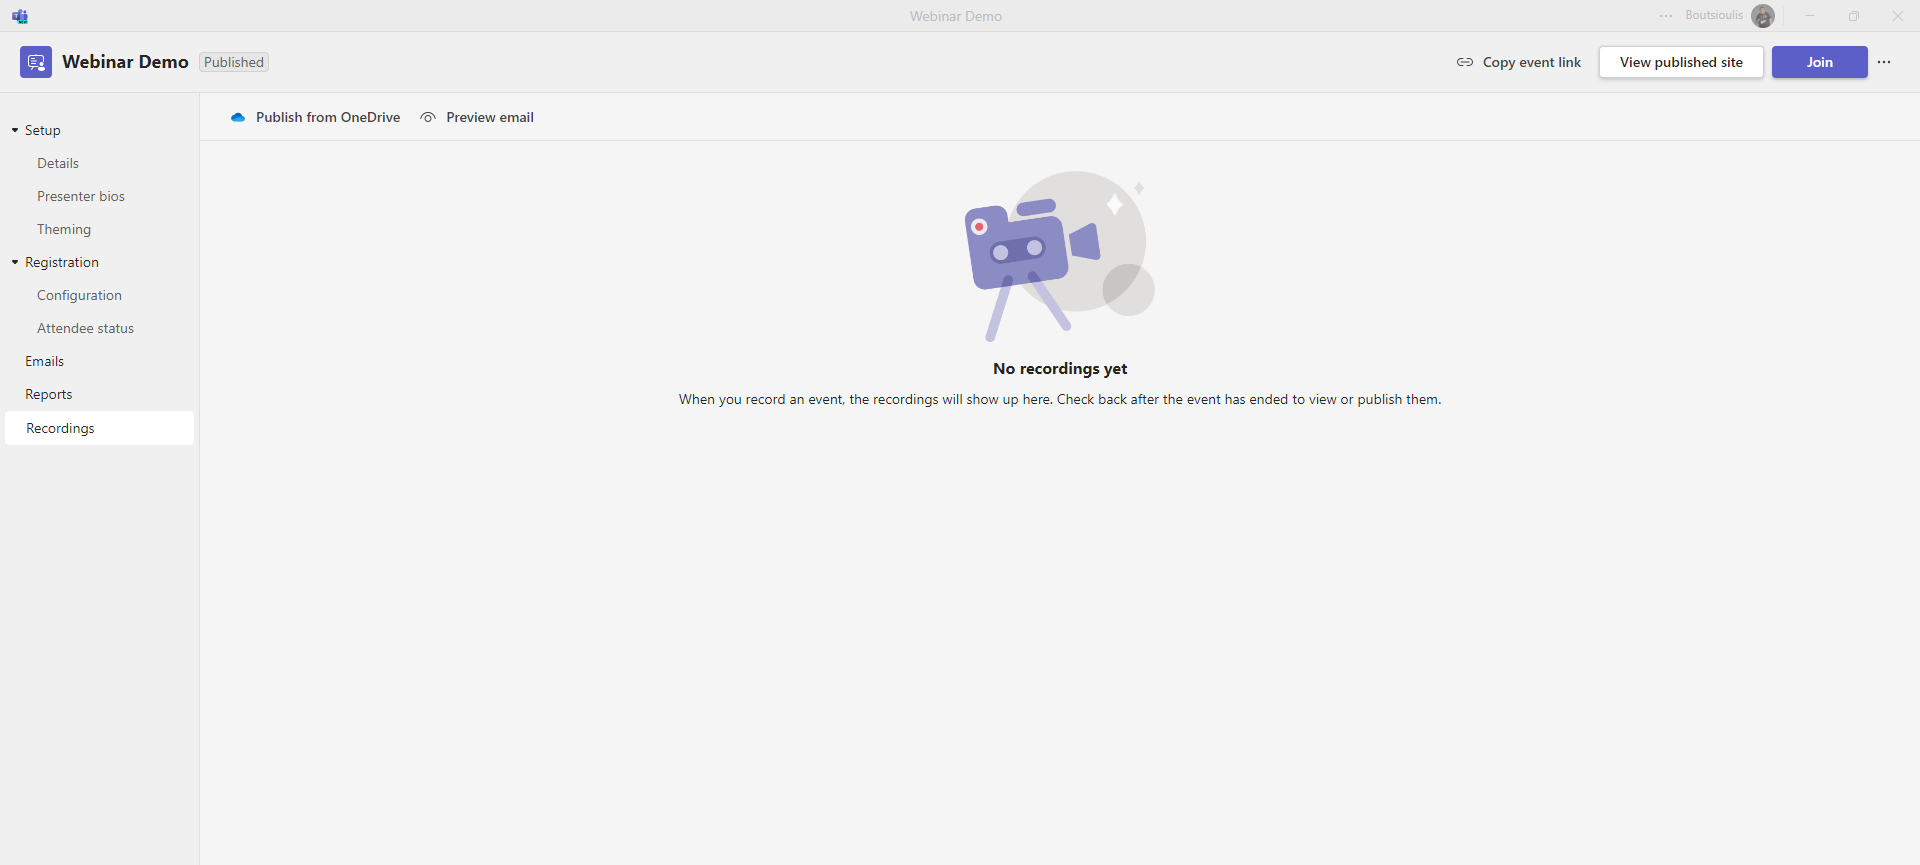
Finally there is the recordings tab where we can find information about the recording and the possibility of publishing from OneDrive
Here I must emphasize again that these features that seem to be many and complex are absolutely essential for someone to be able to create a webinar as well as for the management of participants, which until now we either ignored or needed the help of another 3rd party program
#Teams #TeamsPremium #technology #microsoft #digitaltransformation #cloud #mvpbuzz #m365Visit Archives below to find more articles about Microsoft technologies on Modern Workplace