
Free Material
Find hereMore than 150 Articles about Microsoft Technologies on Modern Workplace
Official Site
Microsoft Most Valuable Professional M365 Apps & Services
Microsoft Most Valuable Professional Business Applications
Consultant & Sr Cloud Solution Architect Modern Wokrplace
Find hereMore than 150 Articles about Microsoft Technologies on Modern Workplace
22 December 2023
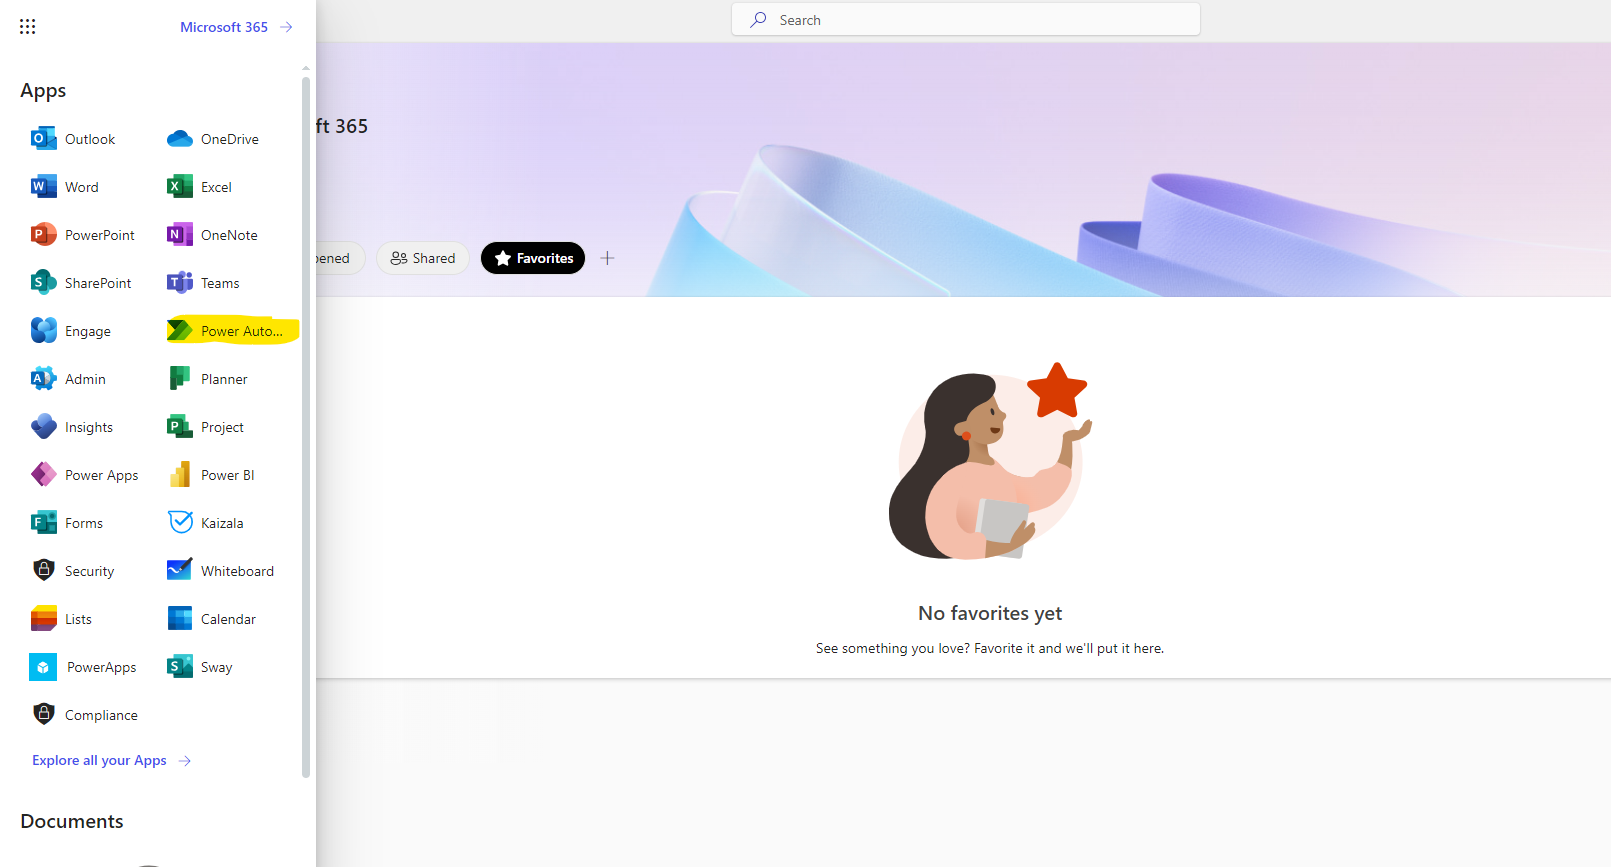
In today's article we will see how to export a power automate using PowerShell. First, let me inform you that this is a process that you can also perform using the front-end environment by just clicking a few clicks. But if you wish it can be done using PowerShell or added to an automated process and run every time we select First, we go to the main M365 page from our active subscription and from the left sidebar select Power Automates
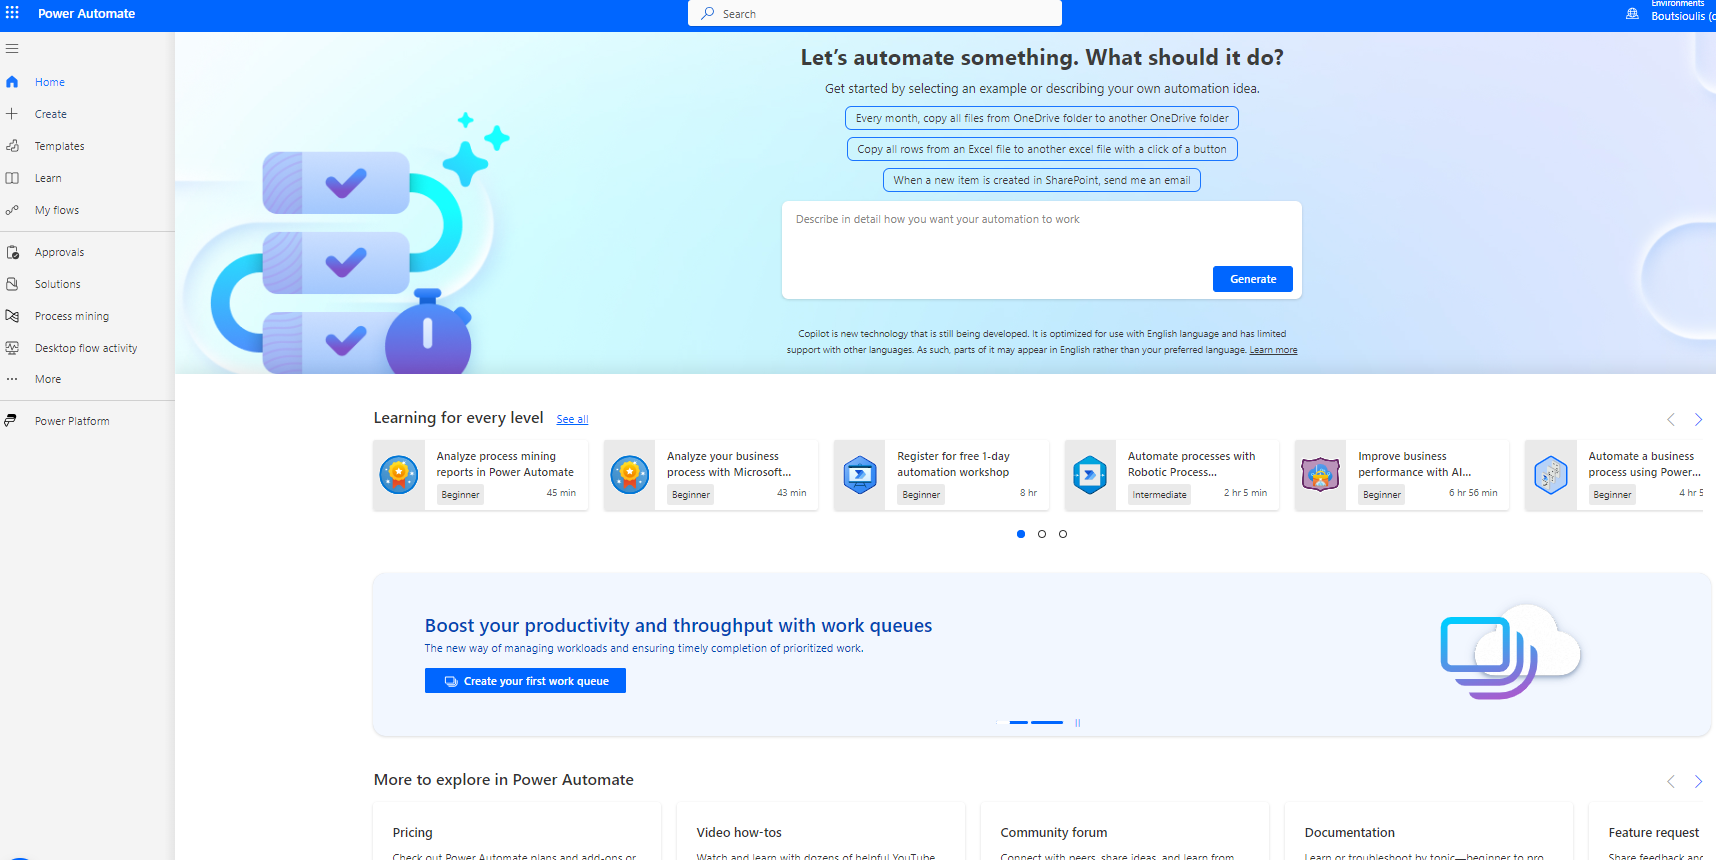
Then we go to the main page of Power Automates and from there we locate the automate we want to export
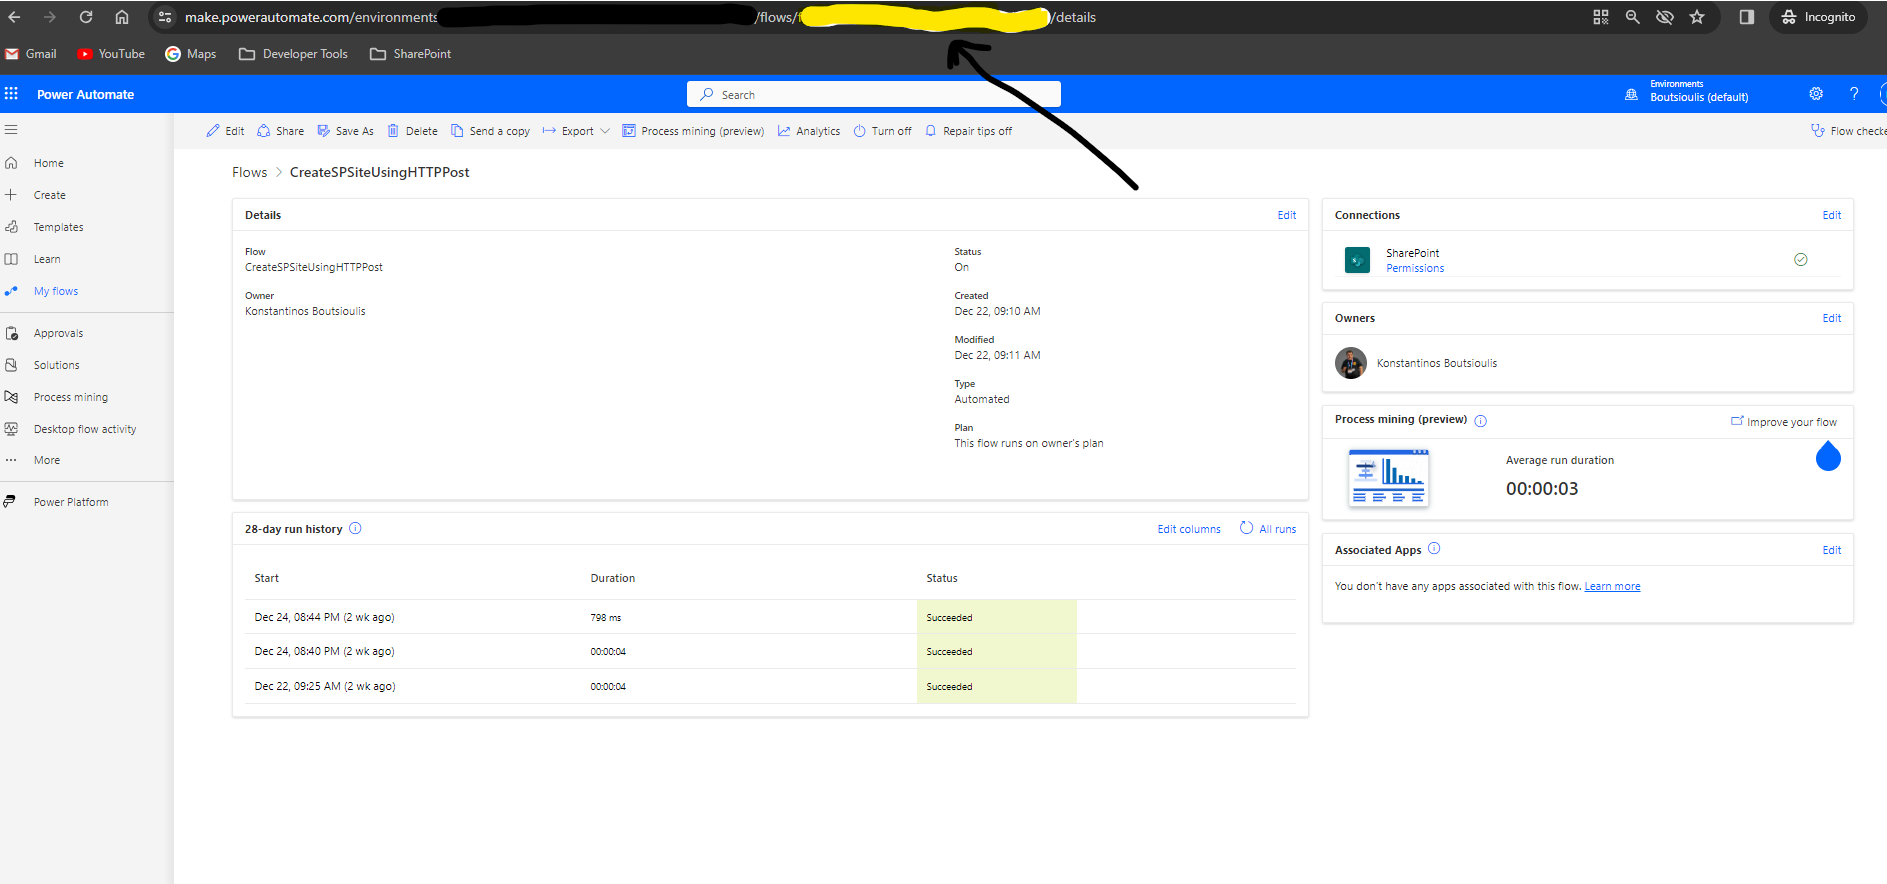
We click on edit on the automate and we are on the automate information page. On the address line after /flows and before /details we can locate the Id of the automate in question
We return to the SharePoint Online Management Shell with administrator privileges and run the following PowerShell. This will export the specified Microsoft Power Automate Flow from the default Power Platform environment as an output to the current output of PowerShell.
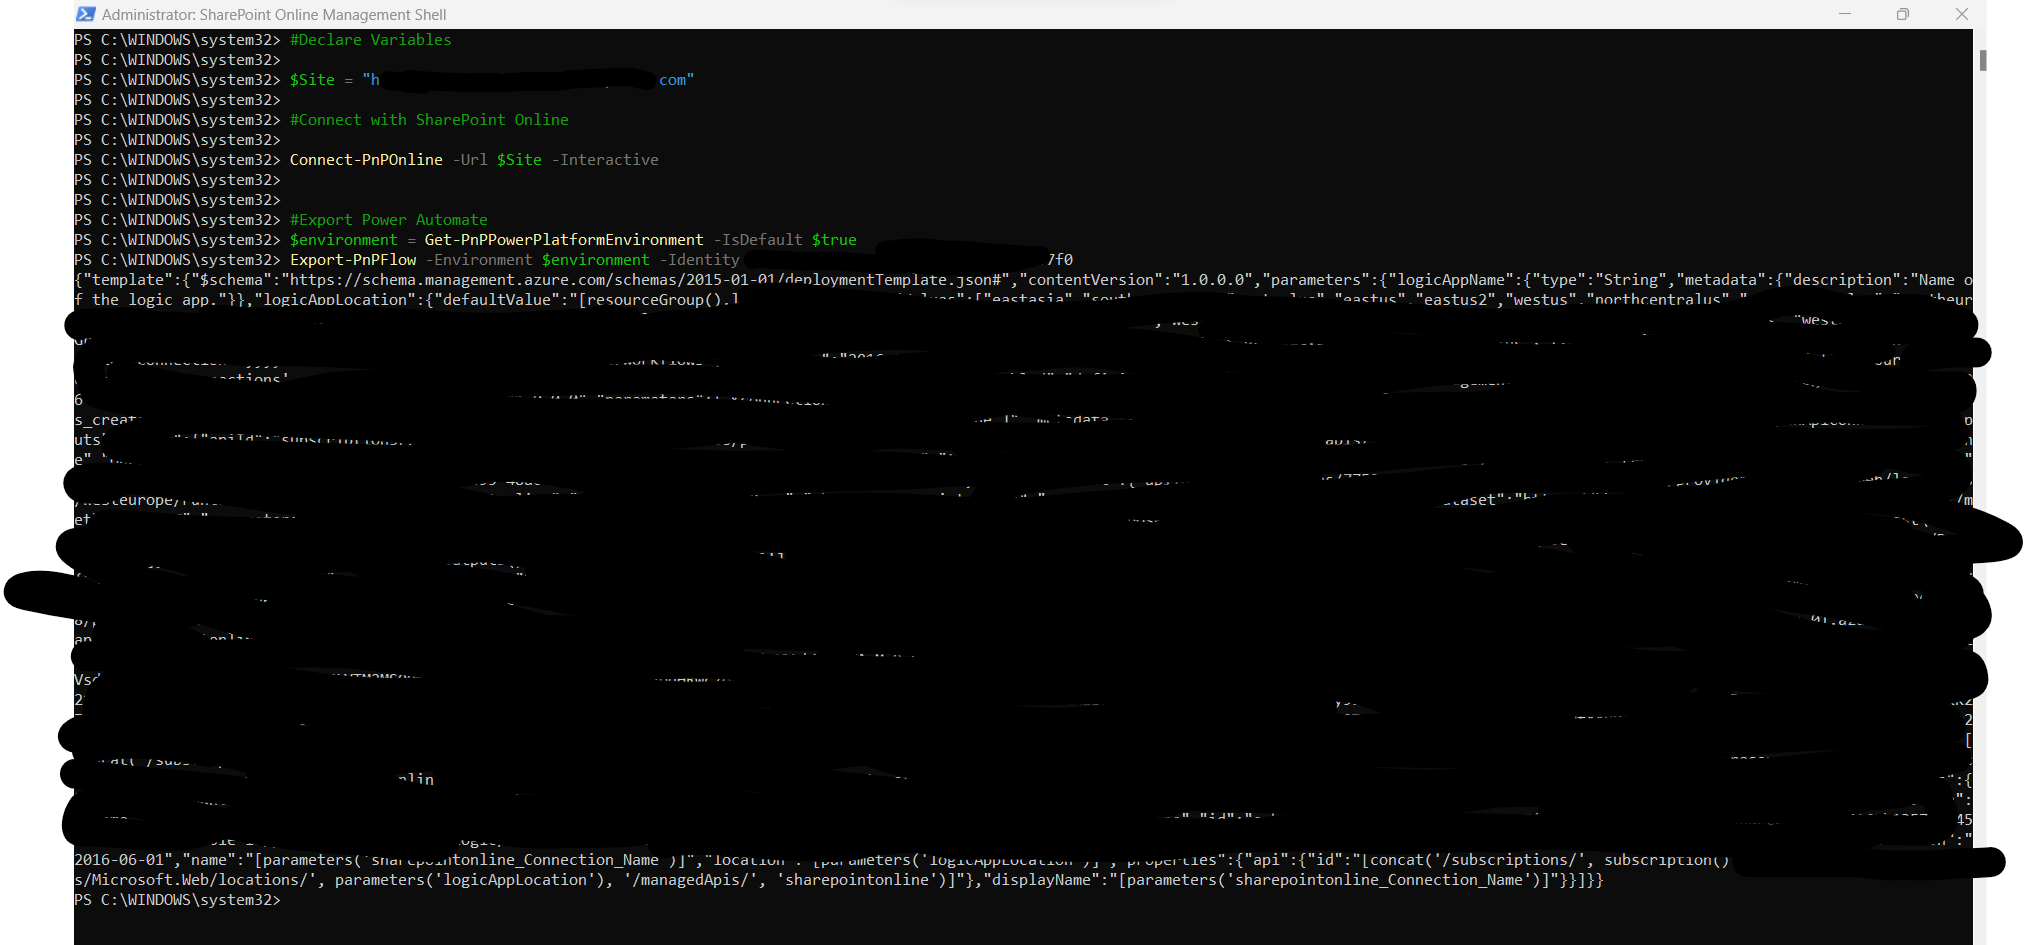
#Declare variable of site url
$spsiteurl = "https://mytenant.sharepoint.com"
#Connect with SharePoint Online
Connect-PnPOnline -Url $spsiteurl -Interactive
#Export Power Automate
$environment = Get-PnPPowerPlatformEnvironment -IsDefault $true
Export-PnPFlow -Environment $environment -Identity f7856b75-c19a-358a-912e-4f5ll11a58e7
Alternatively, we can run the following PowerShell which will export all our Power Automate to the local address of c:/
#Declare variable of site url
$spsiteurl = "https://mytenant.sharepoint.com"
#Connect with SharePoint Online
Connect-PnPOnline -Url $spsiteurl -Interactive
#Export Power Automate
Get-PnPPowerPlatformEnvironment | foreach { Get-PnPFlow -Environment $_.Name } | foreach { Export-PnPFlow -Environment $_.Properties.EnvironmentDetails.Name -Identity $_ -OutPath "c:\$($_.Name).zip" -AsZipPackage }
You can find More details in the official PnP PowerShell documentation at URL
PnP Official Documentation #PowerAutomate
#technology
#microsoft
#PowerShell
#PnP
#digitaltransformation
#cloud
#mvpbuzz
#m365
#PowerAutomate
#technology
#microsoft
#PowerShell
#PnP
#digitaltransformation
#cloud
#mvpbuzz
#m365
Visit Archives below to find more articles about Microsoft technologies on Modern Workplace