
Free Material
Find hereMore than 150 Articles about Microsoft Technologies on Modern Workplace
Official Site
Microsoft Most Valuable Professional M365 Apps & Services
Microsoft Most Valuable Professional Business Applications
Consultant & Sr Cloud Solution Architect Modern Wokrplace
Find hereMore than 150 Articles about Microsoft Technologies on Modern Workplace
20 December 2023
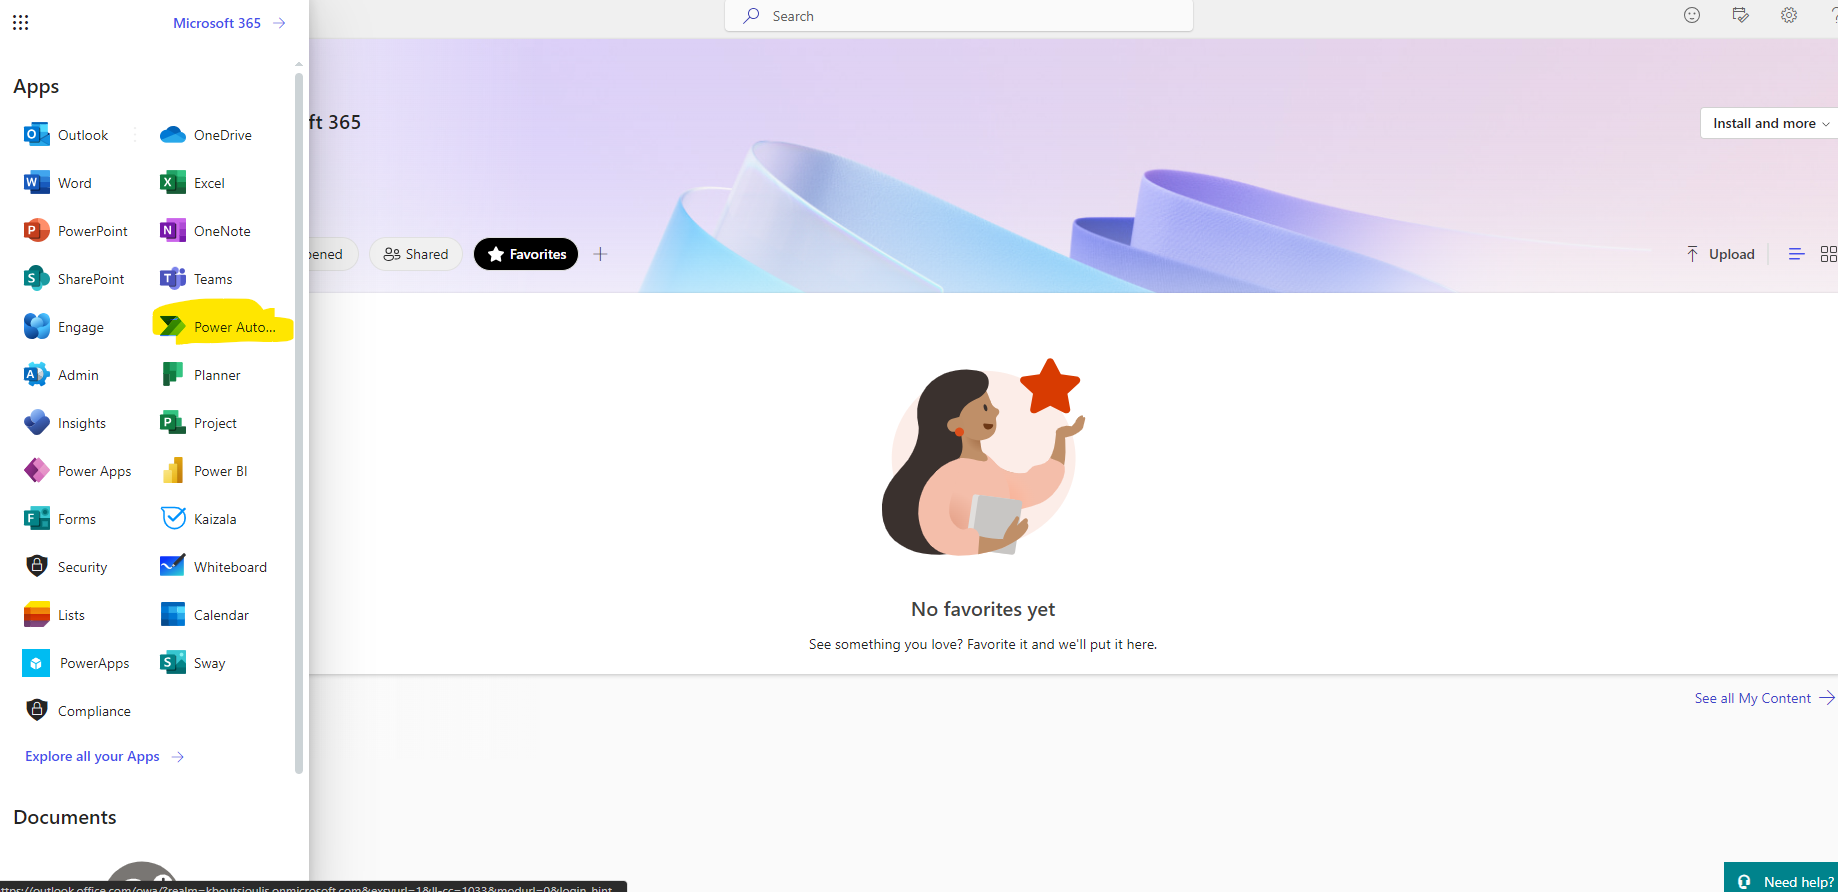
In today's article we will see how using copilot we will create a new approval automate First we need to have an active M365 subscription and then we will login to the main M365 page Then from the left drop down column select Power Automate
This will take us to the main automates page
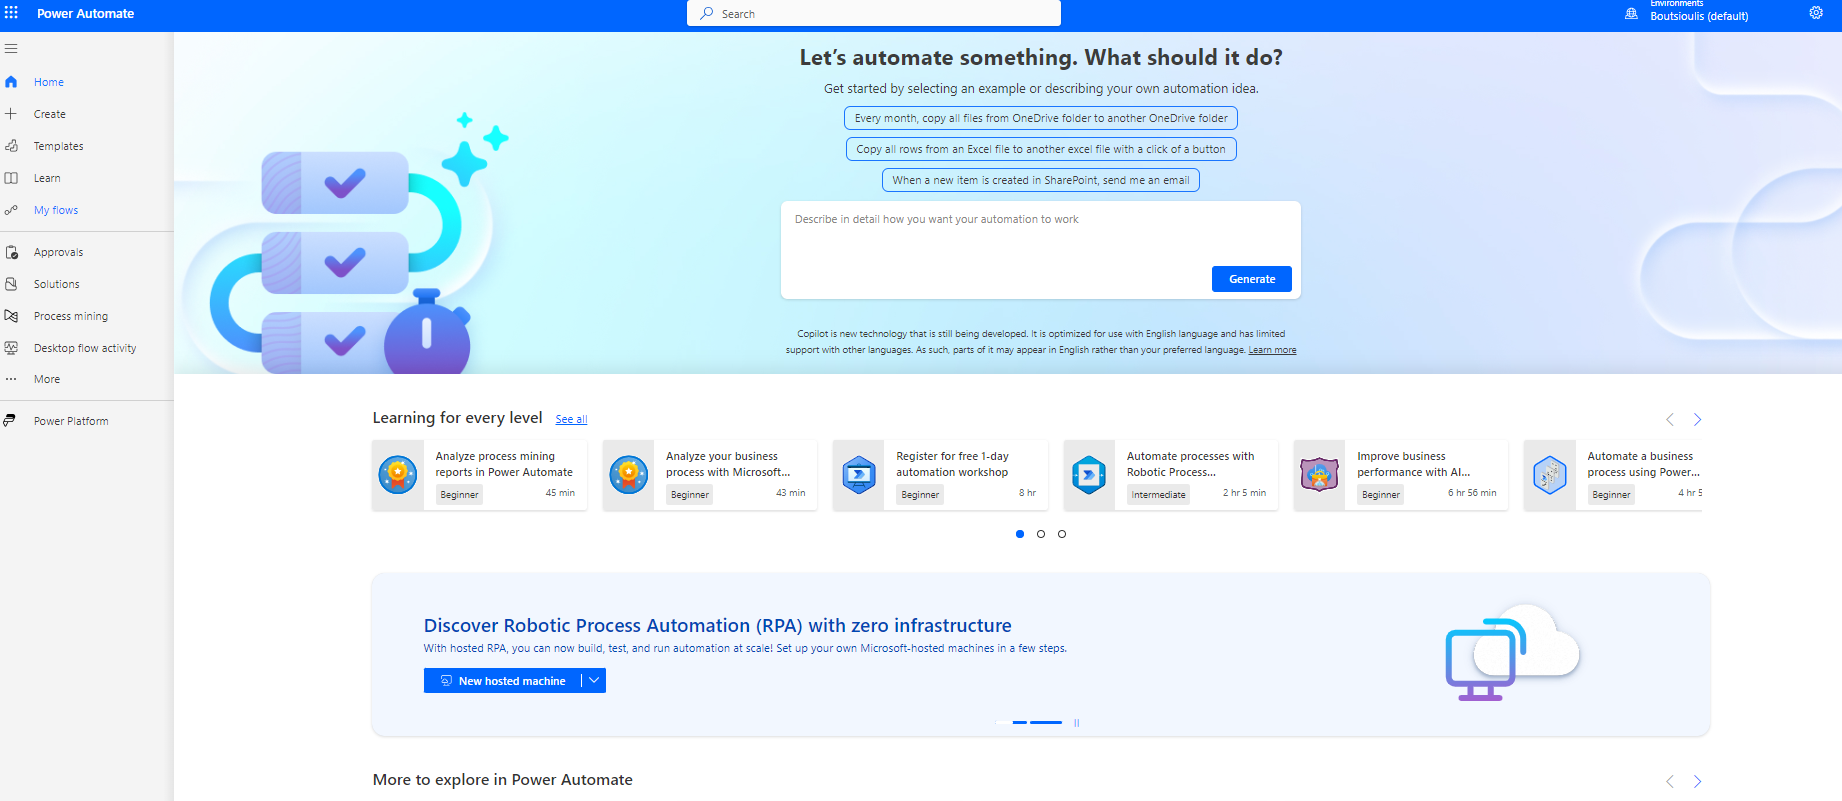
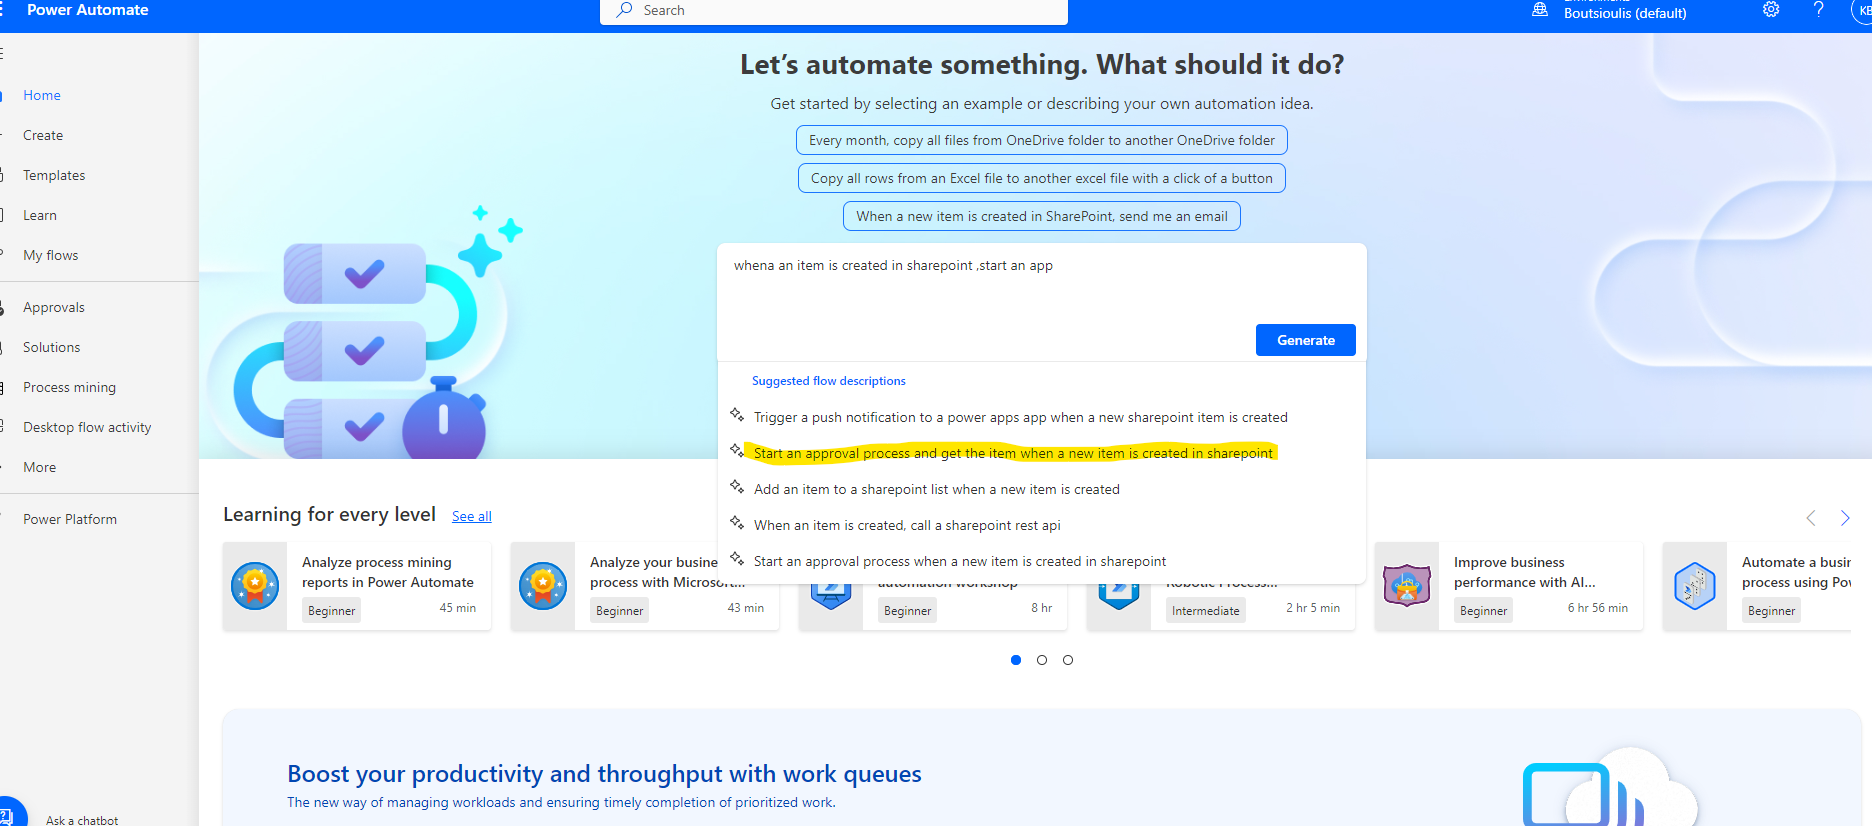
At the top you can now see the copilot box where we can enter a short description and copilot will detect and create an automate based on our description in a few steps So we started to compose our description and as you can see in the pop-up menu it brings up the automate of our choice
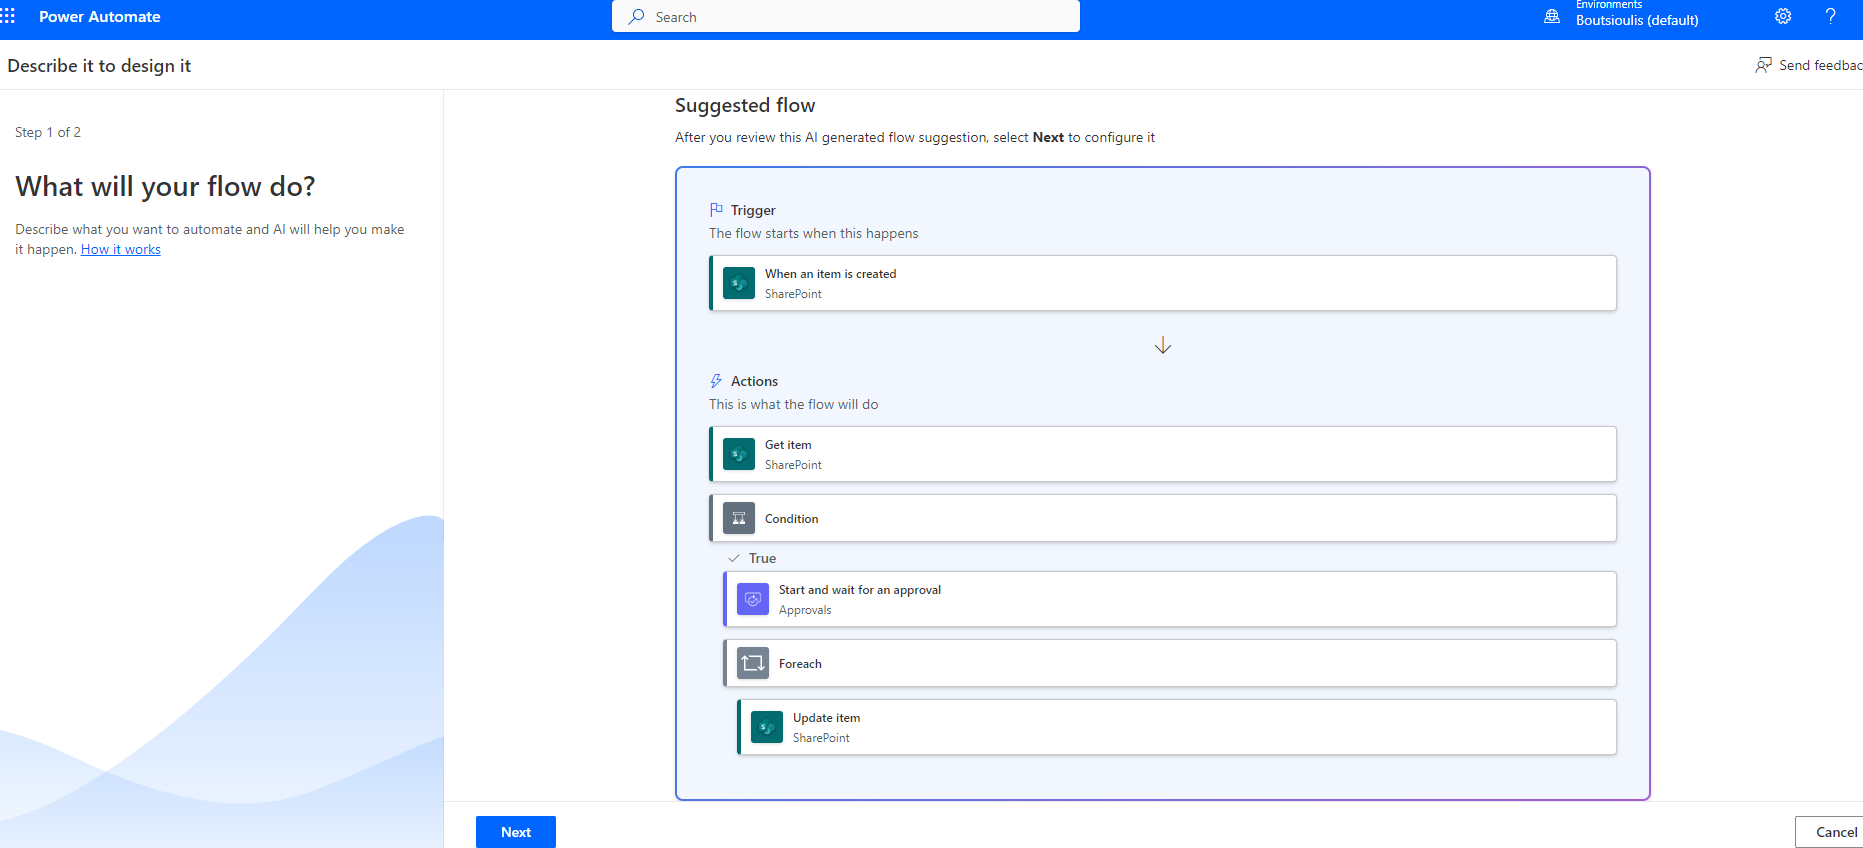
In the next tab it brings us the flow that suggests us and gives us the option next to continue
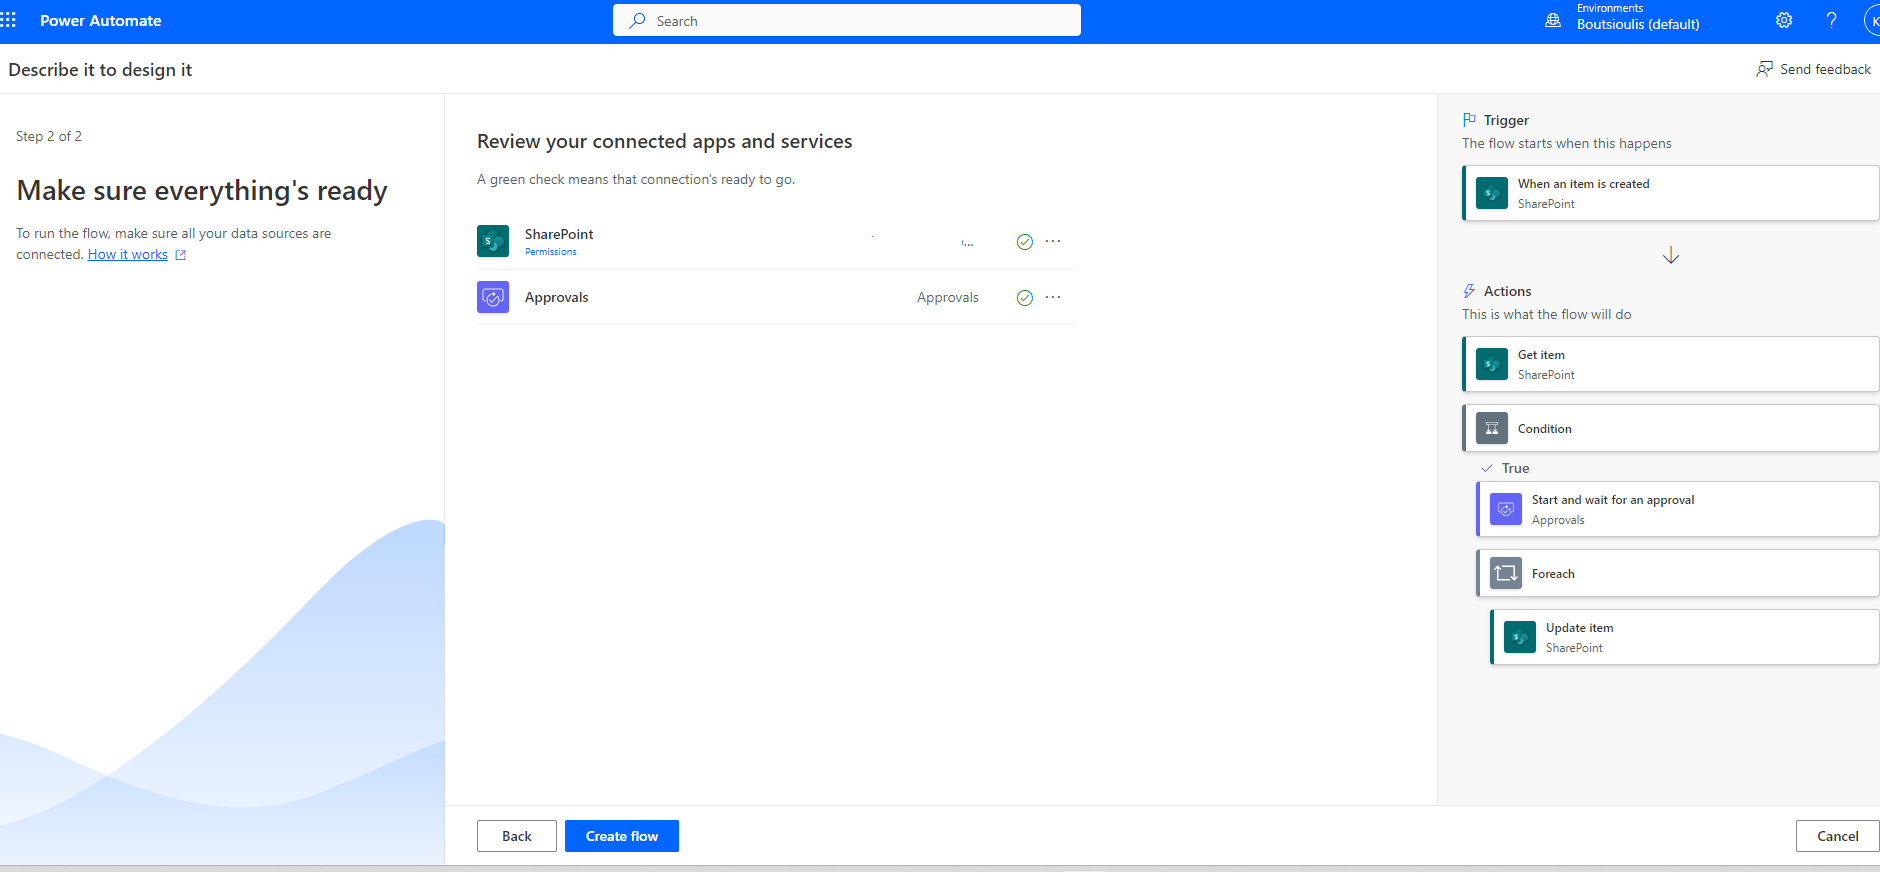
In the next step we will have to allow our connections
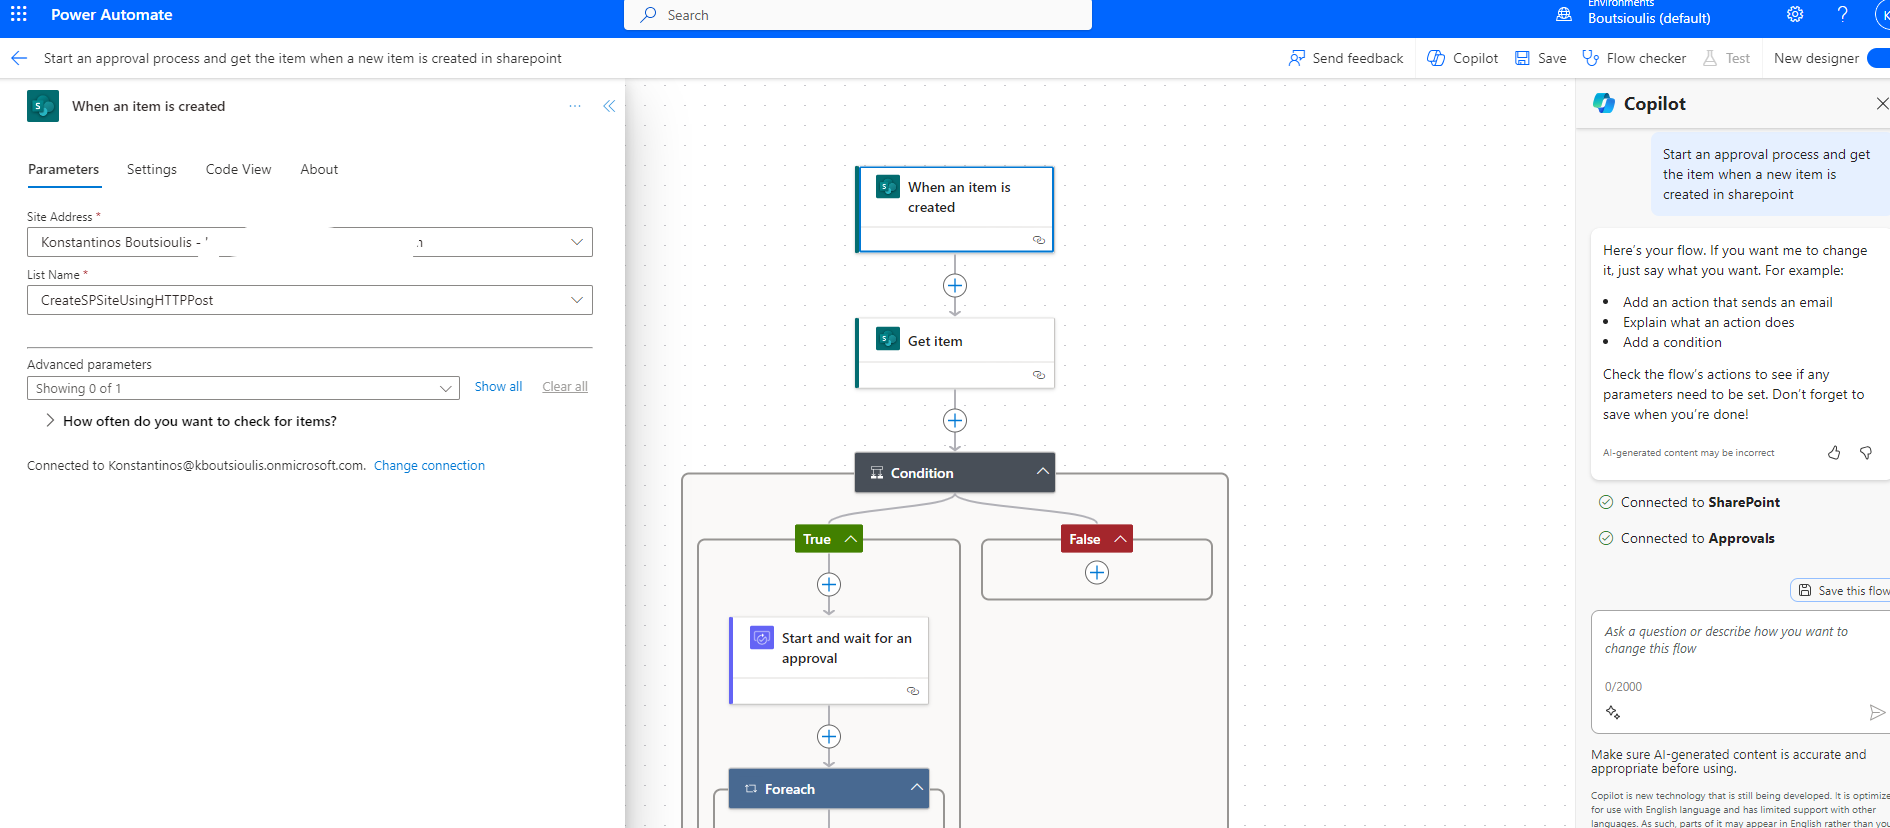
You can see on the right the copilot column while on the right in the first action box in the left popup column we enter site and list we wish to activate the approval process
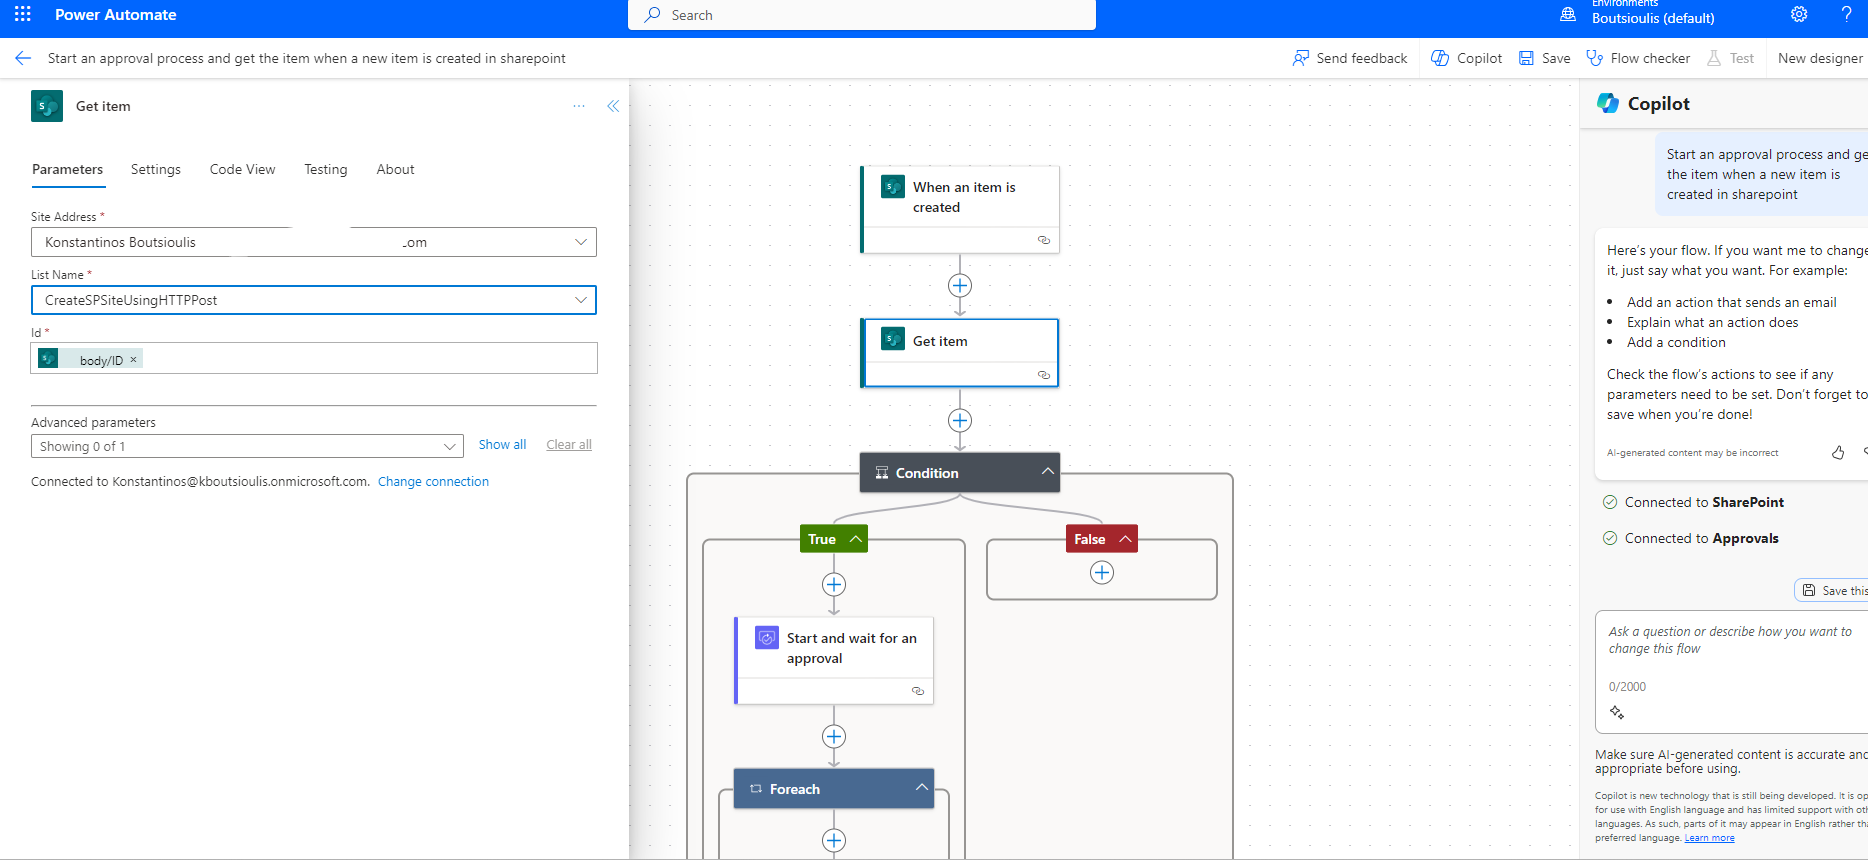
In the second action box we will enter details of our site and SharePoint lists
While in the condition we will have to choose a condition that will control our flow . we make an option that will always apply to run this particular example
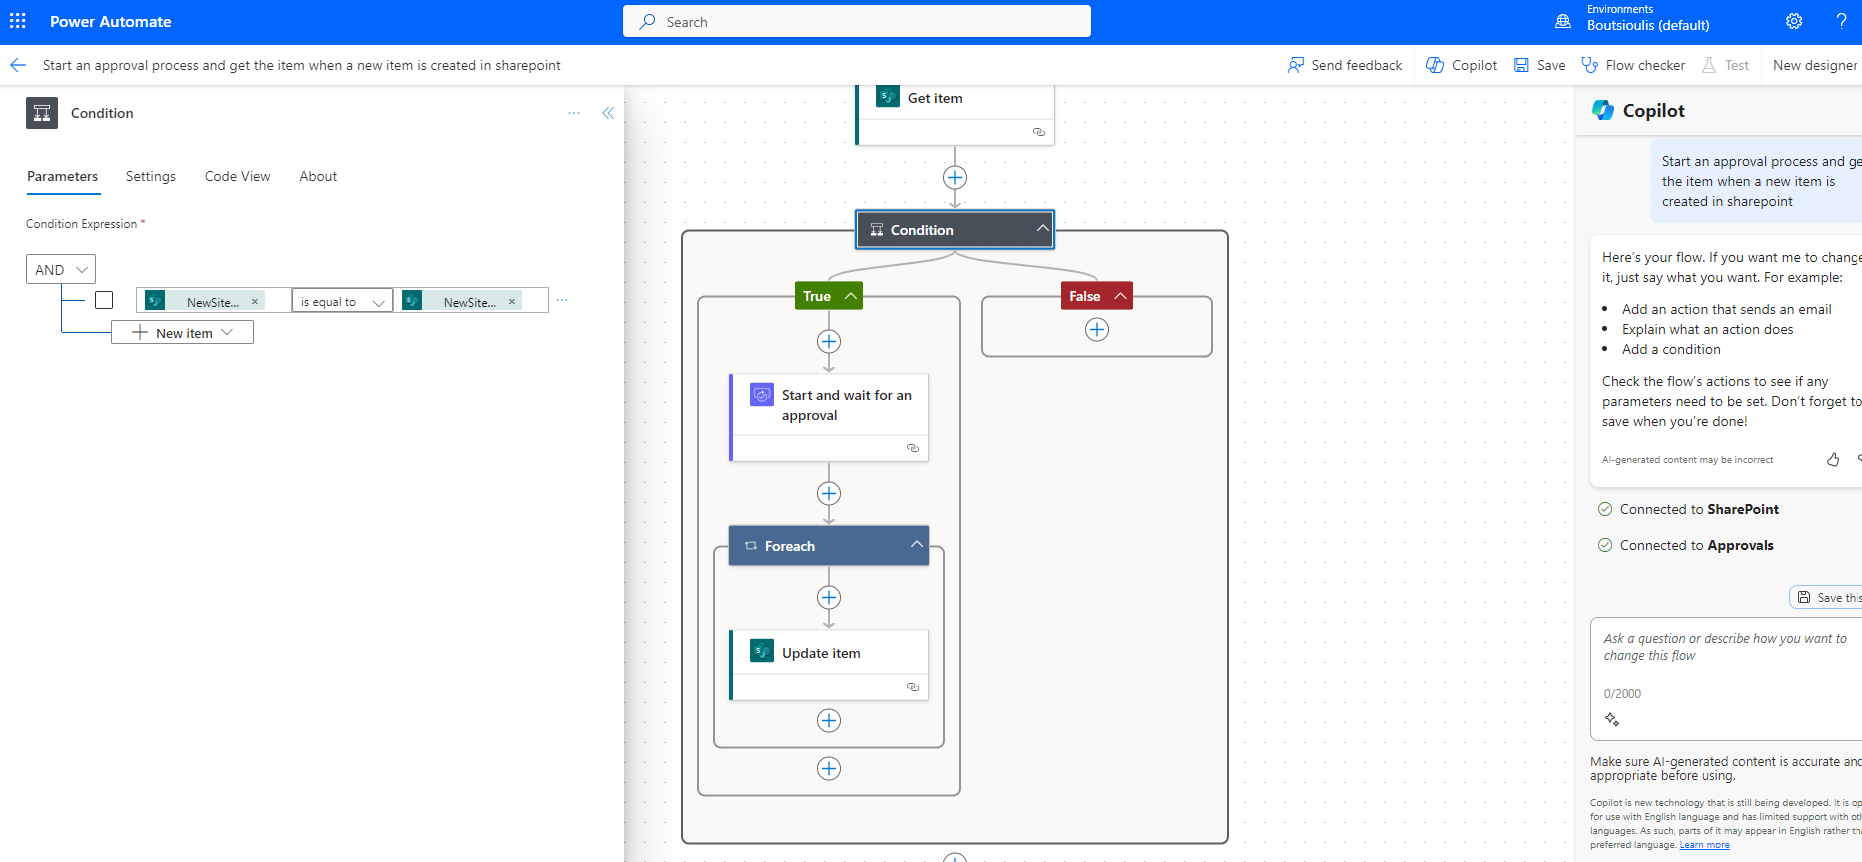
Now as soon as the covenant has passed in yes, the approval process starts, in which we enter some data so that when we send a message to the person who will approve it, they know who it is.
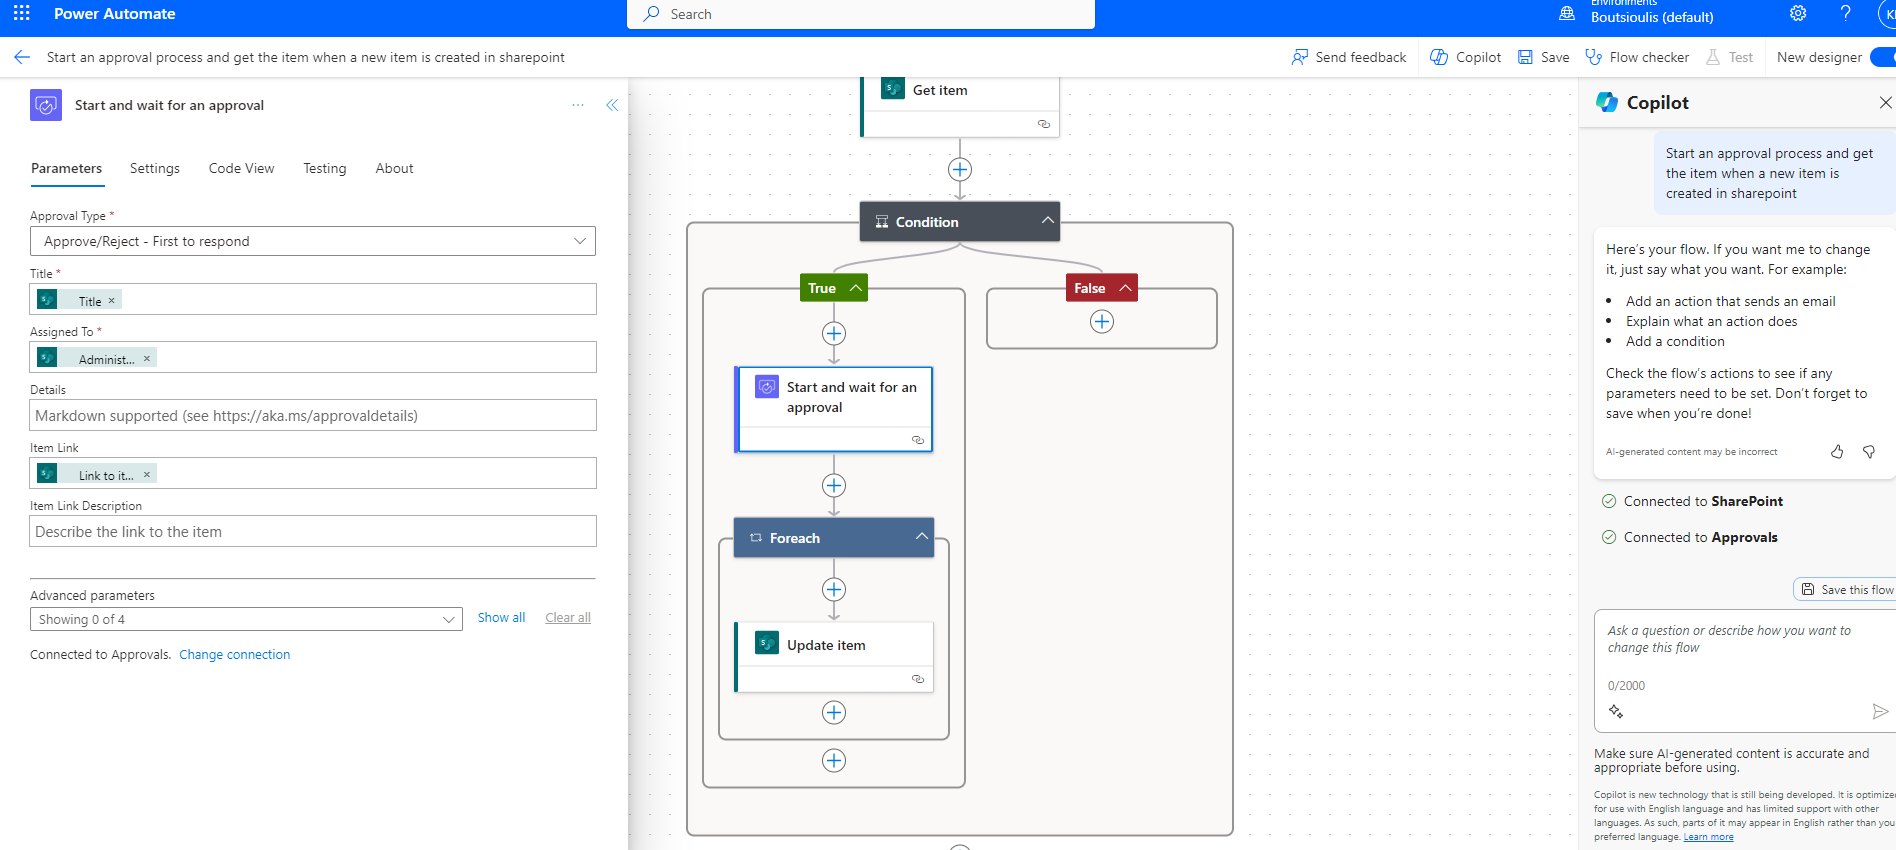
And we choose an action after approval or rejection to send a mail to the user who created the item in the list that will eventually create a new site
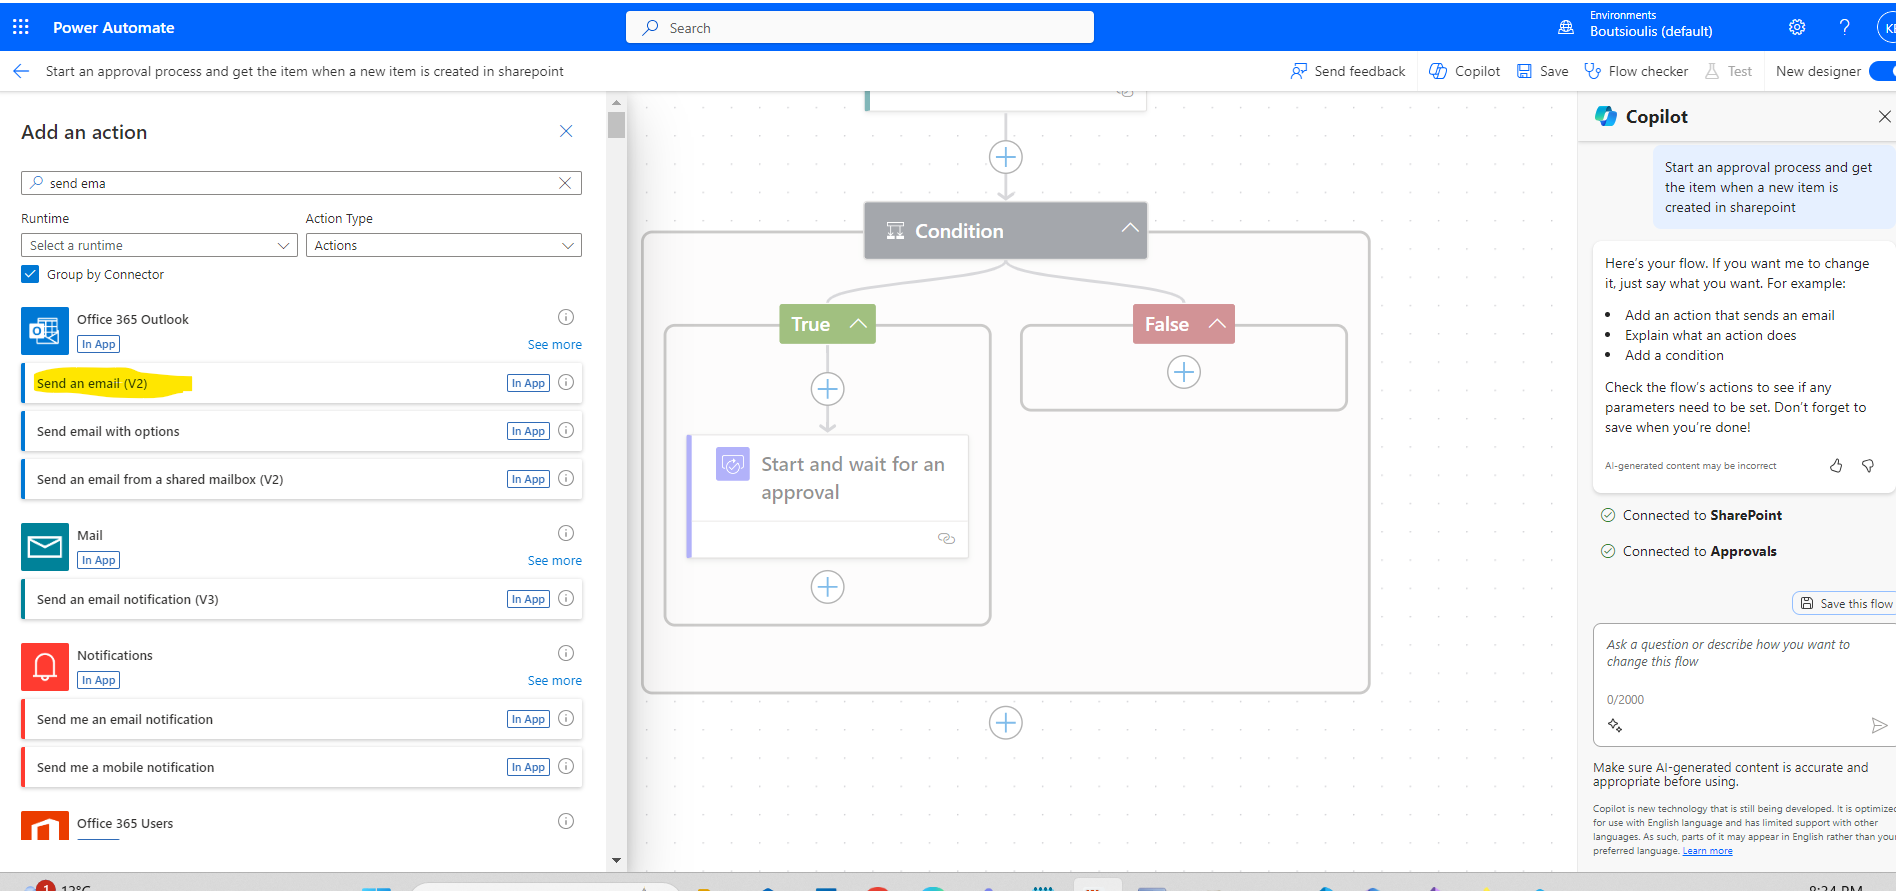
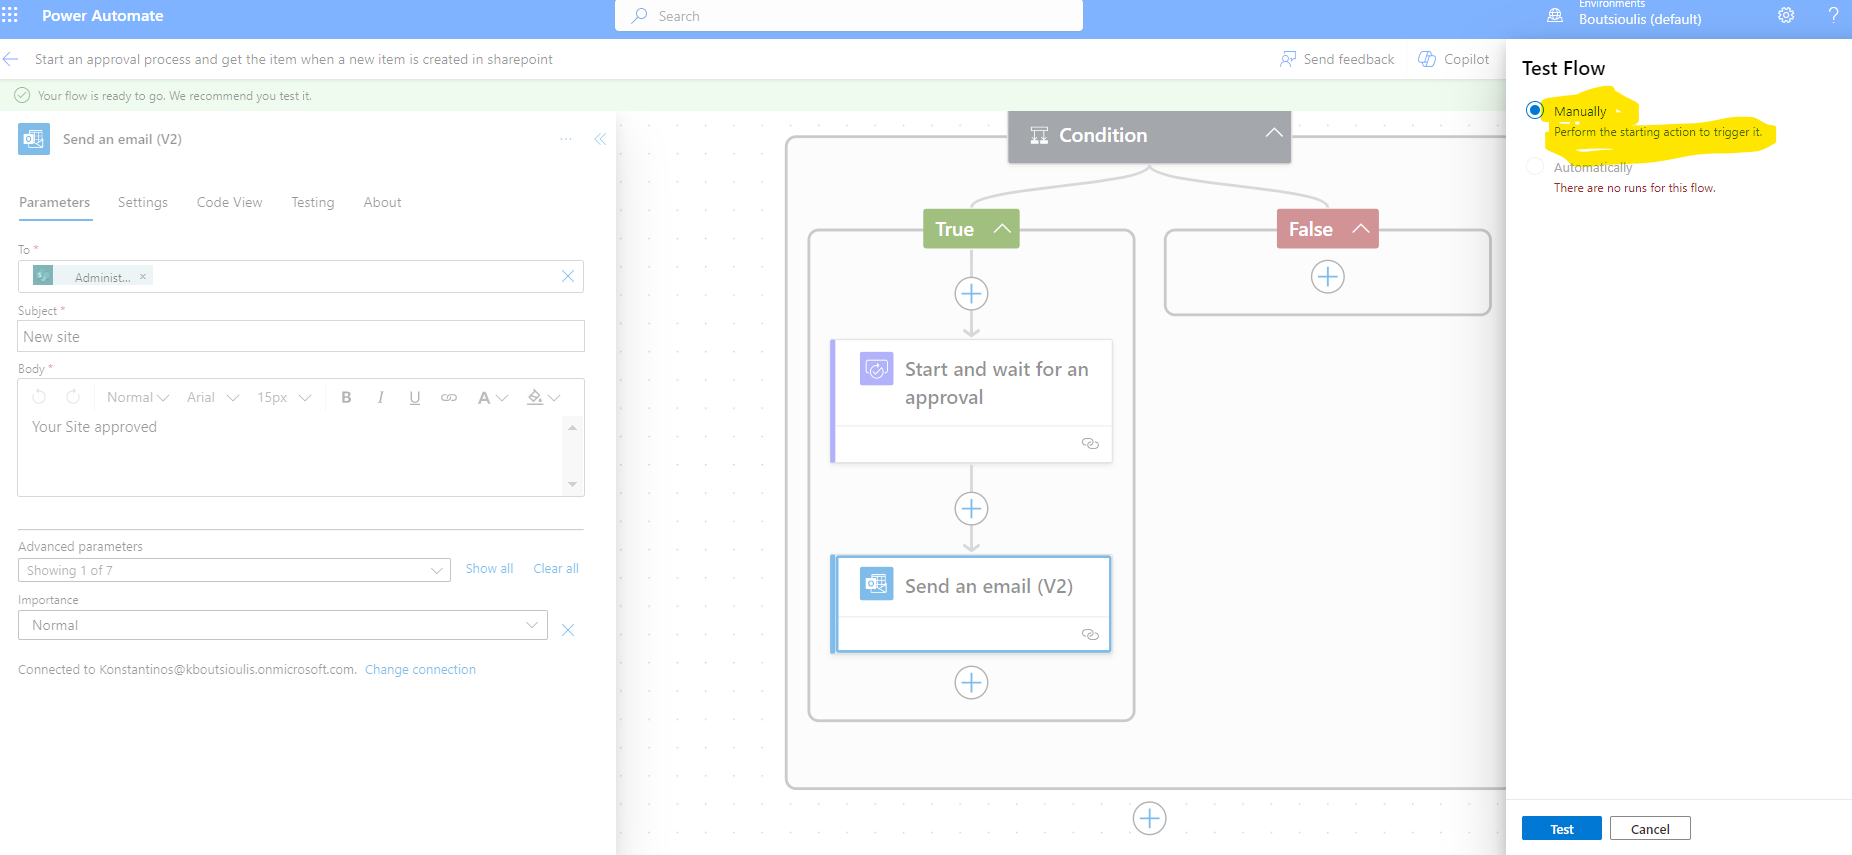
In the action box for the email we enter details and body of the email
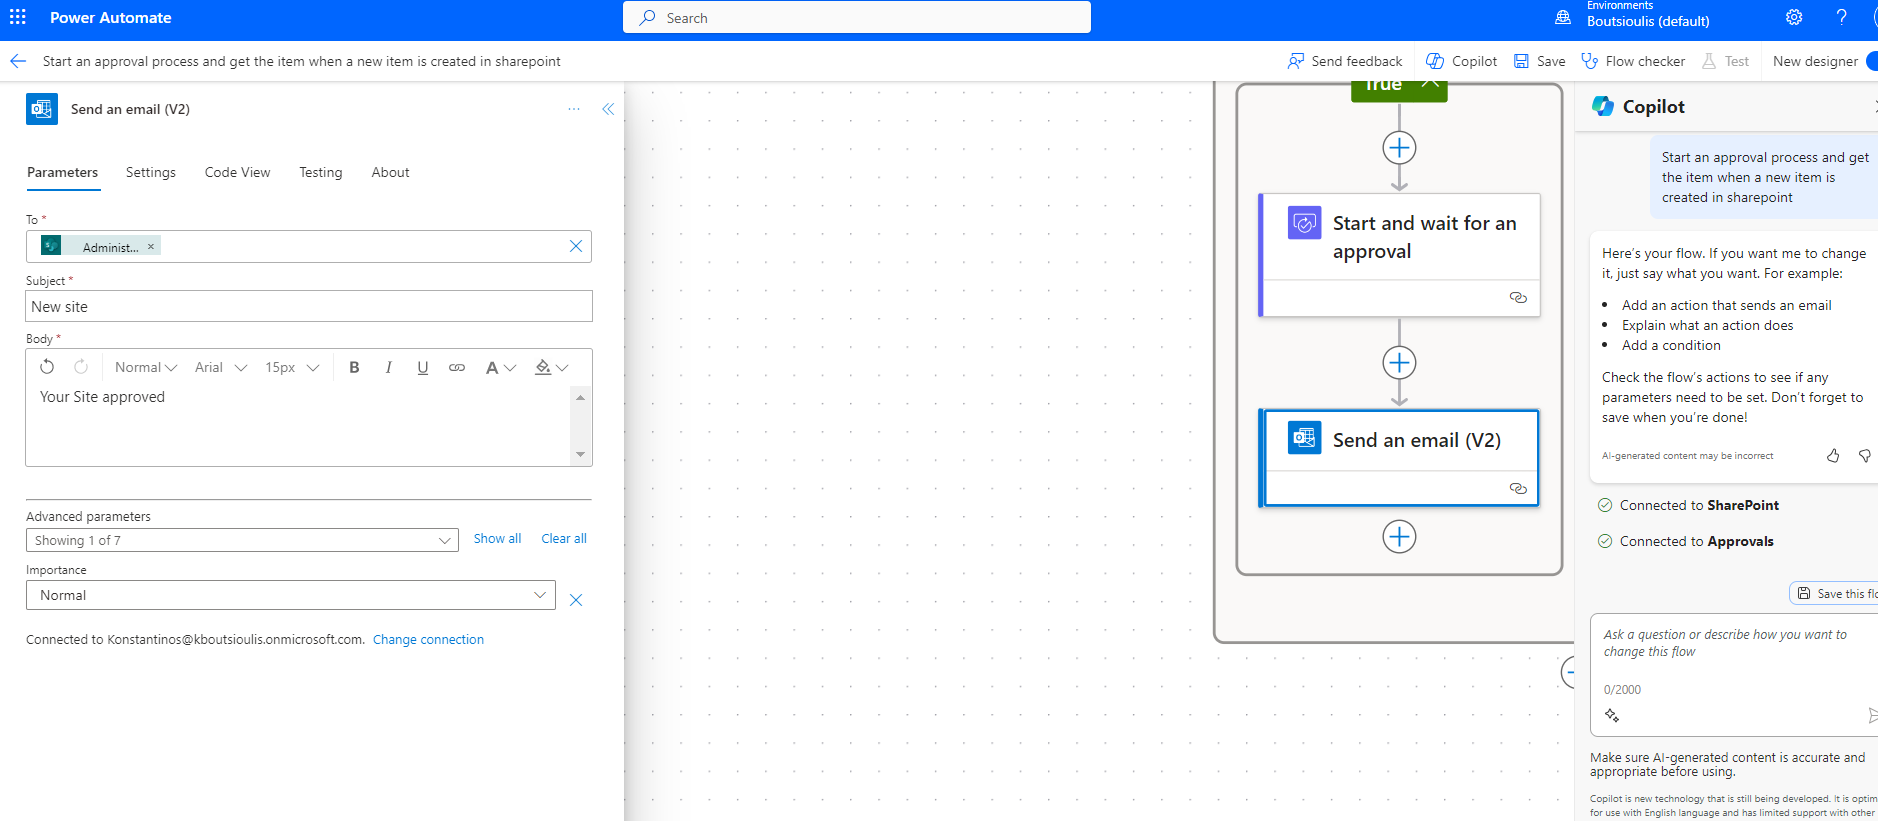
And once we have completed the process in this simple approval we need to save the changes
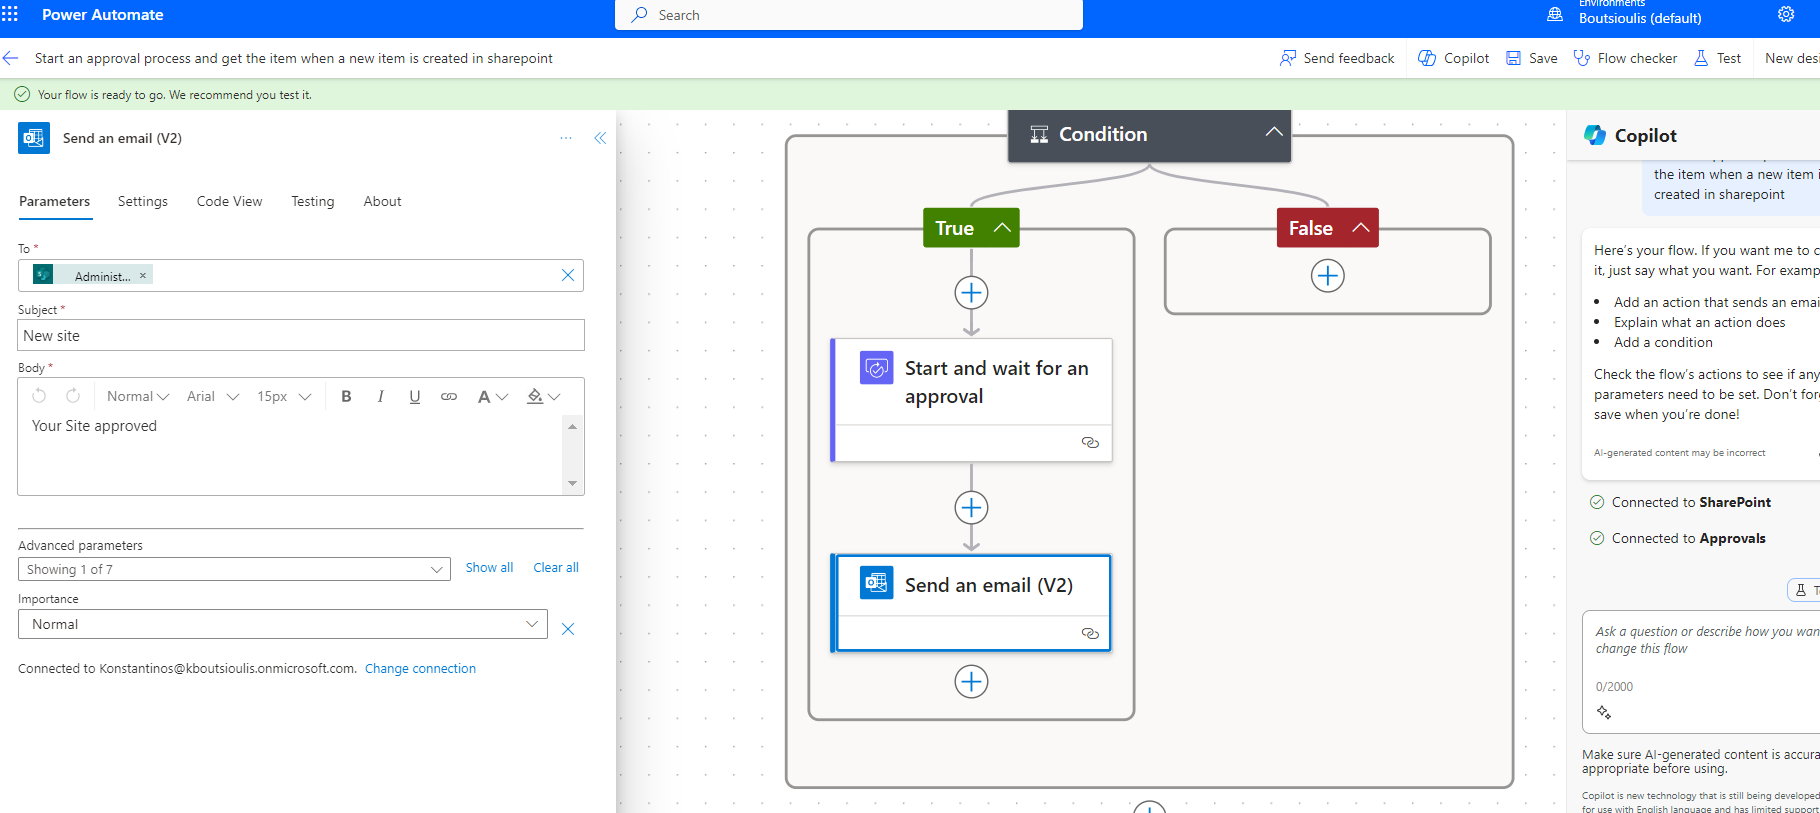
And we also choose after saving to test manually in our automate
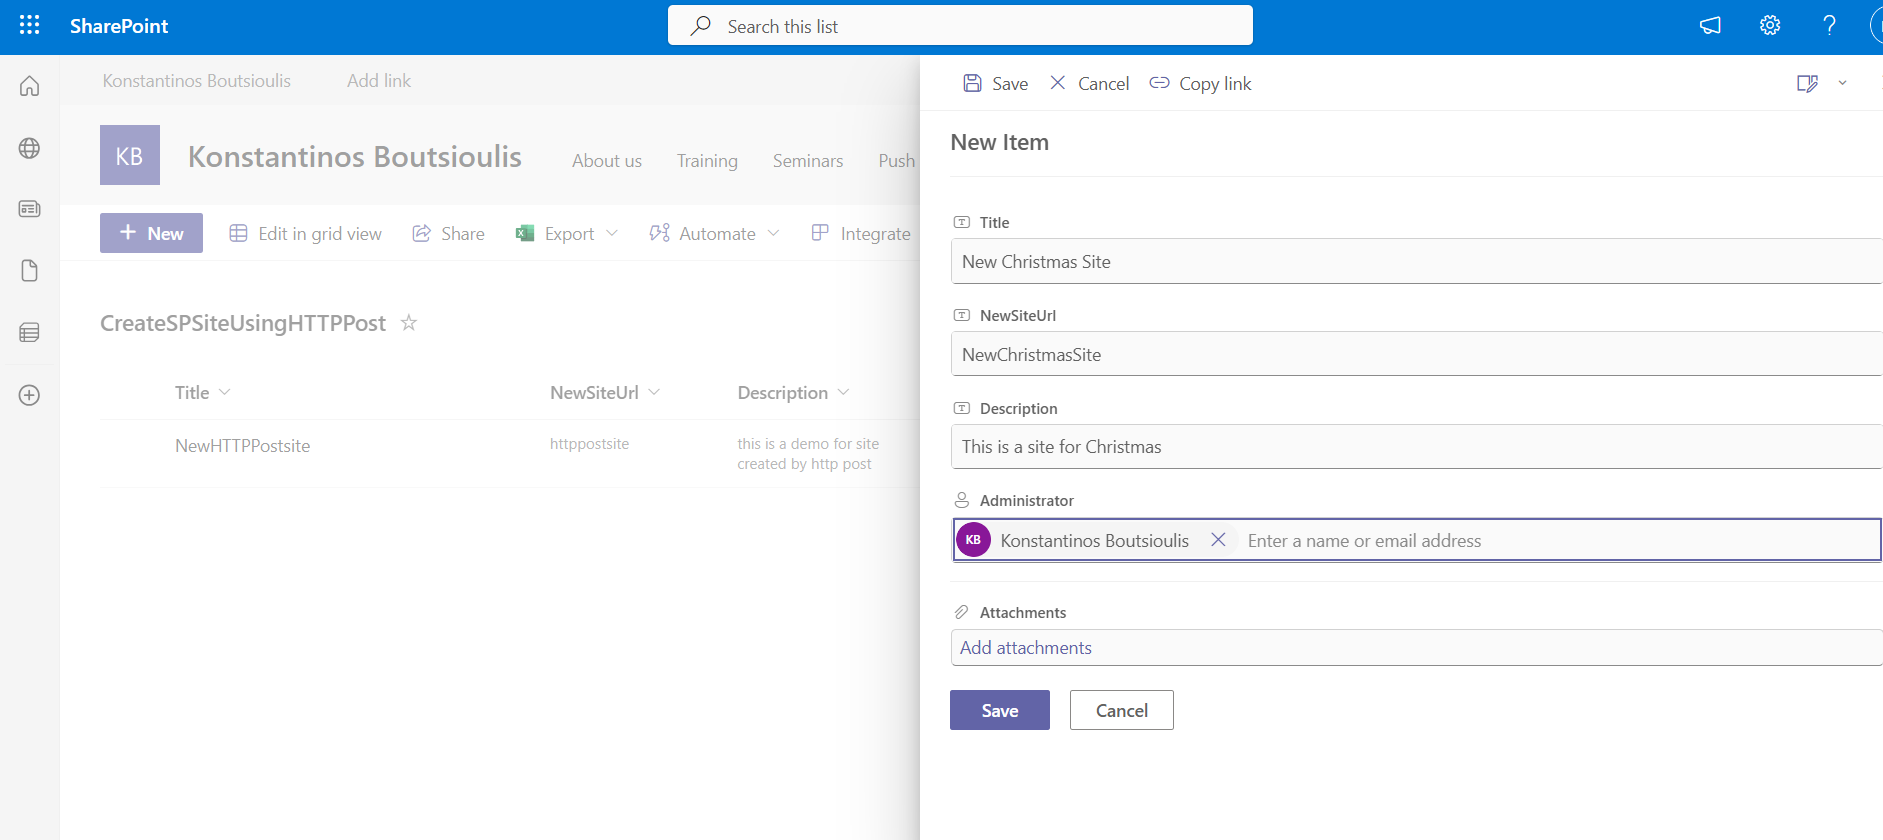
In the next step we will go back to our list in SharePoint and there we will create a new item
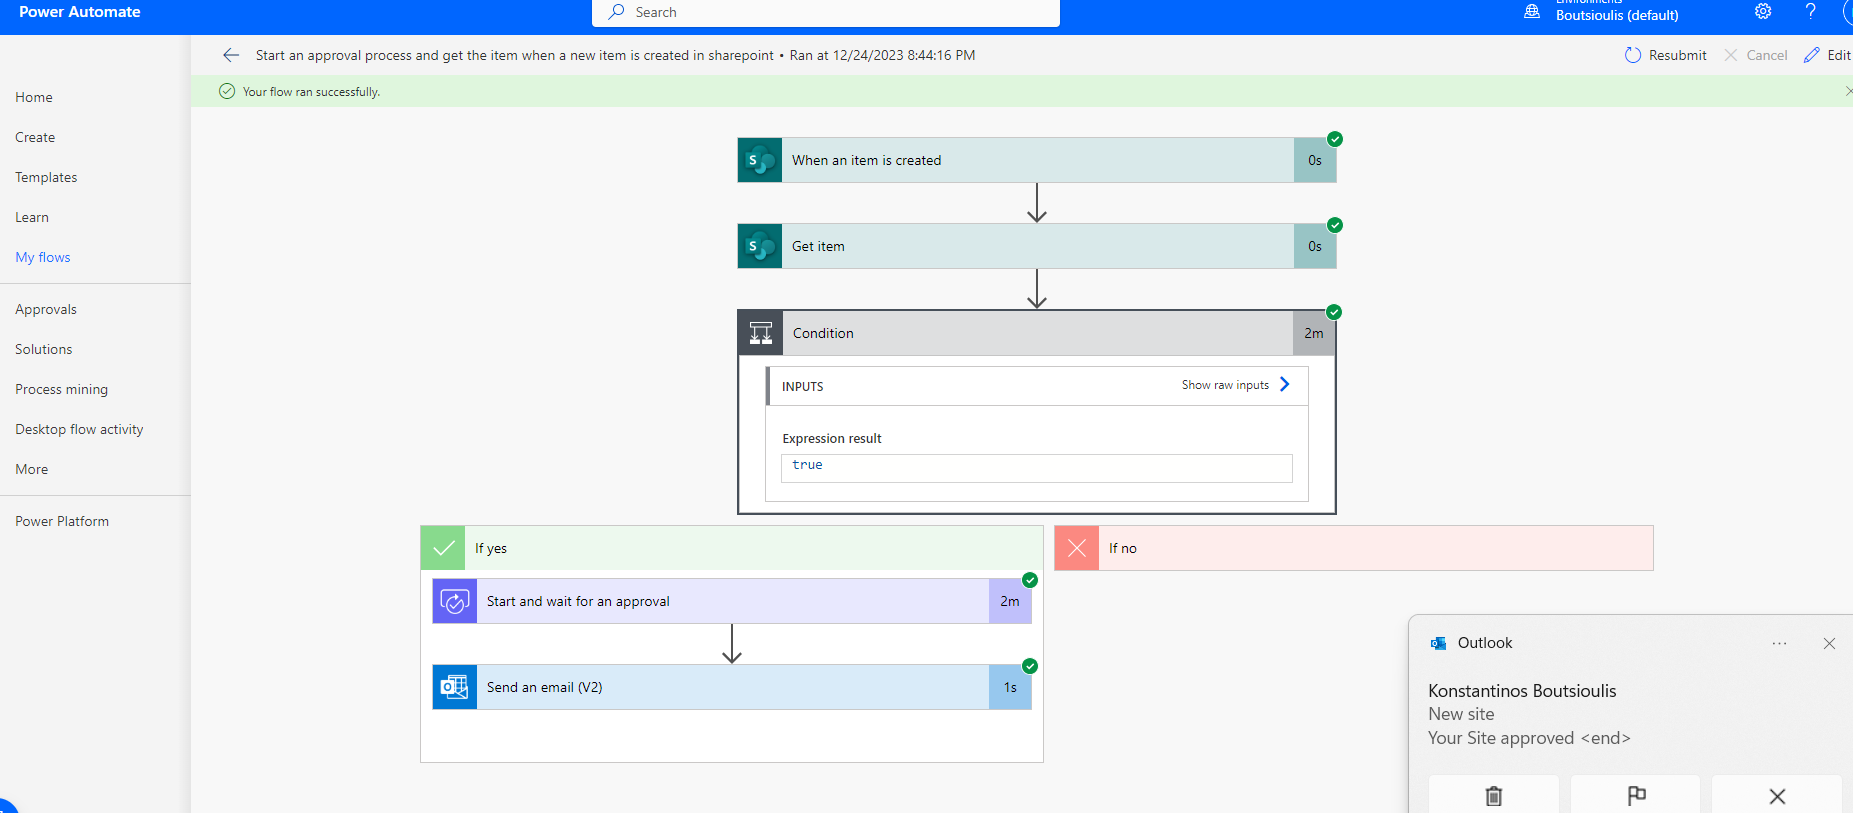
As you can see, the automate ran normally and I sent the message to the approver.

And finally, when the registration is done, the whole automate ran successfully.
And finally it informs the user who created the Item whether or not the request for creation has been made
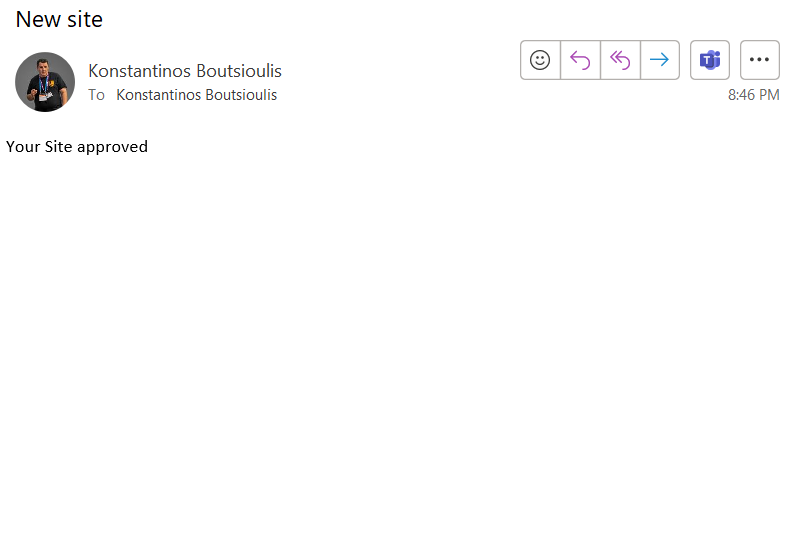
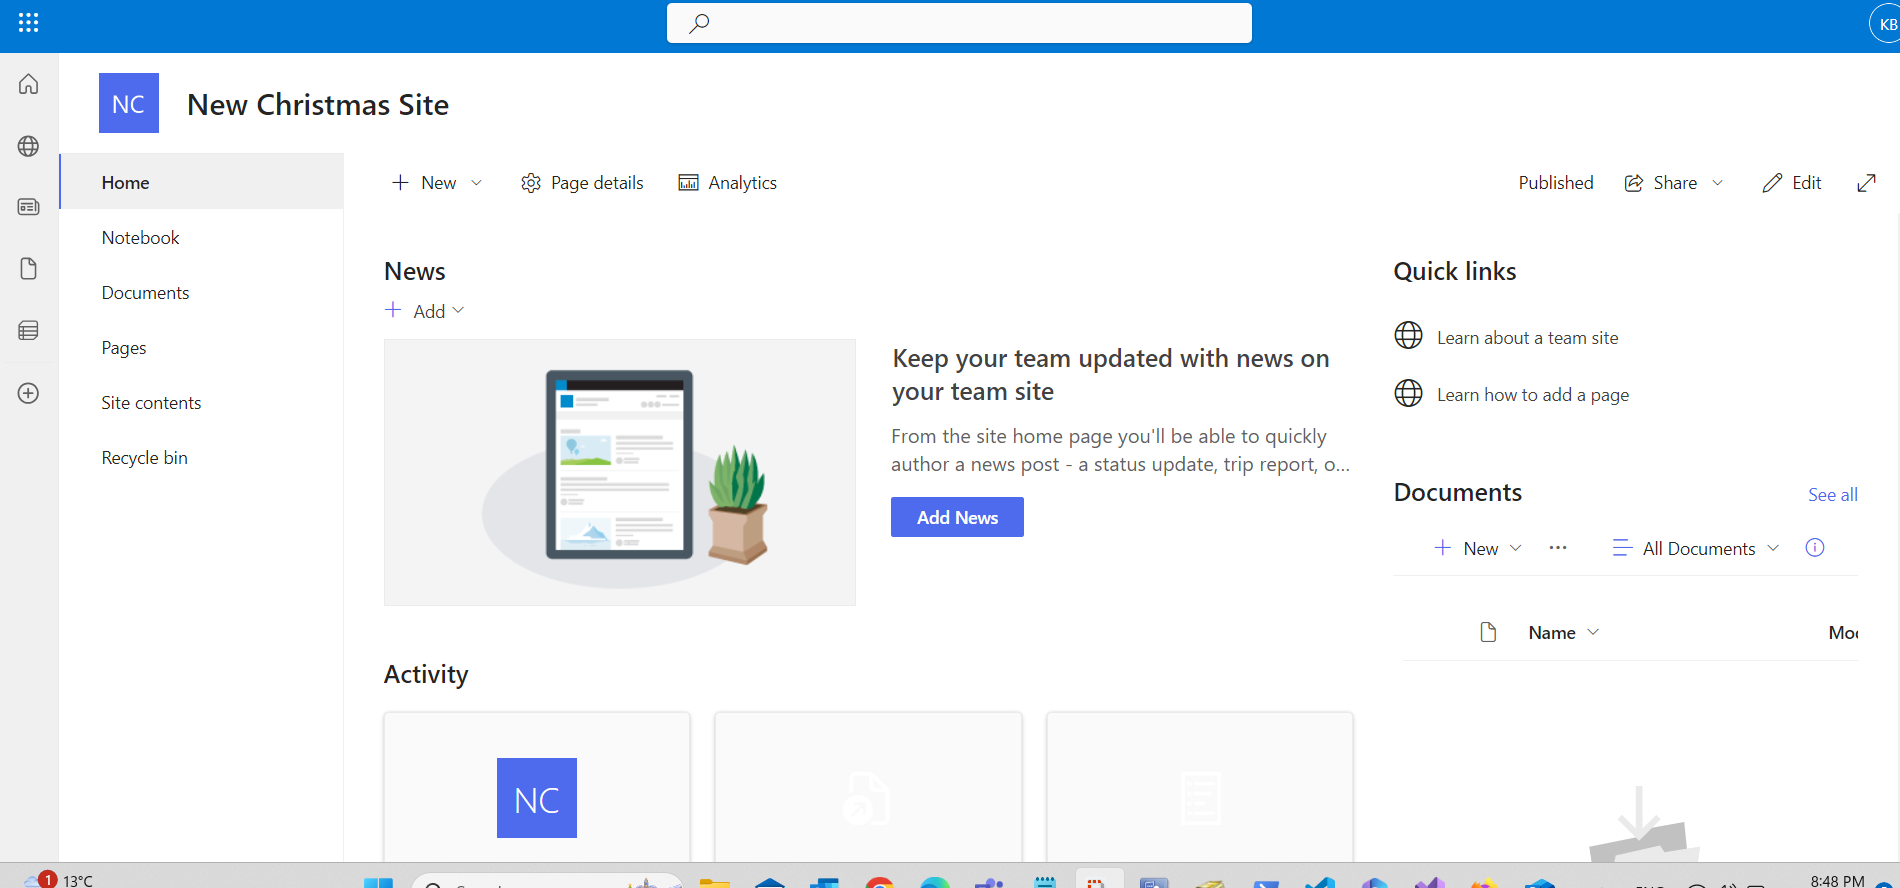
While at the same time if it was registered it created a new site based on the data entered by the user
As you can see it is a very simple process but it started from a simple description of the automate using copilot. In a future article we will see in detail other features of copilot but as you can see it is a revolutionary method to describe a process and with the use of ai you can select or create an automate
#Copilot #PowerPlatform #PowerAutomate #SharePoint #technology #microsoft #digitaltransformation #cloud #mvpbuzz #m365Visit Archives below to find more articles about Microsoft technologies on Modern Workplace