
Free Material
Find hereMore than 150 Articles about Microsoft Technologies on Modern Workplace
Official Site
Microsoft Most Valuable Professional M365 Apps & Services
Microsoft Most Valuable Professional Business Applications
Consultant & Sr Cloud Solution Architect Modern Wokrplace
Find hereMore than 150 Articles about Microsoft Technologies on Modern Workplace
12 August 2024
In today's article, as a continuation from the previous one, I will show you how we can create promoted links on a classic experience site in SharePoint Online. Promoted links were introduced in version 2013 and were a very pleasant addition to a site that until then could only have tiles with a custom code solution.
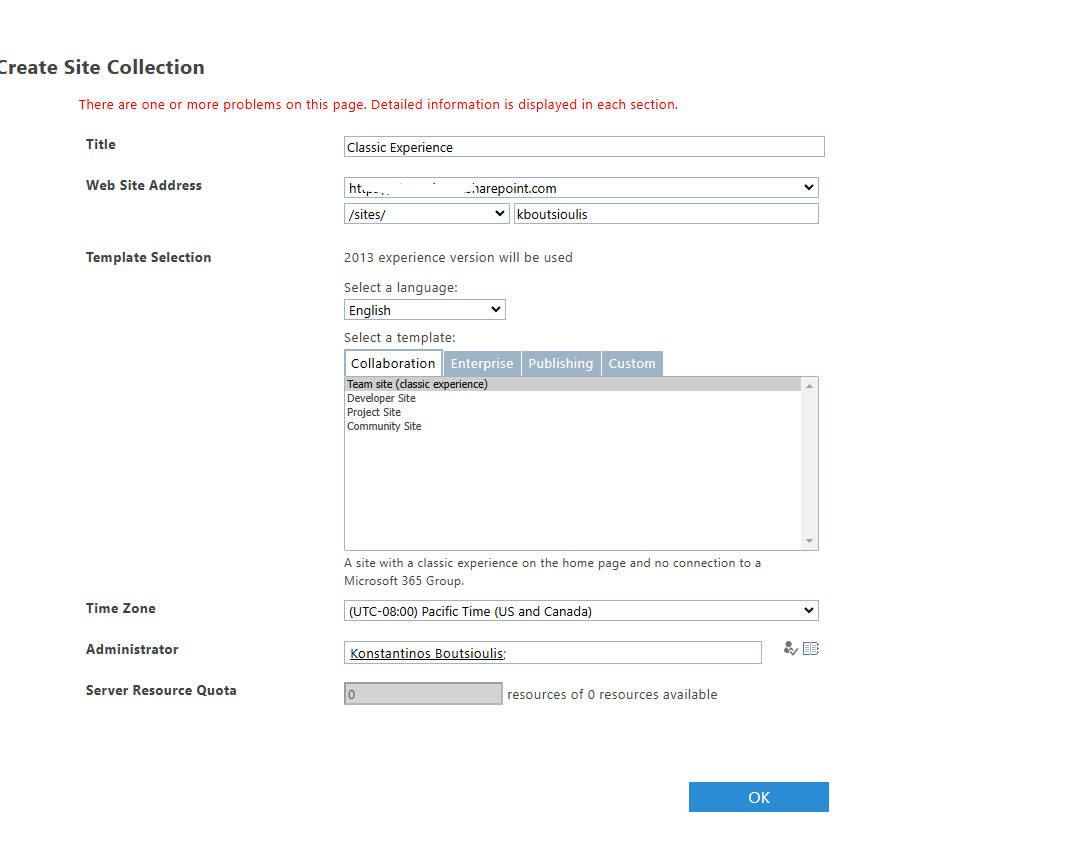
It is a list that actually contains items with links, simply displayed in the form of tiles with a movement in their title. Note that to create this web part, a classic experience type site in SharePoint is required. To create it from the admin center, select new site and then choose from the available templates Classic Experience.
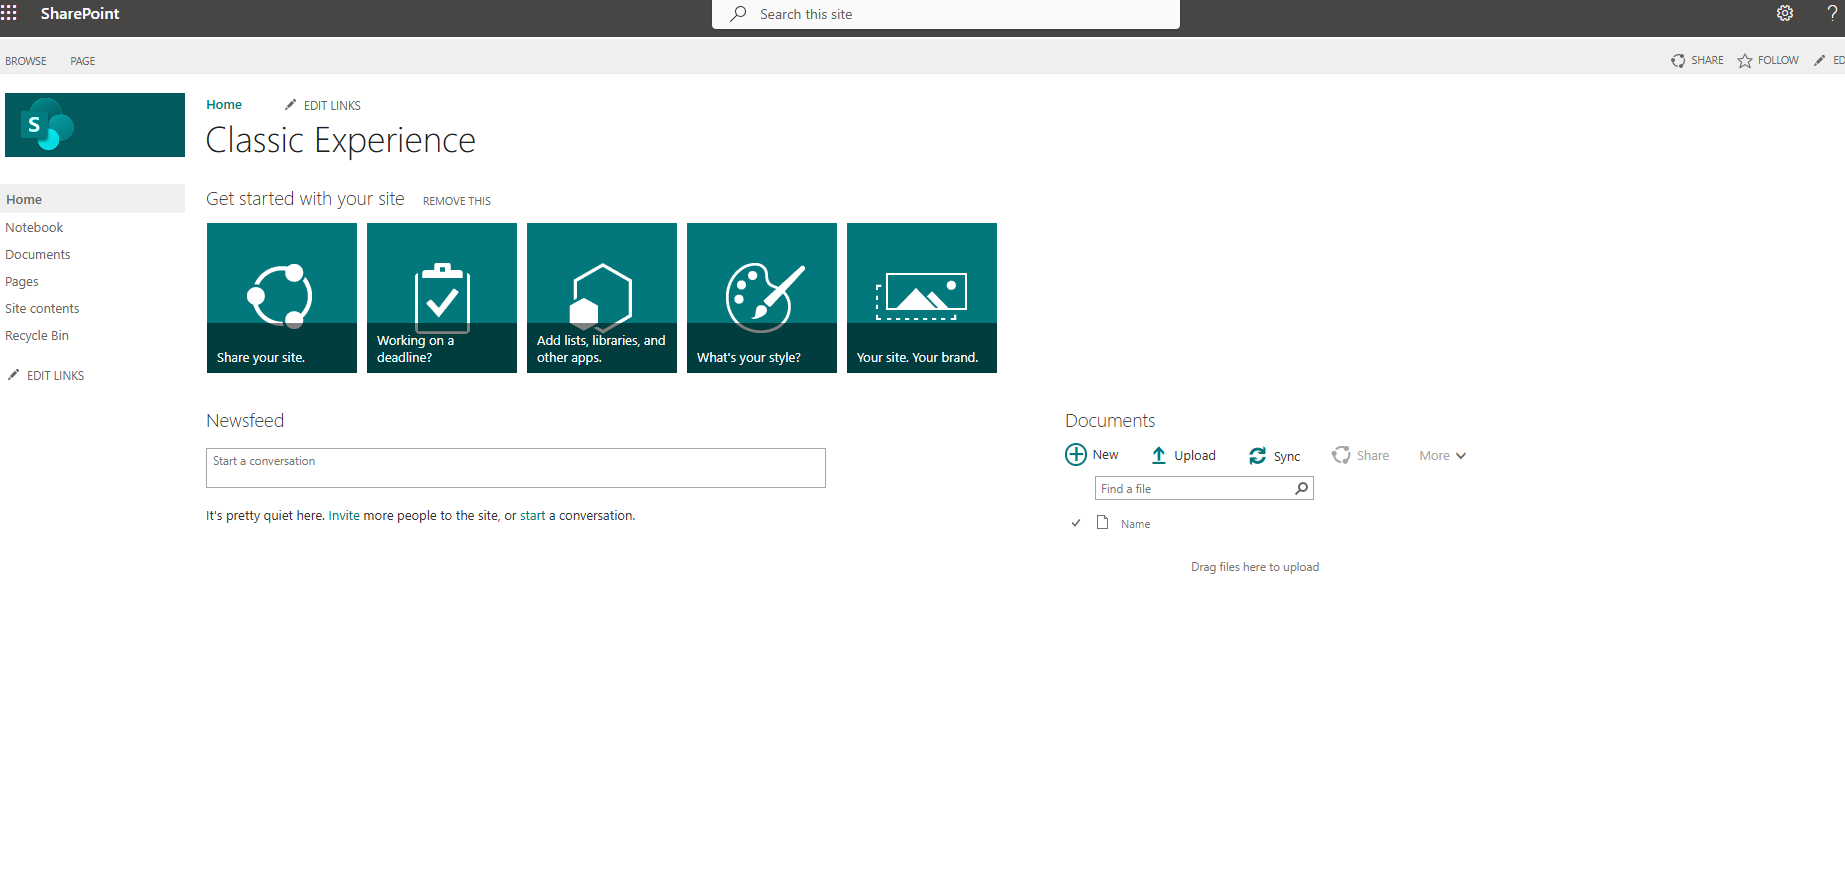
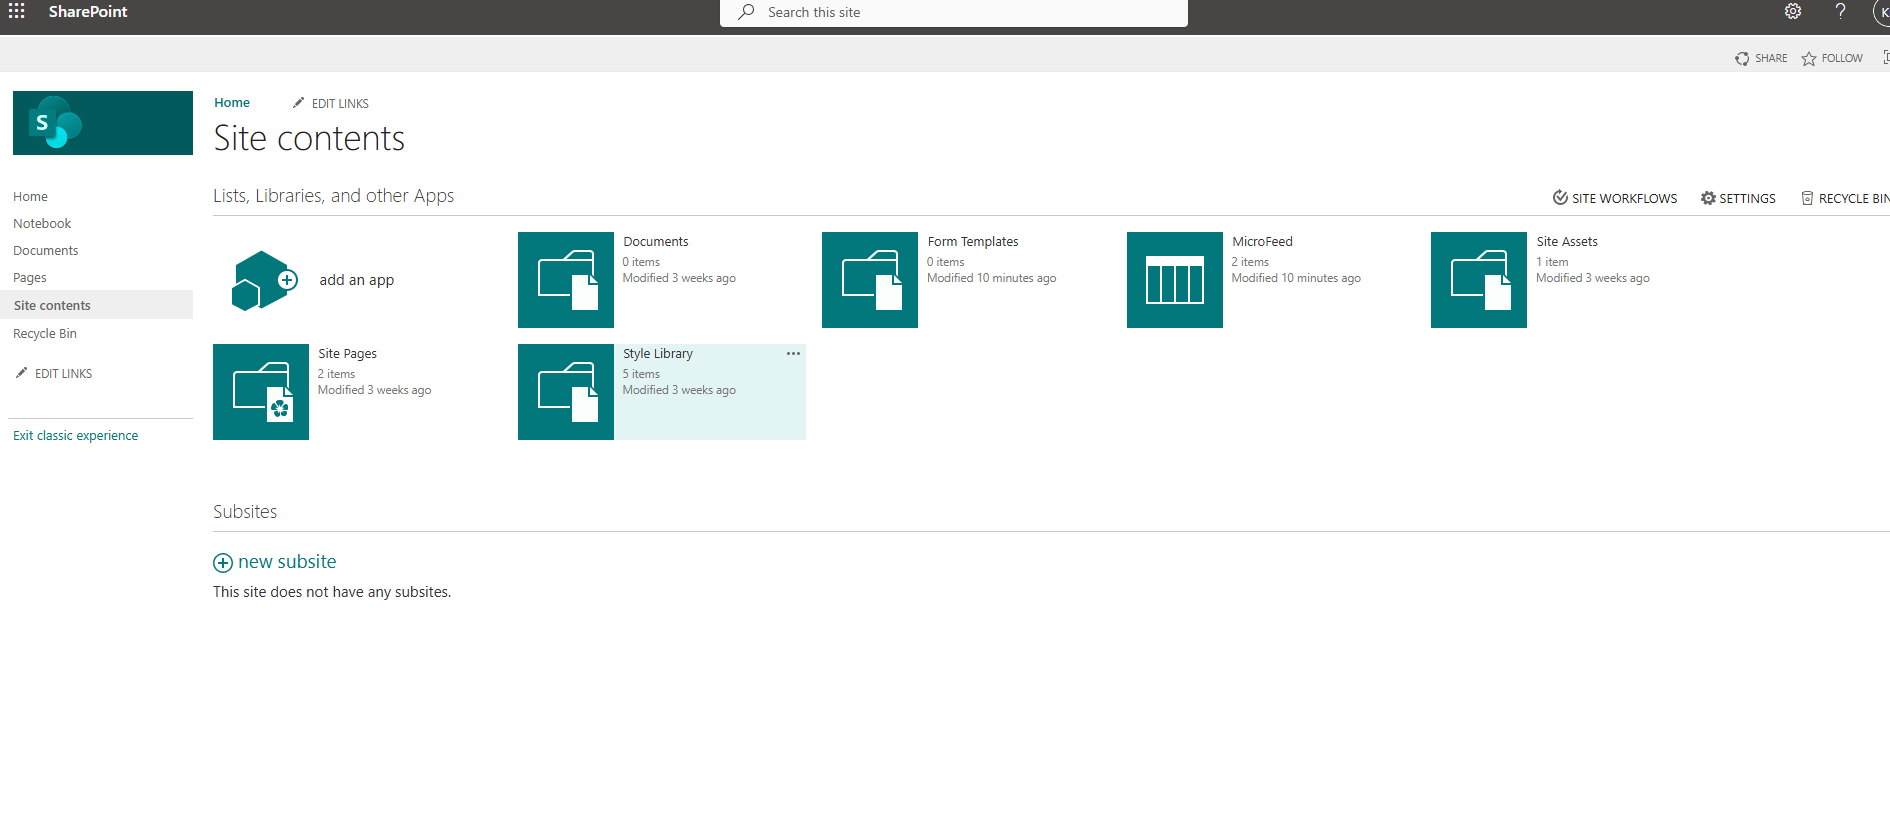
Once we create the site, we select site contents from the gear icon at the top right.
We then go to the page with the options to add a new web part and there we select add an app.
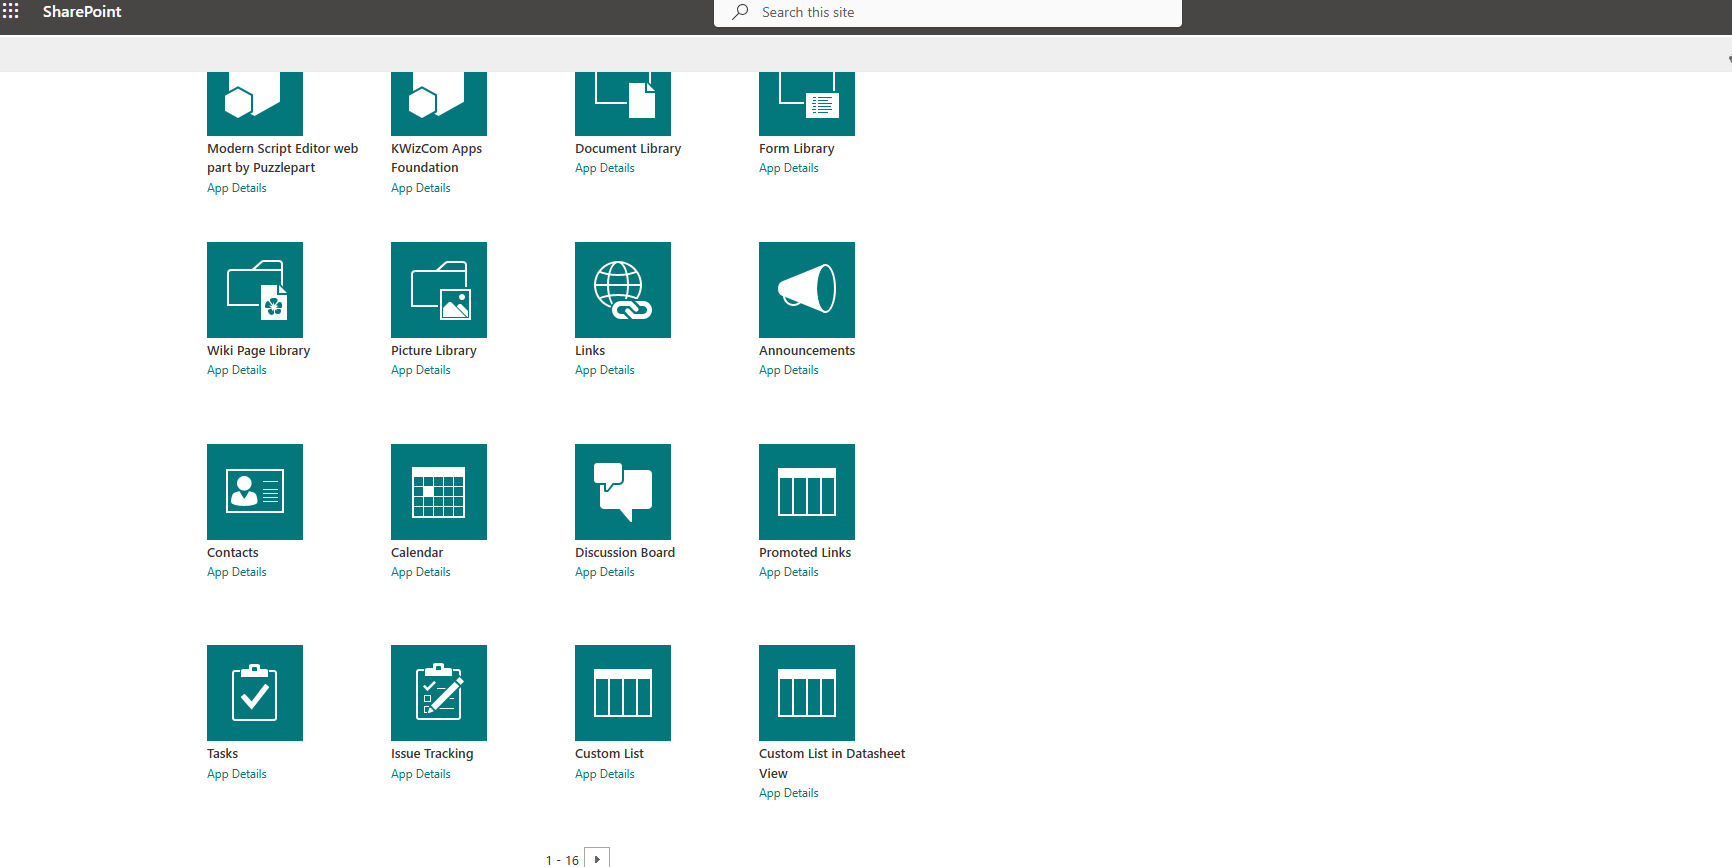
On the new page, we select promoted link from the available options.
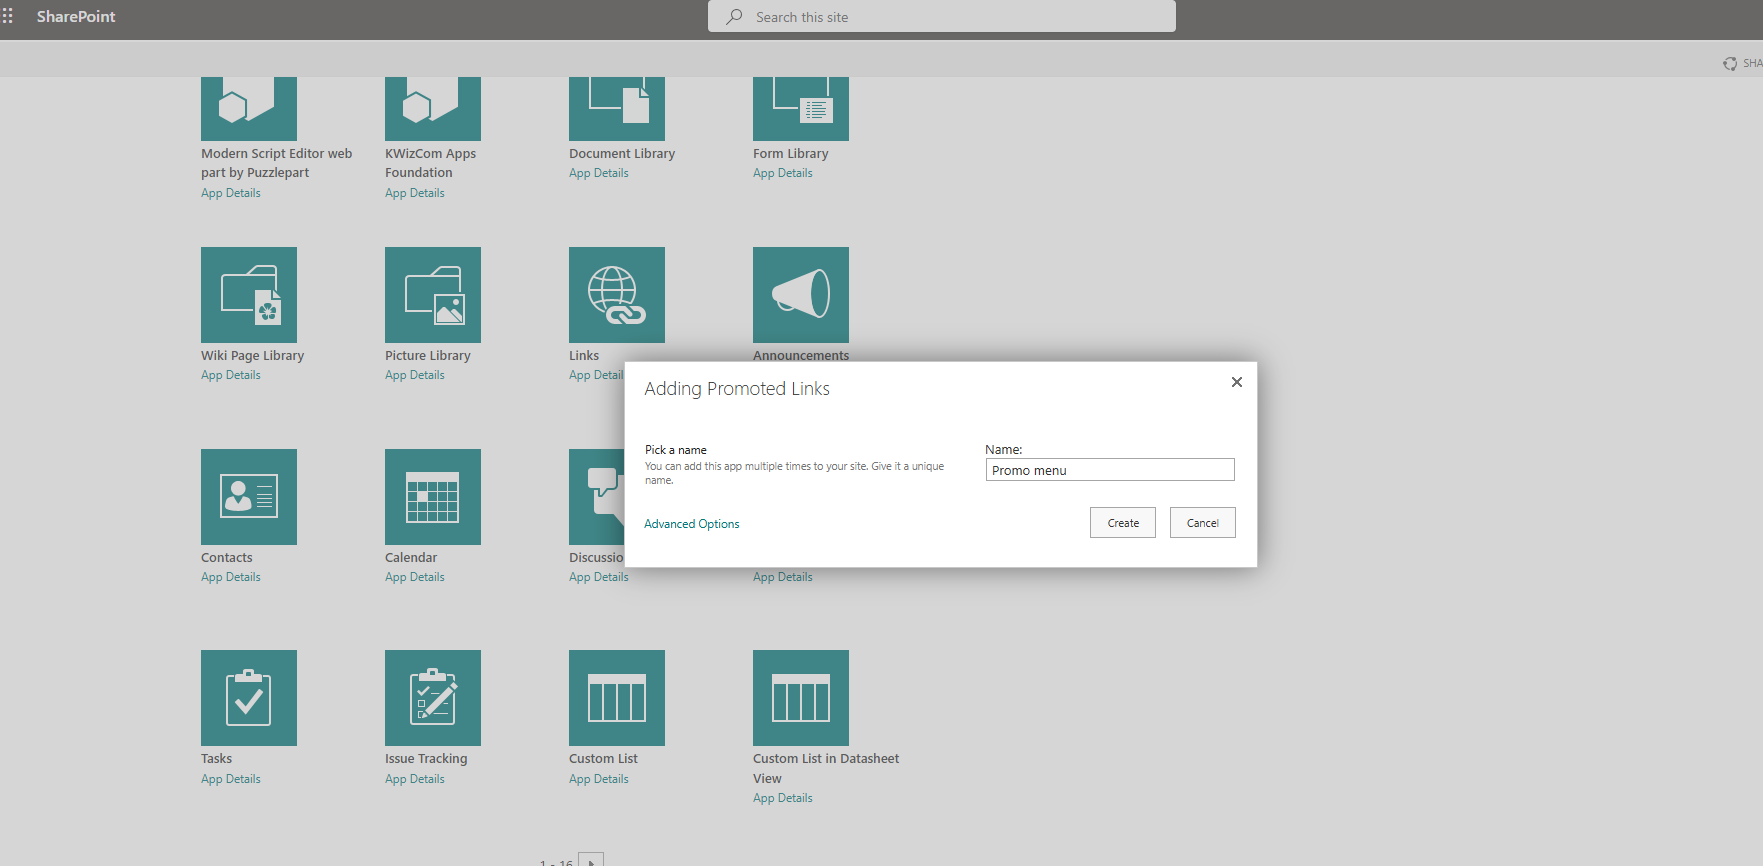
In the next step, we need to enter a name for our new web part.
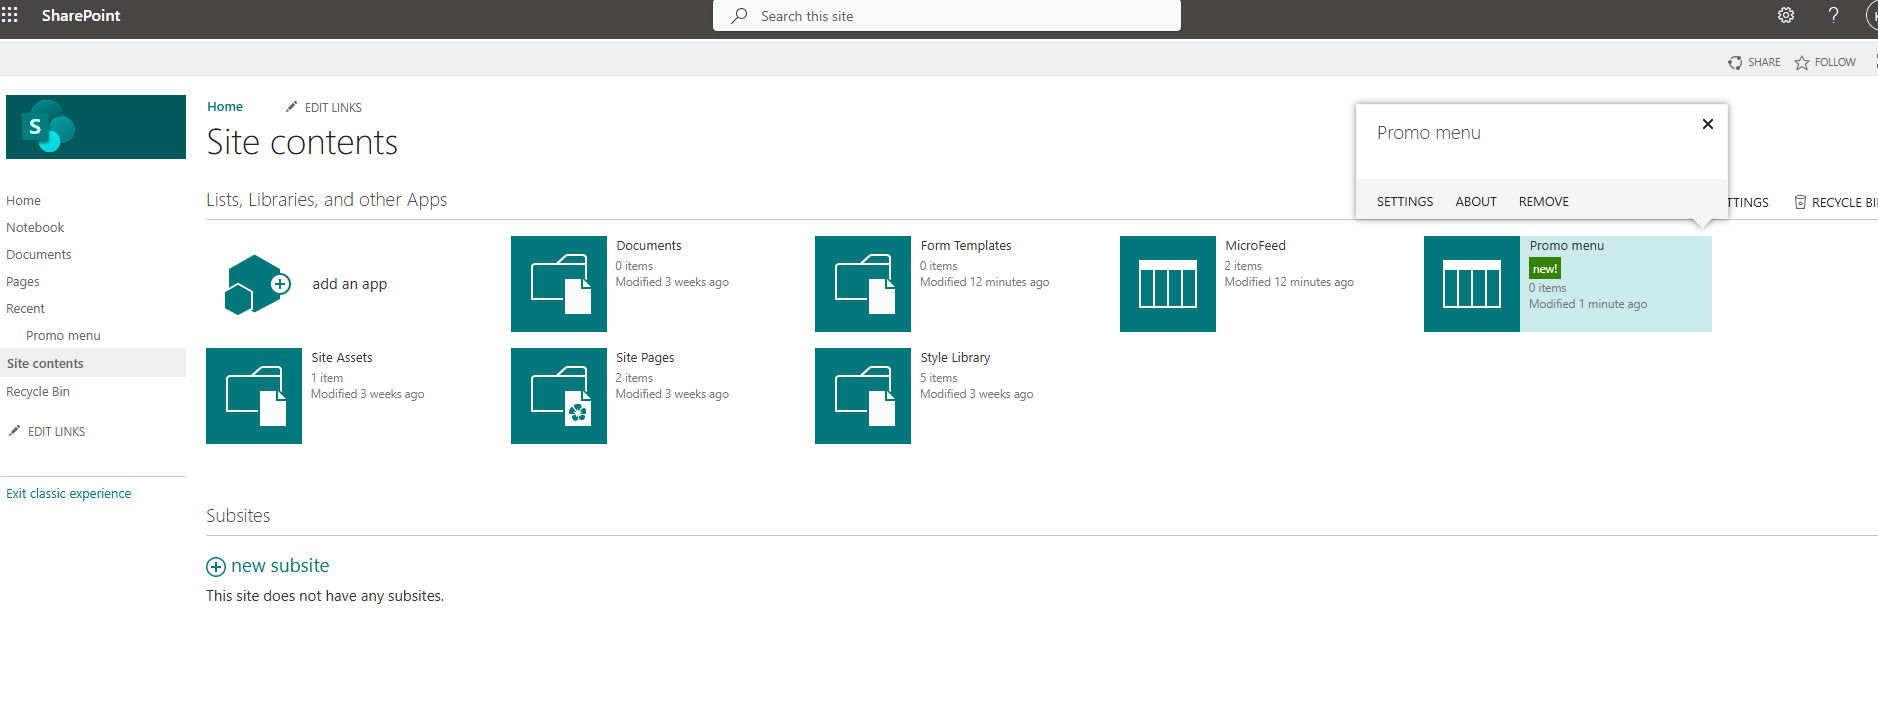
As you can see, we now have it available on our page.
If we click on it and go to our new web part, as you can see, it is an empty list where we now need to add items, but we do not have the add new option.
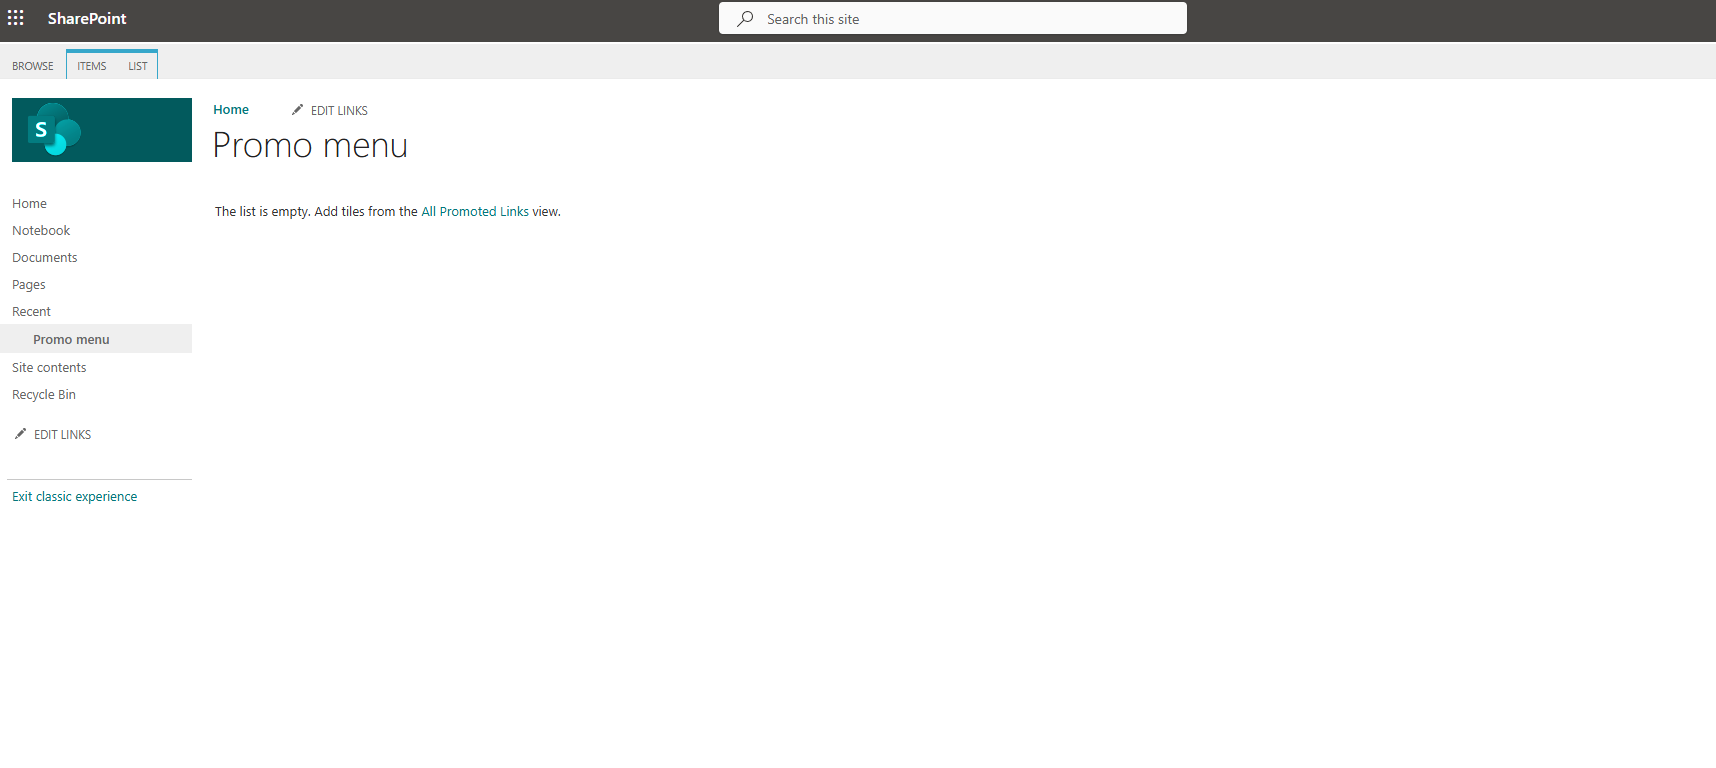
However, if we select all promoted links, it takes us to the page where I can add items to my list.
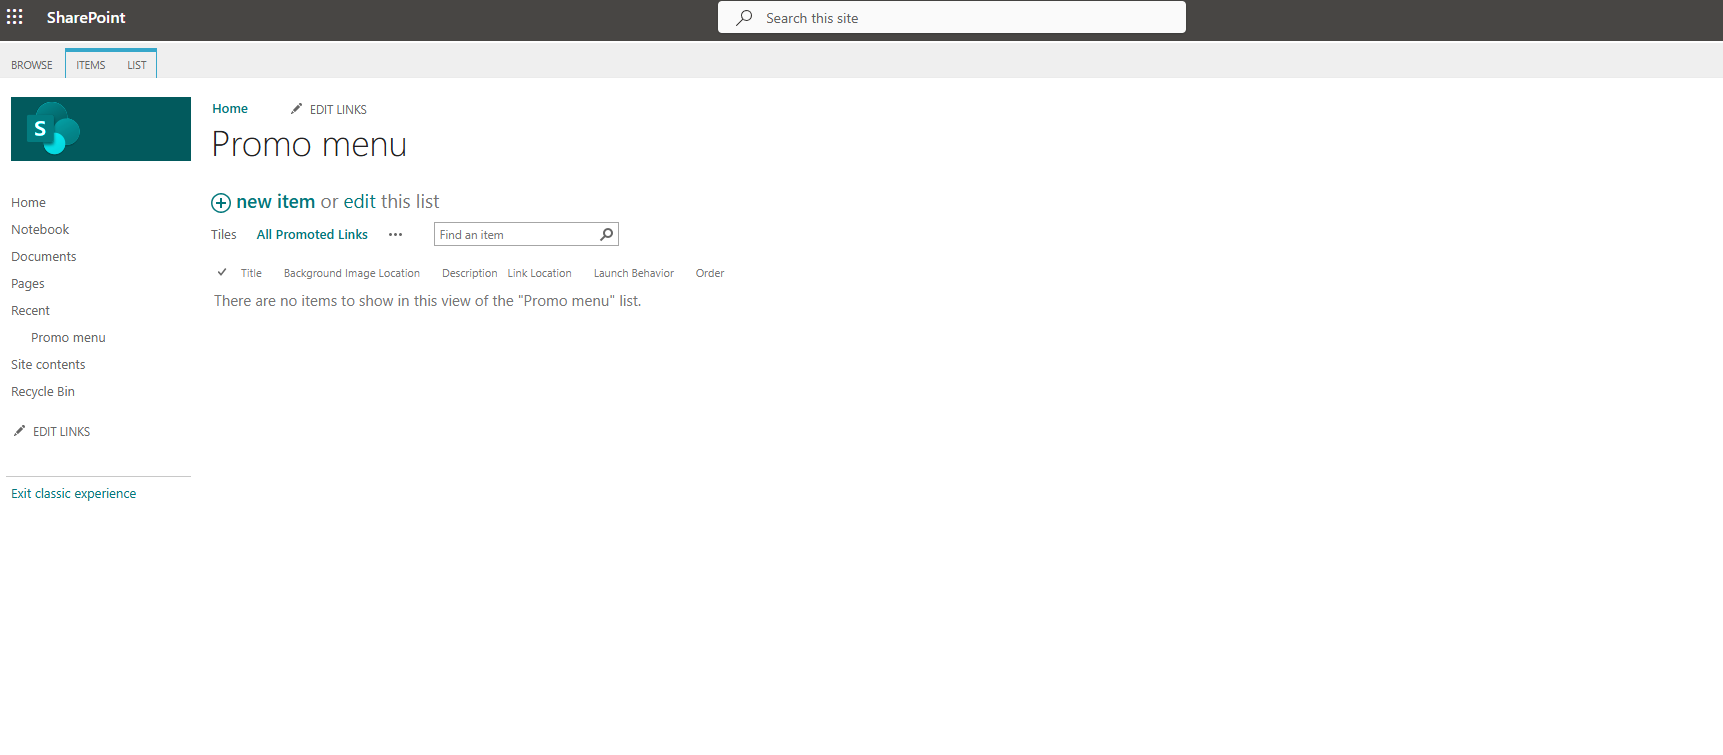
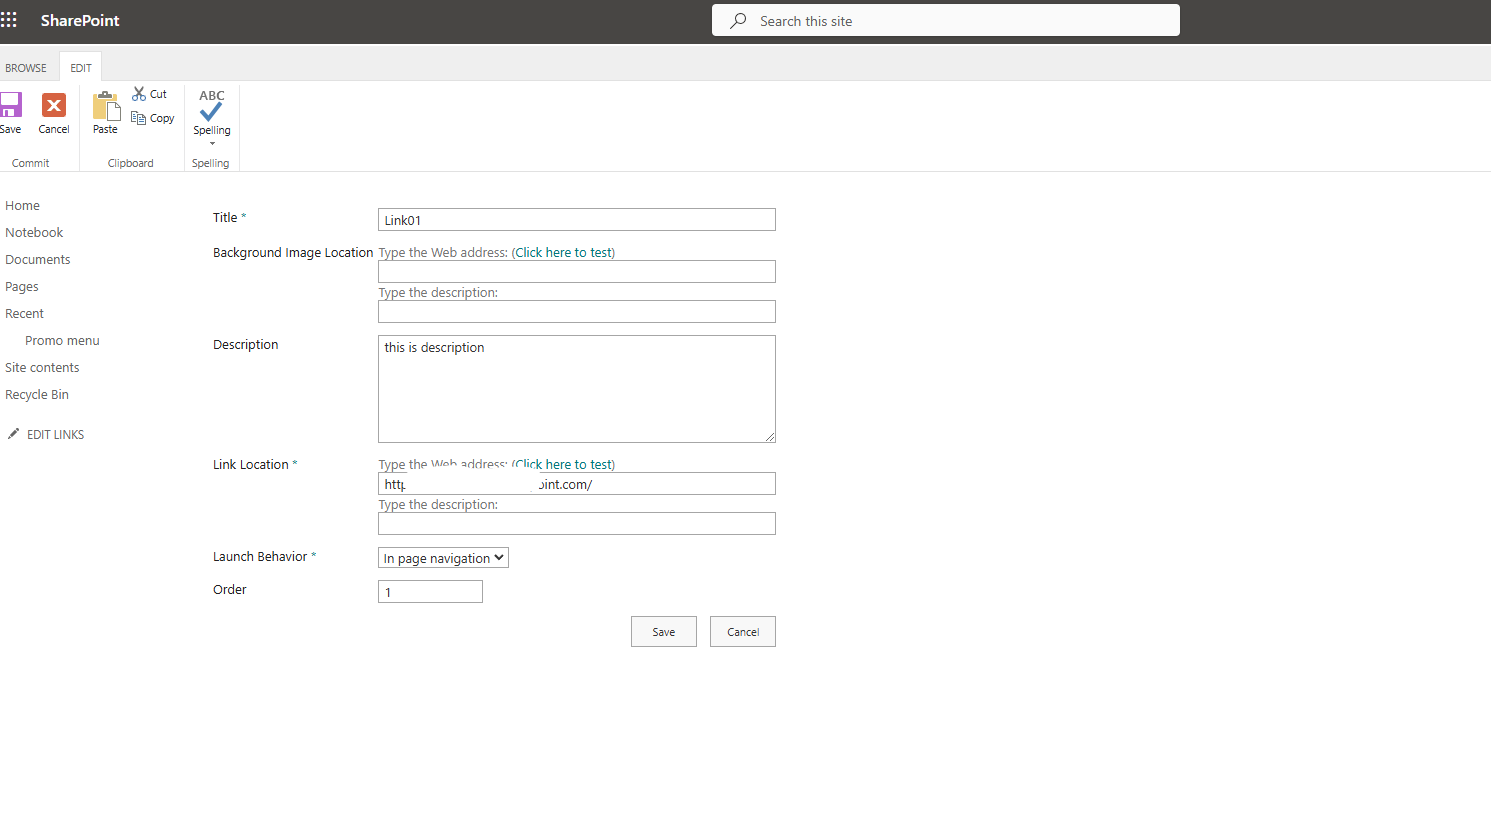
By selecting new item, we go to the page with the form to create a new item. Initially, we need a title for the new item as well as the address of an image that will be the background on our tile. We can also enter a description for the tile, which will essentially be a link, and in the link location, we enter the address where we want to route the user. It can be an internal address like a site URL from another site or even an external public address like a search engine.
We can choose the launch behavior from the available options and also give the order in which the tile will appear from the overall menu with many links.
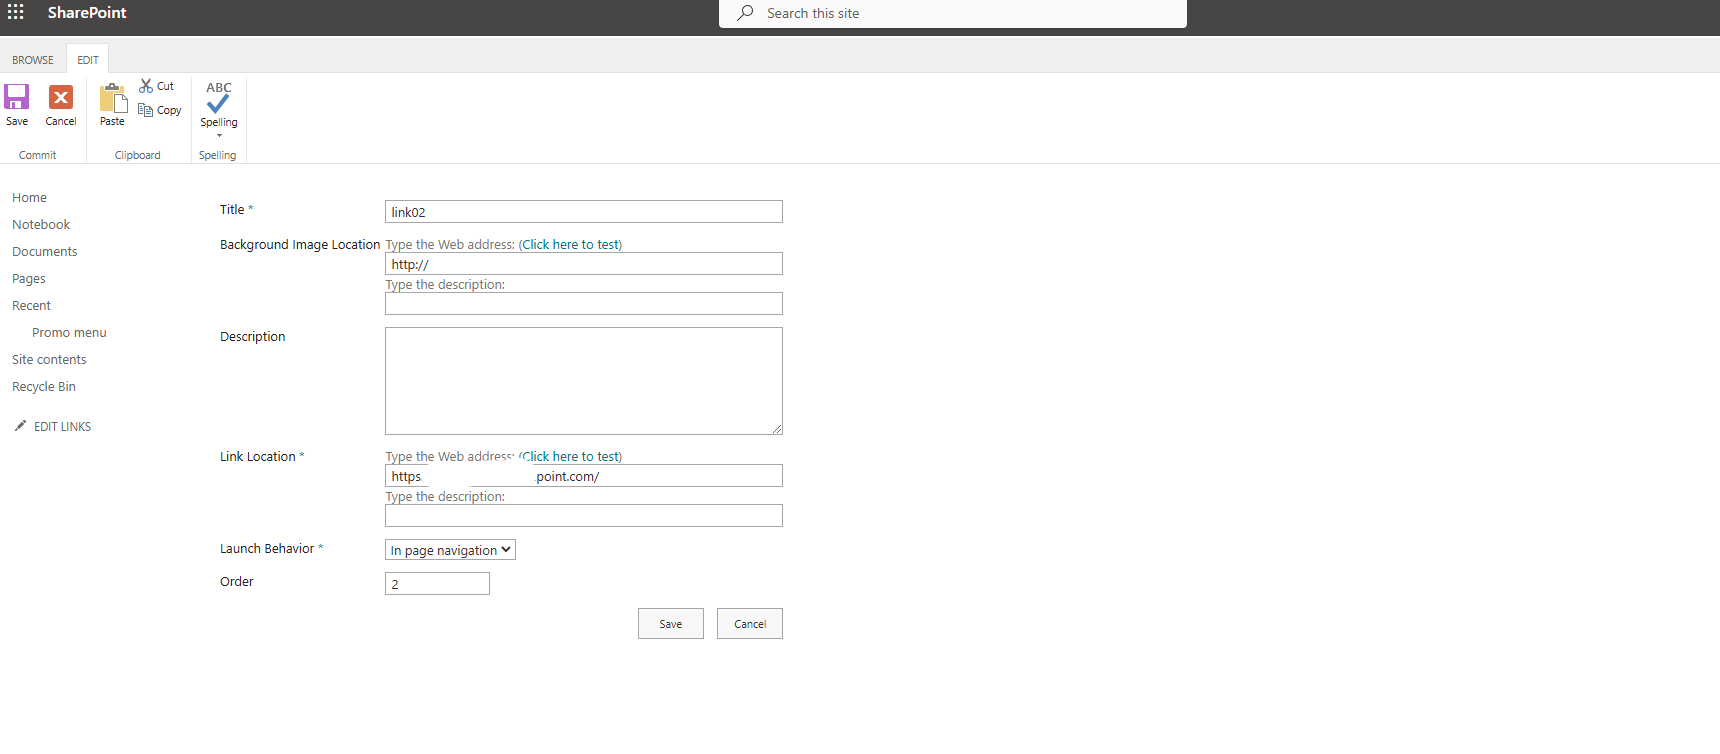
We create another item with the same process.
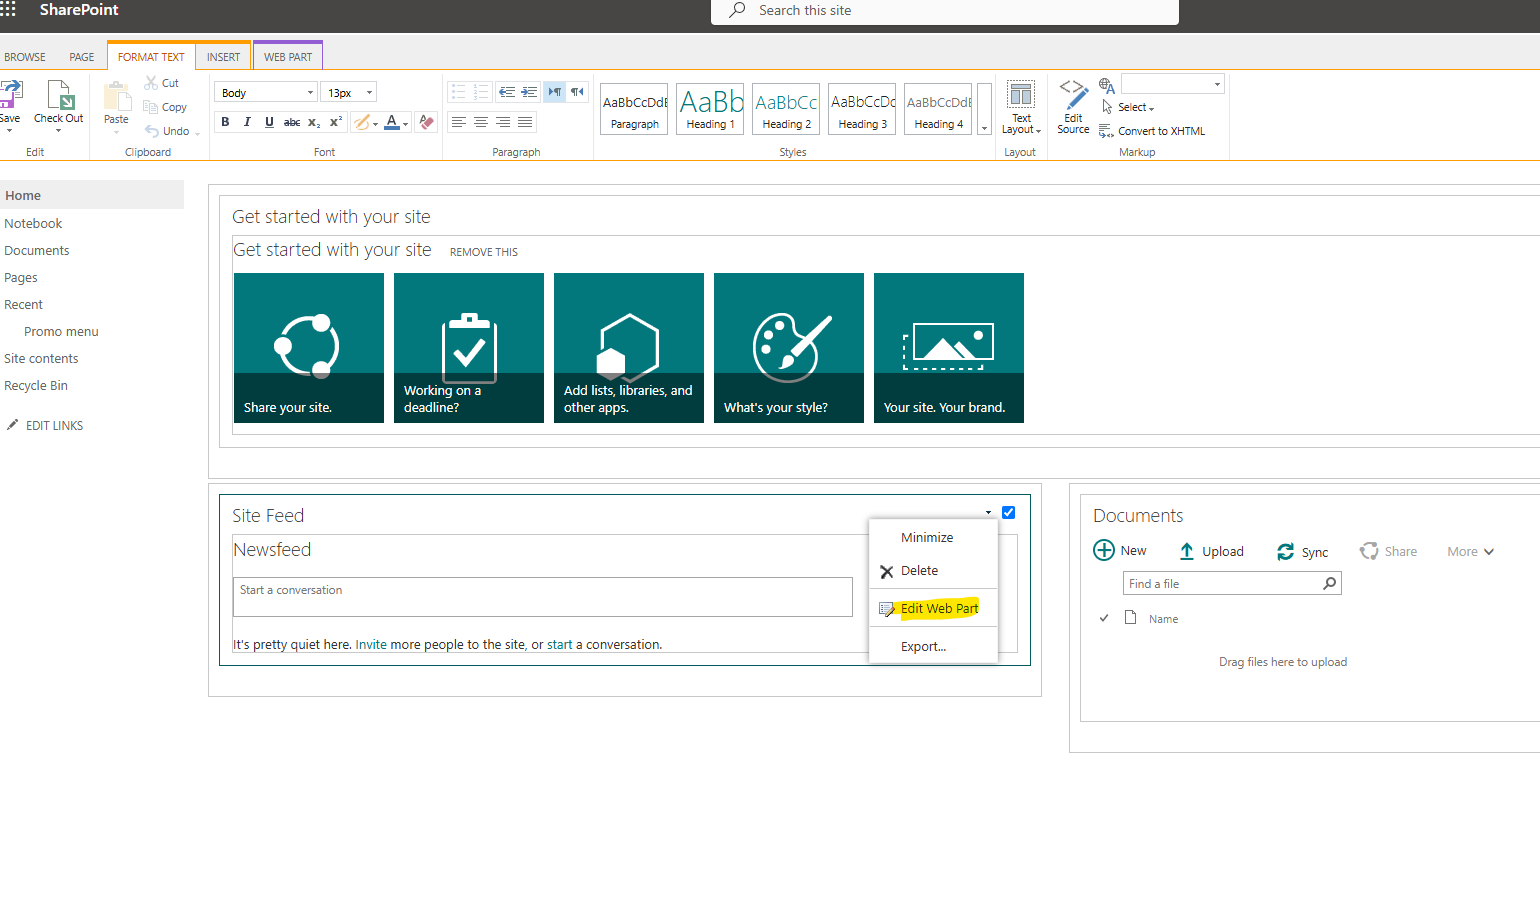
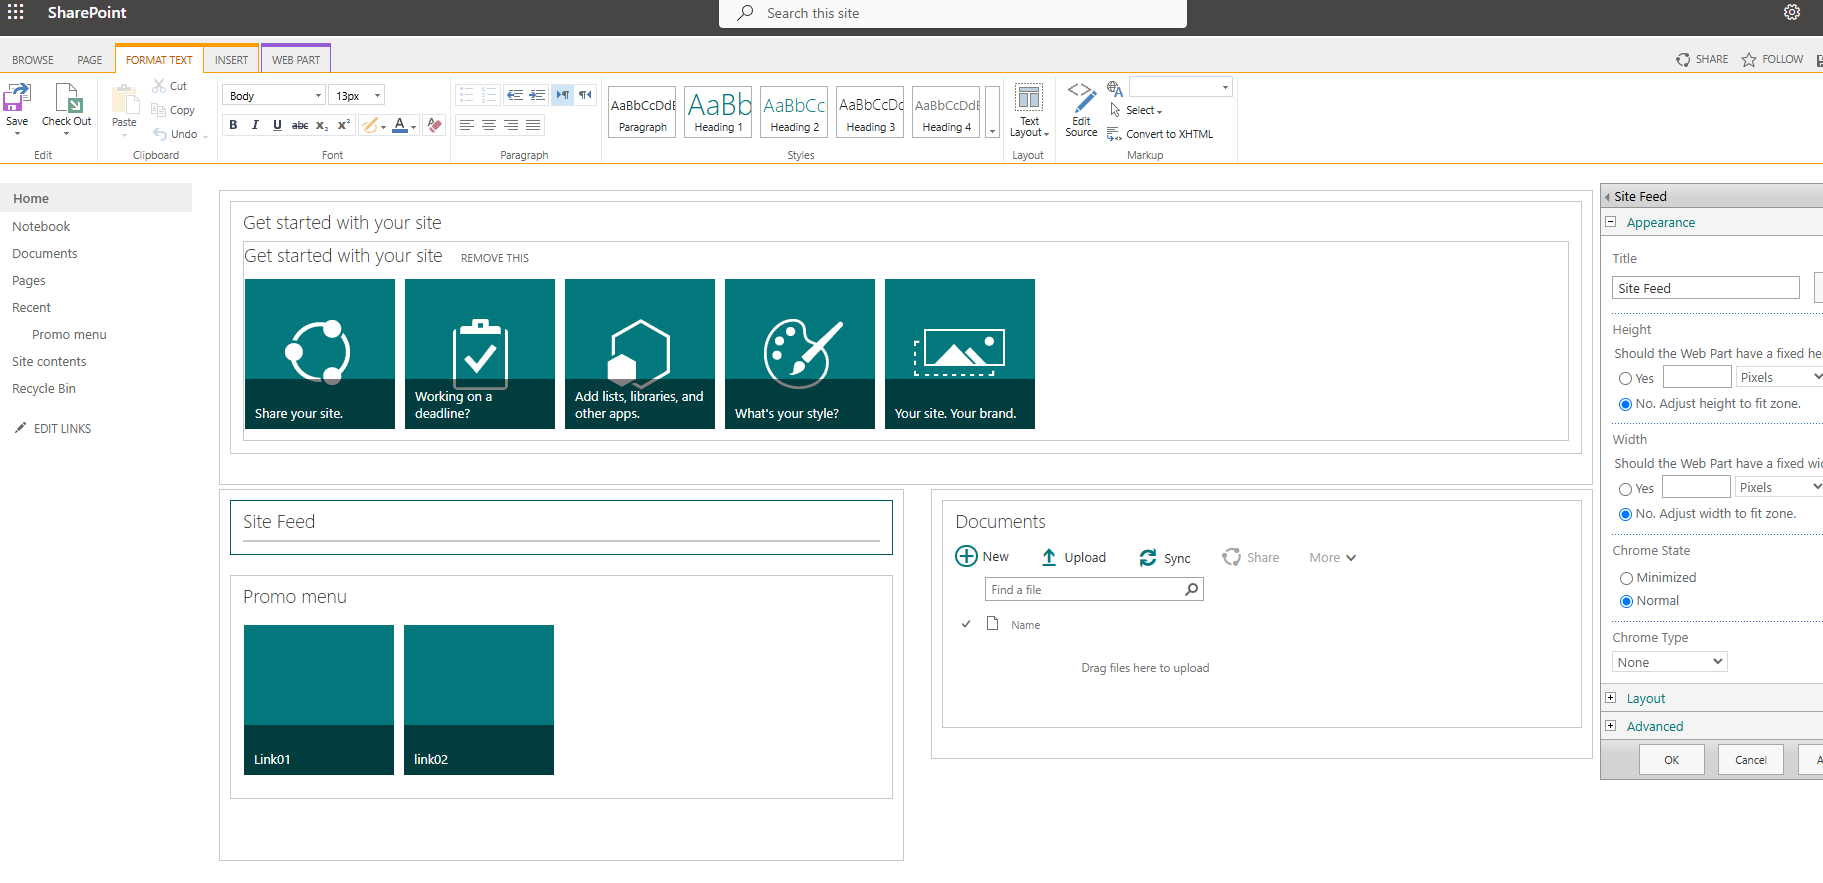
Then we need to return to our page and select edit at the top right. We need to insert the web part by selecting Insert web part.
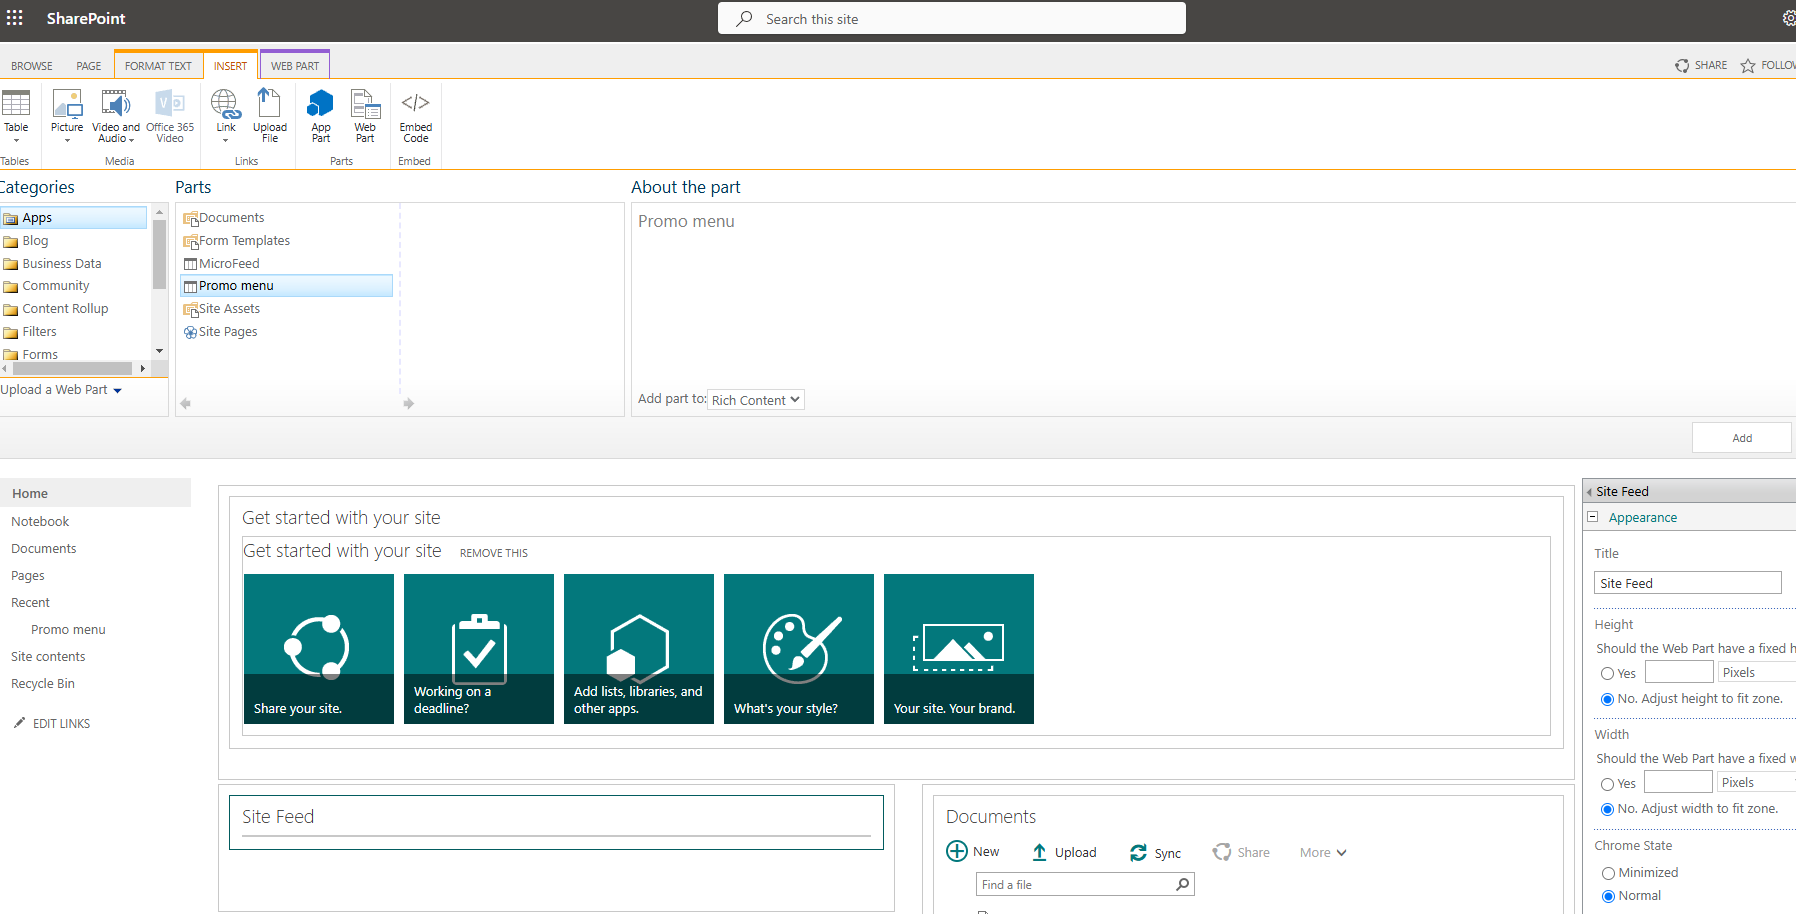
As you can see, the old classic menu opens at the top of the page where I select the promo menu, which is of the promoted links type.
As you can see, the web part has been inserted into the page, and I even have 2 tiles that are links.
To save the changes, I need to select save at the top right.
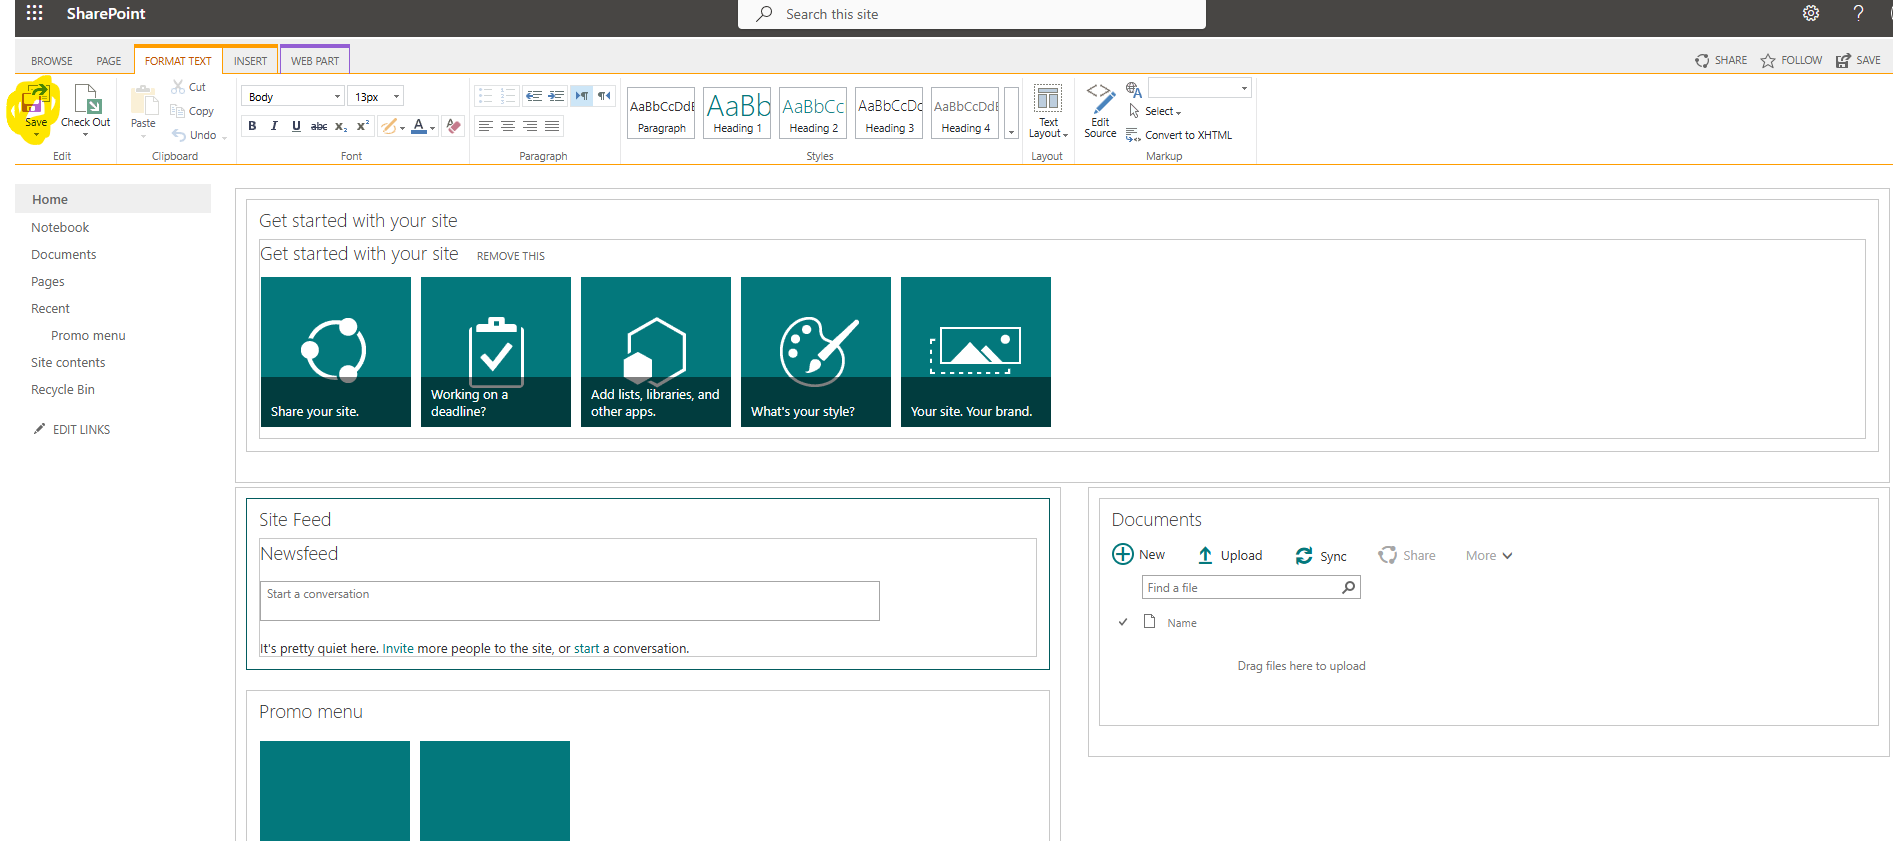
So, I have inserted my promoted links in the desired part of the page.
#ModerWork #M365_Apps_Services #BusinessApps #SharePoint #PowerAutomate #technology #microsoft #digitaltransformation #cloud #mvpbuzz #m365Visit Archives below to find more articles about Microsoft technologies on Modern Workplace